


Binks is a puker. She goes through at least 3 outfits (usually more) a day! But I hate those cheap gerber bibs, and the ones that come with outfits are never big enough. I love making cutesy ones for her, so I thought I'd share how EASY it really is! I'll post more of them this week as I take pics!
First you'll need a pattern. I have my own (She needs a lot of coverage!), but there is a great free pattern at Chickpea Studio. Pick a cute print for the front, and a soft absorbent fabric for the back. I I typically use flannel (I stock up at Joann's Black Friday sale every year) but for this one I used cotton velour. Yum yum. I also used tulle, felt and buttons I had on hand.
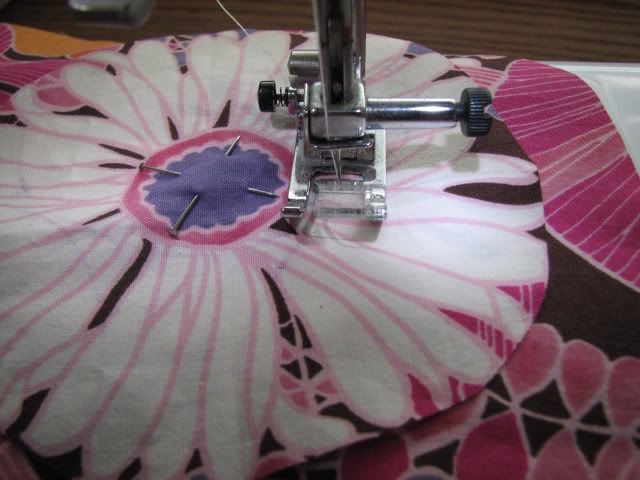
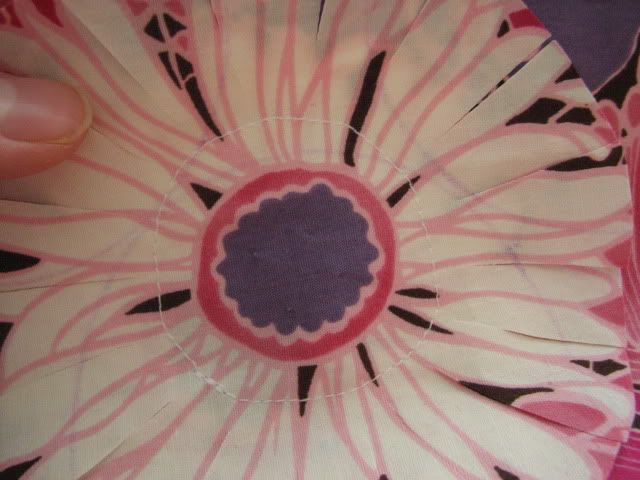
Cut the front and back pieces out. I then cut one of the large flowers out of the scrap material. If you don't have a bold floral print, just sort of free hand a big circle. Sew the circle onto the right side of the front piece, wherever you want. Just make sure to leave the seam allowance at the bottom for sewing to the back. I stitched around the center of the flower, but you can just sew about a 1.5" circle in the middle. Then I cut "petals" around the flower. No rhyme or reason to my cuts, I just did what I thought looked good. Just don't make the petals too narrow, and don't cut all the way to the circle you just sewed.
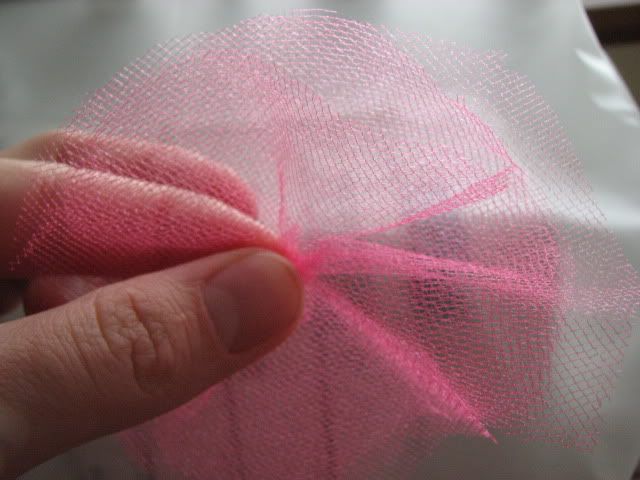
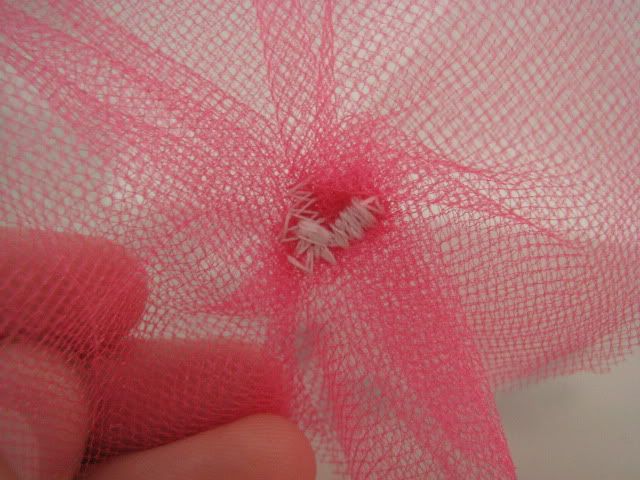
Now you want to make the tulle layer. I just freehand cut three layers of tulle a bit smaller than the flower I'd just sewn on. Stack them up then sort of scrunch them together in the middle, like this:
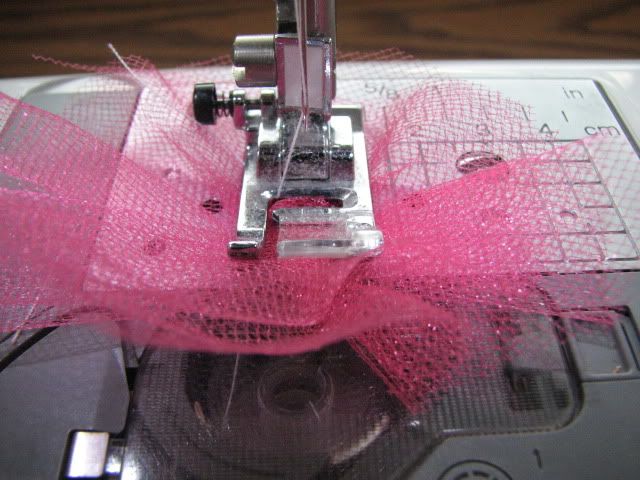
Put under the machine, and zig-zag back and forth a few times. Lift the presser foot, change directions (opposite of what you just did) and zig-zag again. That should hold it!
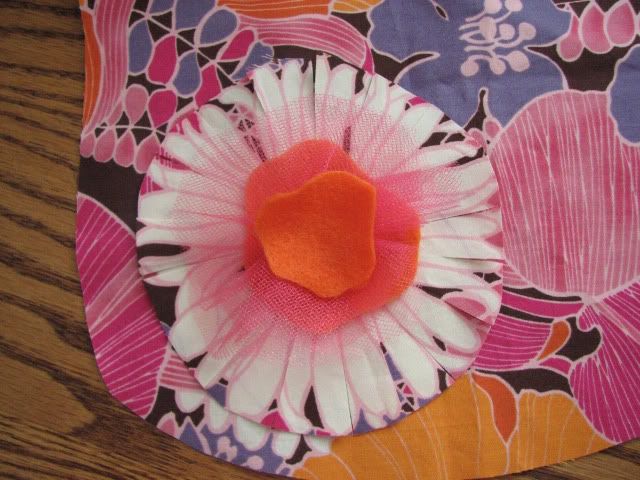
For the felt layers I just cut random shapes (flowery looking) one a bit smaller then the tulle layer and then another a bit smaller then the first felt layer. Then stack them up! It should go (from bottom) bib front, fringy flower, bigger felt, tulle, smaller felt. Zig-zag them in place and then attach a button, making sure your button covers the stitching. Make sure you secure the button very well, as it's for a baby after all! Sew front and back together, right sides together, leaving an opening for turning. Turn, iron flat, then topstitch 1/8" from edge. Add a snap or velcro to the straps.
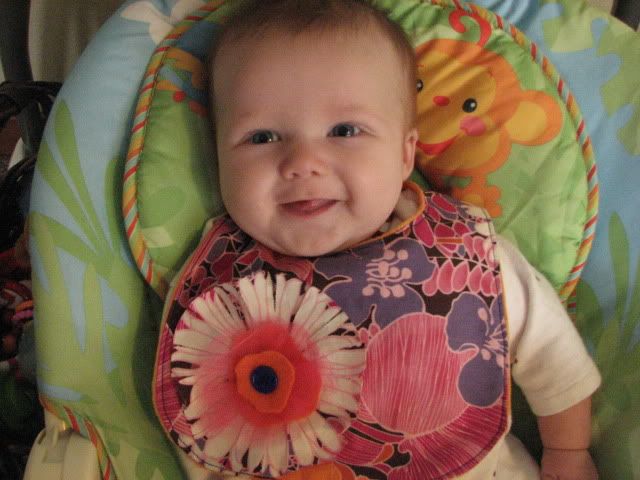
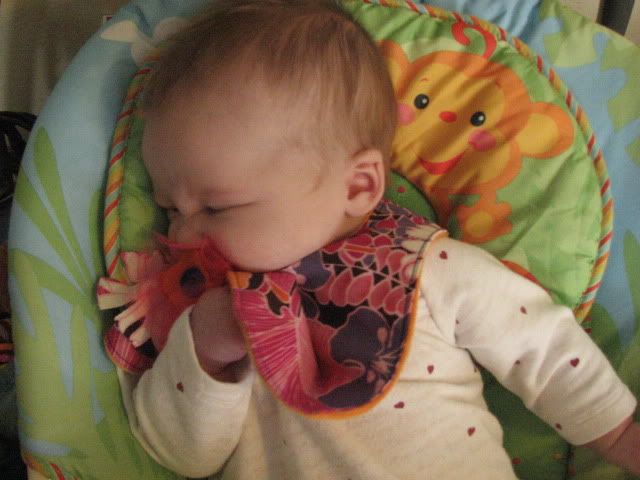
I need to get some pics of what it looked like after the first washing (which was WAY too soon!) It got all fringy and curly and fluffy! Here are some pics of Binks enjoying her new bib. I'm going to make her some more bibs with "stuff" on them, because she loved playing with the flower! Oh, and yes I do know how to sew a straight line. The bib isn't laying flat in the final picture so it looks like I can't sew! Also, there is a visible edge of backing on the front of the bib I made. That was intentional, as I don't like the seam to touch my spoiled-rotten baby girl. If you want to do this, just cut your backing slightly bigger then the front, but make sure you still match edges when sewing. This will sort of roll the back onto the front.
Thanks for my awesome bib mama!
Huh...this might be good to eat...
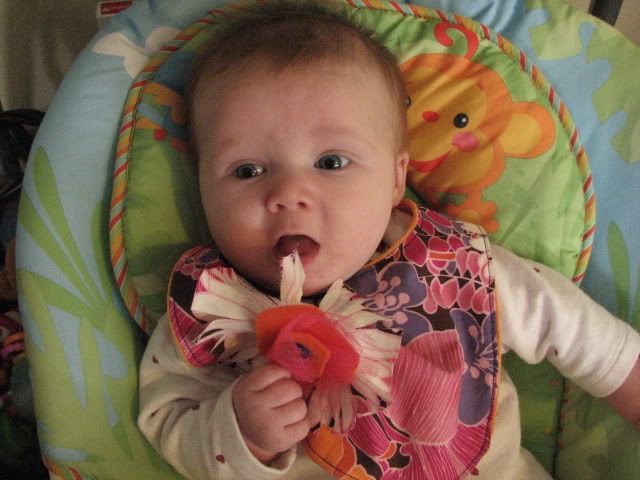
yup.
**Disclaimer** These bibs are meant to be used with supervision. I never leave bibs on my baby when I am not in the room with her, because of the choking/suffocation hazards.


Oh my that is too too adorable. BUT what about boy ideas (please)...
ReplyDeleteLittle Miss BoobearyBinks is quite the barfer. It just won't be the same at MOPS when she graduates to the baby room!
ReplyDelete-Charlotte
Just to die for cute! And so is your baby, couldn't you just nibble on her cheeks?! AHH! How cute and easy are those bibs. I'm putting them on my baby shower gift list. Awesome.
ReplyDelete