

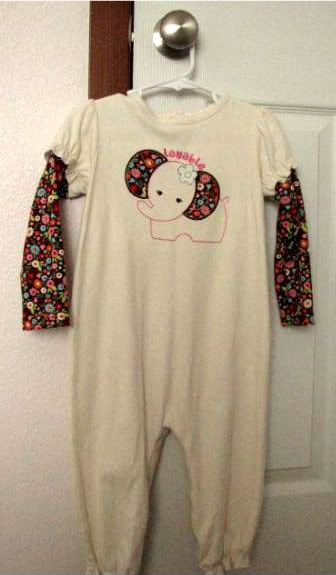
It was one of those enormous bubble rompers, which I just don't like that much on toddlers. Babies, maybe, but not my almost two-year-old. Originally I was going to make it into a short-romper with an attached skirt, but changed my mind once I hacked the legs off.
First thing you'll want to do is try it on your child inside-out. Then pin or mark the general lines you want it to be. I wanted this dress to fit more like a tunic, fitted through the hips. I didn't realize until after I made it that a fitted shape would just accentuate her little pot belly!
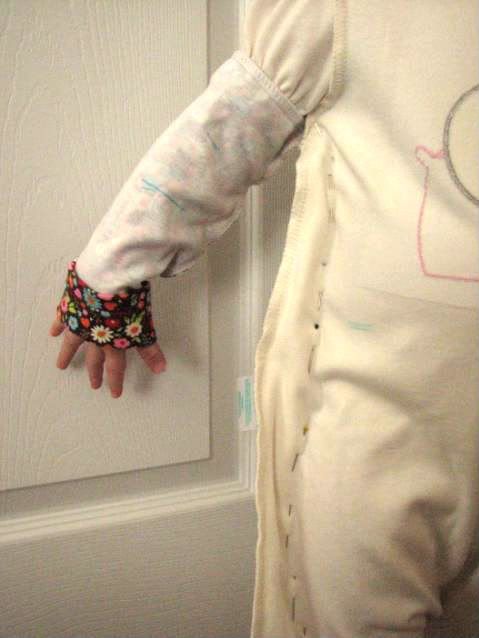
You can see I pinned the sides in a bit, and marked where I wanted the sleeve to fall. I like 3/4 sleeves on Boo because she chews on longer sleeves when she sucks her thumb.
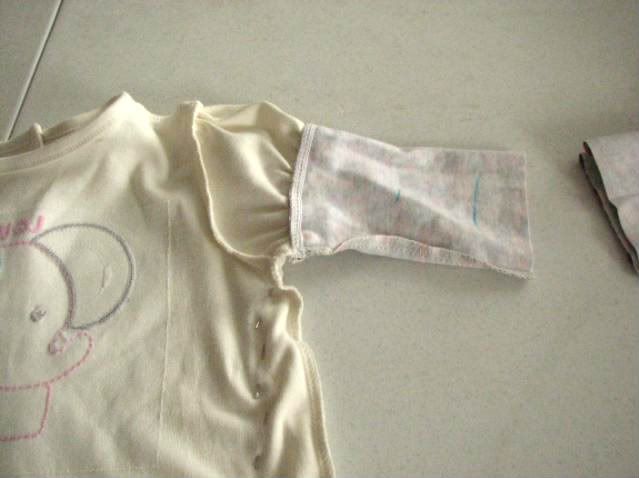
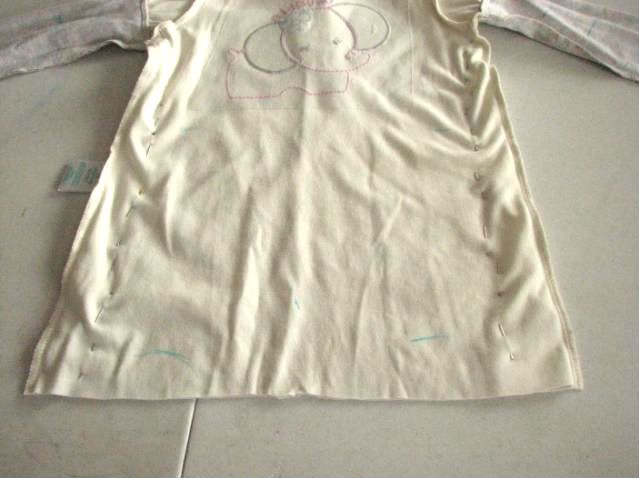
Here it is after I removed it and chopped the legs and arms off. I didn't take pictures of the next step, but you mark with your sewing pen the lines you pinned on the sides, then stitch or serge on those lines. I actually went from the bottom of the dress clear up and around the armpit to the end of the arms, making the arms a big tighter-fitting. I really wish I could have gotten better pics of the next steps, but the light in our family room at night is awful!
After the sides are stitched, turn right side out and iron seams. Then fold up hems on the arms and bottom edge of dress. I didn't bother doing a narrow hem or serging because jersey doesn't unravel! Iron again after stitching.
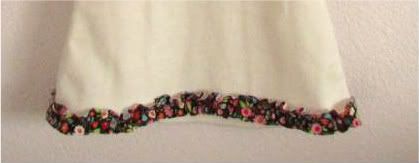
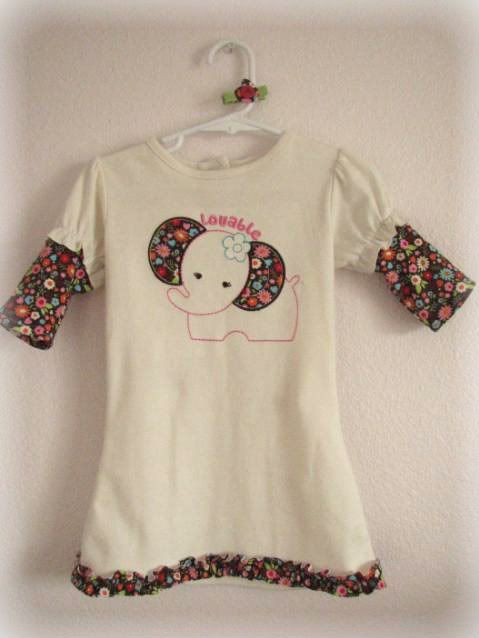
I decided the bottom was too plain, so I added some ruffles I made from the leftover arm scraps. I cut them into 1" strips then ruffled them on my machine. If you don't know how to do this it's easy! Set your tension to the highest and the stitch length to the longest. Then stitch the center of the strip you cut. Don't worry about back-stitching. The machine will automatically ruffle it for you! I amazingly had exactly enough (how does that happen?) do go around the bottom hem of the dress. I laid them out, overlapping each one a tiny bit, then stitched in place.
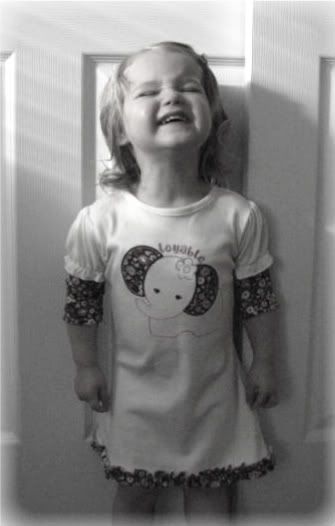
Look how excited Ayla (Boo) is!
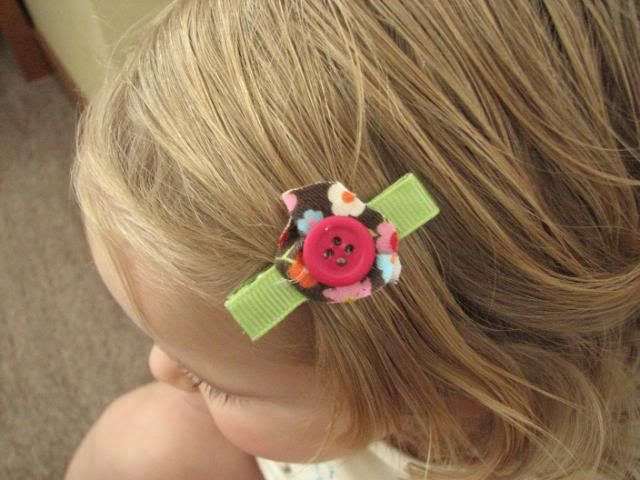
And of course every new outfit must include a matching hair clippie!
Did you know you can get a box of 100 clips at Sally Beauty Supply for less than $6.00? Wow.
This one I used lime green grosgrain and simply hot-glued on a loose-flower shape with a button.
I hope everyone has a fabulous weekend!


No comments:
Post a Comment