Showing posts with label Build it. Show all posts

Friday, March 26, 2010

Shutters for Boo's room

 After I saw this post on The Lettered Cottage I had to have shutters in Boo's beachy room asap.  So the next day (seriously) we drove into town to get some fence boards from Home Depot.  They were on sale for $1.50 each, and we only needed three!  Sweet deal.  The boards were really wet, which turned out to be a really good thing after we hung them.  The hubs cut the boards to length and sanded them a bit so they weren't shaggy.  I then painted on a thin coat of watered down white latex.  I wanted the grain and some of the color of the wood to show through a tiny bit so I left it at one coat.

A little glue and some brads (nailed from the back) later and we've got some rockin shutters!  We hung them on picture hooks because I don't actually want them to work. (they're in a kids room after all)

 Don't they look great?
  
After they dried on the wall a few days the boards are separating and shrinking and looking awesome!
Before
 
After

Friday, February 26, 2010

Beary's room update

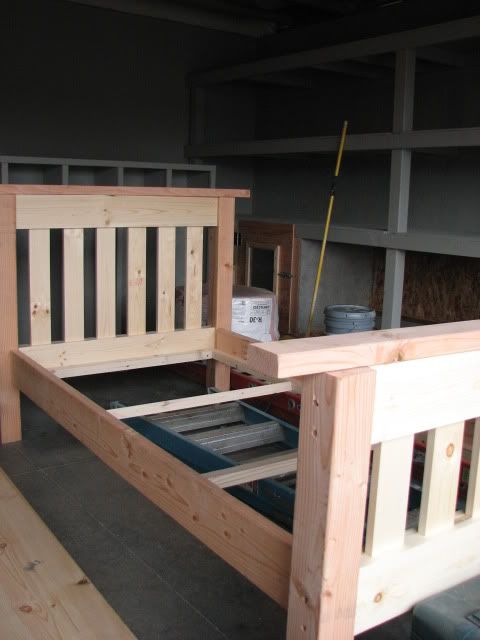
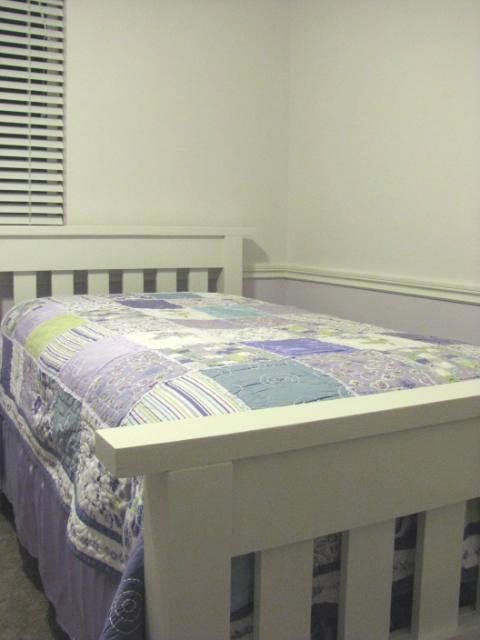
 I *think* Beary's room is almost done!  We got rid of an old, boring bunkbed and made her this bed from knockoffwood's plans.  It was fairly easy, although we ran into some problems.  We couldn't find quality lumber at our Home Depot (small store) so ran into some issues sanding down the stuff we could find.  It's a little rough in spots, but we put those towards the back or inside.  And in our haste, we decided to paint in a 35 degree garage.  Not.a.good.idea.  Seriously, the paint was getting thicker by the second!  Soooo...we'll be more patient on our next project.
 Almost finished!  We added metal brackets to the inside corners of the frame to solidify it more.  Also, we fit dowel ends into the screw holes for a more finished look. (and to prevent random little toys from getting shoved in the holes)

This is a heavy, substantial bed!


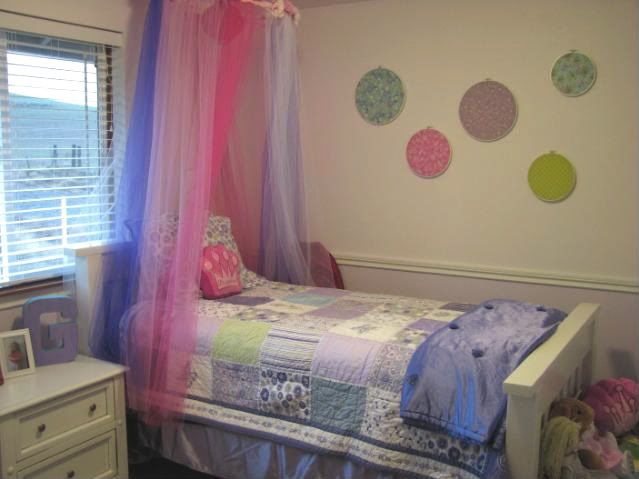
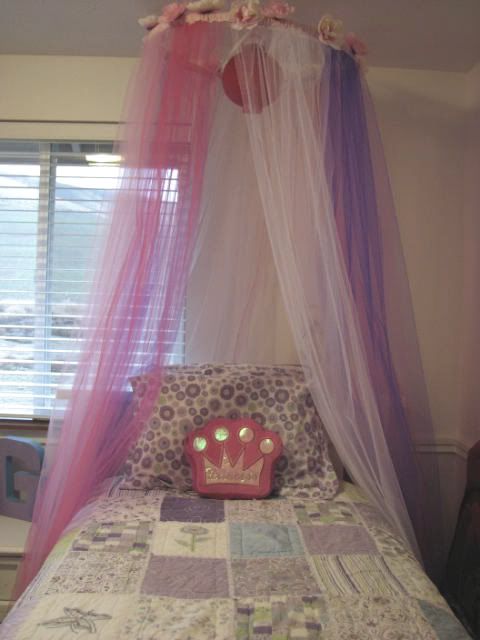
Doesn't the princess canopy from this post look darling?

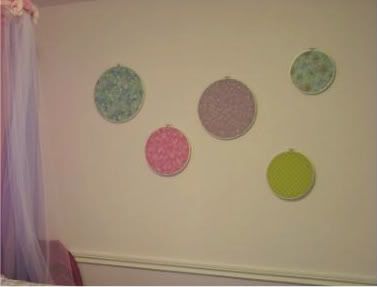
I also added some embroidery hoop art to the big empty wall, although I think I'll try to find some custom art soonish. 
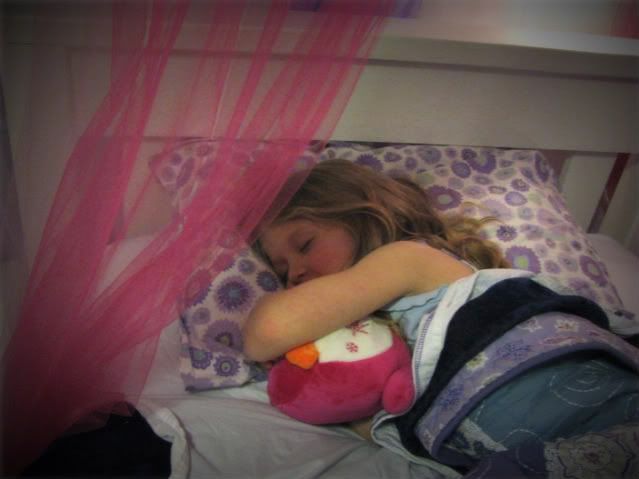
She loves it!

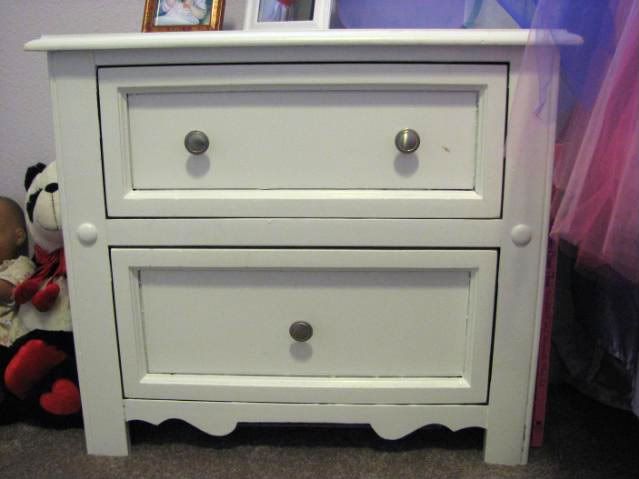
Up next is this nightstand, that I got at a yard sale for $5. It was black with metal drawer insets.  Ick!  We painted it white for the moment, but I'm going to add beadboard to the drawer fronts.  There is a big gap between the drawer front and the drawer trim, and it looks weird!  

Linking up to my dear friend Nicole of Frontier Dreams giveaway.  If you haven't seen her blog, go take a peek!  She is simply amazing.  And I'm so glad she's on my side of the nation now!

Friday, February 12, 2010

Project get 'er done: Part Four


 Project four: The doghouse

The kennel is right outside the back door, but in the winter I really don't like going out there to let the dogs in and out.  Maybe that's a bit lazy, but I hate the cold!  I had this idea, and my awesome Hubs not only did it exactly like I envisioned, but he made it like twenty times better.  The kennel backs the garage, and I thought that if somehow we could cut a hole through the siding into the garage, they could have an interior doghouse.  This would be doubly useful: I wouldn't have to go outside to let them in, and they would stay much warmer out of the elements.  We have large shelving all along the wall that backs the kennel, so we decided to build the "doghouse" under one portion of the shelving.  Here's a pic of it finished (minus paint)


He added a window so they could see into the garage, and the spoiled rotten brats even have double-thick carpet in there.  I figured that there would be some sort of tunnel going between the kennel and the garage, but Hubs used some extra siding and shingles to make a faux doghouse front!  How FREAKING CUTE is that?!

That step you see up is the foundation.  And we had to put something down on the little patch of dirt between the kennel and the foundation because Gus (the 90lb puppy) somehow found a way to dig.  He has also chewed a bunch on the framing of the doghouse.  The solution?  Chunks of log to chew instead. LOL!


Lucky dogs!

Wednesday, February 10, 2010

Project get 'er done: Part Two


Part two of project get 'er done is painting some little things I've had laying around forever!  Do you ever buy something (or find something!) with intentions of re-purposing it or painting it immediately, but find that three months later it's still sitting in your closet?  I do this all the time, and I'm so sick of unfinished projects!

I've had these little things for Boo's room for a while, and because I am currently re-doing her room in a shabby beach theme, I decided to paint them in vintage whites and sea-glass blues.  There is also a picture frame that somehow didn't make the pictures.  I recently picked up a Simply Shabby Chic bed-in-a-bag from Target (along with the matching flag banner!) on clearance.  LOVE it, and the colors are slightly more vibrant that they show online.  They look great with her faded green walls (think really pale sea-glass green) and the new matching accessories match perfectly!

 
This little caddy will hold the tea set she'll get for her birthday next month.

Gotta love these paper mache letters!

While I was at it, I painted another letter I had sitting around, this one to liven up our kitchen/dining area.  I used raw umber underneath and some aqua tinted with Christmas green on top.  Beary likes to "remind" me that our "wast name" starts with M!  I'm considering buying two slightly smaller m's to spell "Mmm" as it sits in the kitchen window.  But that could be another of Jill's dorky ideas!
Related Posts with Thumbnails