Tuesday, January 12, 2010

Jill's crack of the week: Big Soft Ginger Cookies!


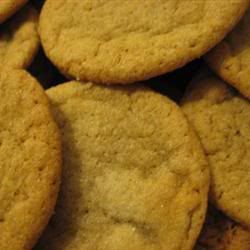
photo courtesy of pierydys on allrecipes

Big. Soft. Gingery. delicious

Do have a recipe that you can't live without?  One that warms your soul and entices your senses?  Mine is this cookie.  Every time I make them I end up loving them a little bit more.
The texture is perfect.  The smell is delicious.  The taste is heaven. 
And perhaps the best part is that everyone in our family loves them.  FINALLY something that we all agree on!  (even picky little Beary)
They taste fine just like the recipe calls for in the above link, but here is a slightly altered version that I use:

Ingredients

  • 2 1/4 cups all-purpose flour
  • 2 teaspoons ground ginger
  • 1 teaspoon baking soda
  • 1 teaspoon ground cinnamon
  • 1/2 teaspoon ground cloves
  • 1/4 teaspoon ground nutmeg
  • 1/4 teaspoon salt
  • 3/4 cup margarine, softened
  • 1/2 cup white sugar
  • 1/2 cup brown sugar
  • 1 egg
  • 1 tablespoon water
  • 1/4 cup molasses
  • 2 tablespoons white sugar

Directions

  1. Preheat oven to 350 degrees. Sift together the flour, ginger, baking soda, cinnamon, cloves, nutmeg and salt. Set aside.
  2. In a bowl, cream together margarine and 1 cup sugar until fluffy. Beat in the egg, then mix in the water and molasses. Gradually stir the sifted ingredients into the molasses mixture. Shape dough into walnut sized balls, and roll them in the remaining sugar. Place 2 inches apart onto an ungreased cookie sheet, and flatten slightly.
  3. Bake for 8 to 10 minutes. Cool on baking sheet for 5 minutes before removing to a wire rack to cool completely. Store in an airtight container. 
 Enjoy!  (hmm.  Need to make these tomorrow for sure!)

Sunday, January 10, 2010

How to organize your decorating ideas the easy way!


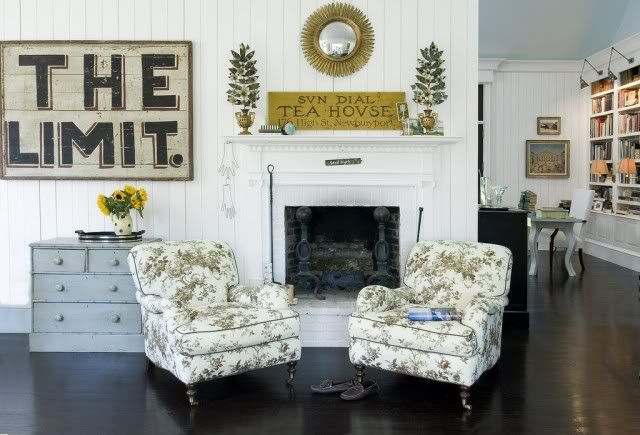
Very very simple: join Houzz  and create an ideabook.  I love LOVE this site!  I spend (literally) hours searching for home inspiration.  We just built a cookie-cutter house with very basic features.  Now we're beginning the process of making it our own--adding that personal touch.  I love vintage, the hubs loves rich, earthy textures and large pieces of furniture (can't blame him- he's 6'2"!)  There are some beautiful photos on Houzz, and I have loads of ideas in my ideabook.

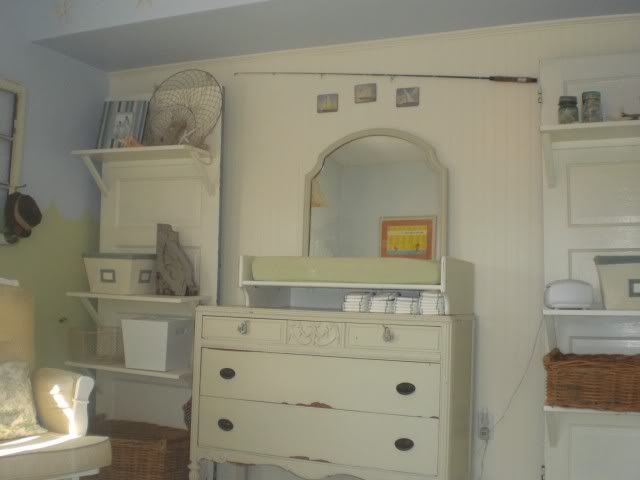
Check this nursery:

How gorgeous would that be for a little boy's room? (sigh)
Those shelves are on my to-do list for spring.  I love making things from old doors and windows!

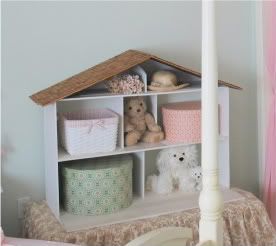
and this little dollhouse bookcase will be perfect in Binks' nursery.  She doesn't have any shelving for her little books or lovies yet!


Speaking of Binks' nursery, wait until you see the ideas I'm working on for her room.  I just ordered this bedding set from Target.  I love it!  It reminds of me of the infamous Brooke collection from PBK (but a lot more budget friendly).  I see little hedgie and owl pillows, a tree branch mobile with little birdies, and a giant wall-mounted padded tree with moveable animal friends in my future! (check back in the next few weeks for progress reports!)

Wednesday, January 6, 2010

Tutorial: boutique bibs!


Binks is a puker.  She goes through at least 3 outfits (usually more) a day!  But I hate those cheap gerber bibs, and the ones that come with outfits are never big enough.  I love making cutesy ones for her, so I thought I'd share how EASY it really is!  I'll post more of them this week as I take pics!

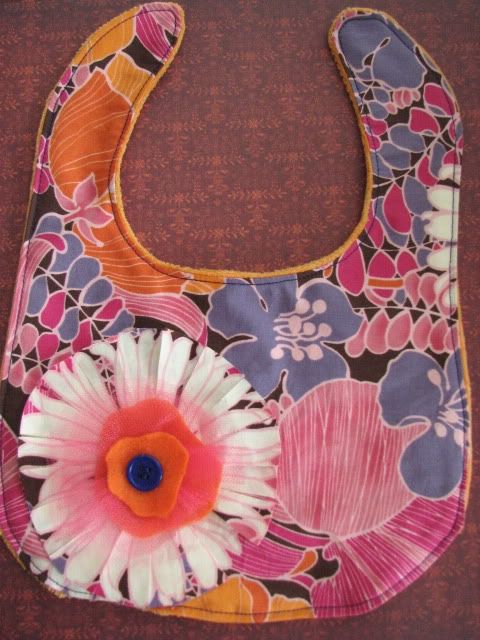
First you'll need a pattern.  I have my own (She needs a lot of coverage!), but there is a great free pattern at Chickpea Studio.  Pick a cute print for the front, and a soft absorbent fabric for the back.  I I typically use flannel (I stock up at Joann's Black Friday sale every year) but for this one I used cotton velour.  Yum yum.  I also used tulle, felt and buttons I had on hand.

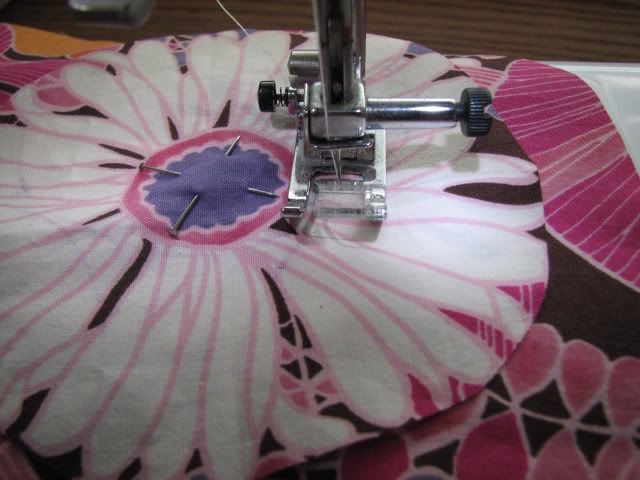
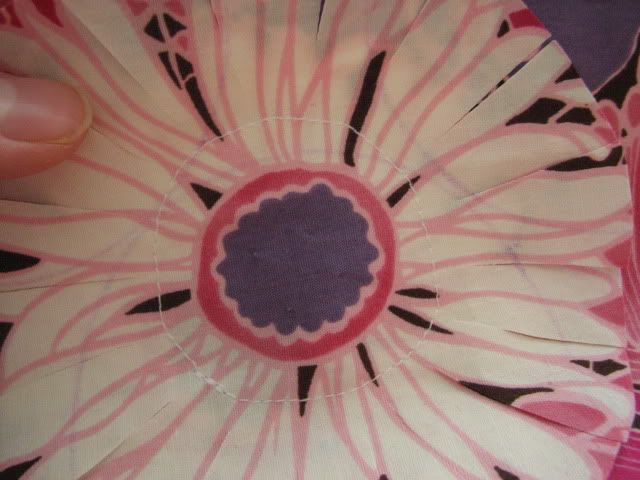
Cut the front and back pieces out.  I then cut one of the large flowers out of the scrap material.  If you don't have a bold floral print, just sort of free hand a big circle.  Sew the circle onto the right side of the front piece, wherever you want.  Just make sure to leave the seam allowance at the bottom for sewing to the back.  I stitched around the center of the flower, but you can just sew about a 1.5" circle in the middle.  Then I cut "petals" around the flower.  No rhyme or reason to my cuts, I just did what I thought looked good.  Just don't make the petals too narrow, and don't cut all the way to the circle you just sewed.


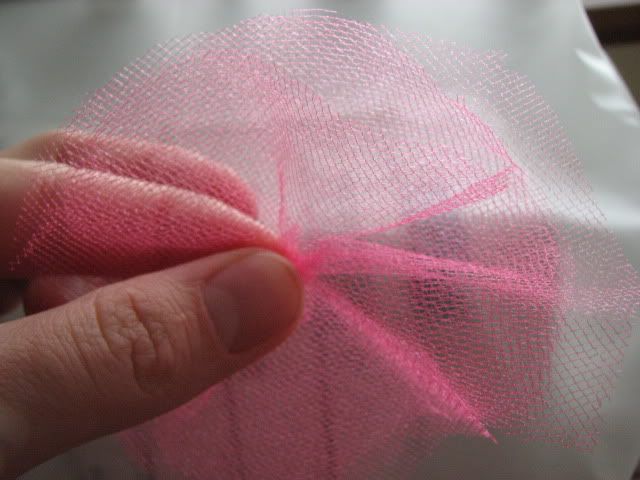
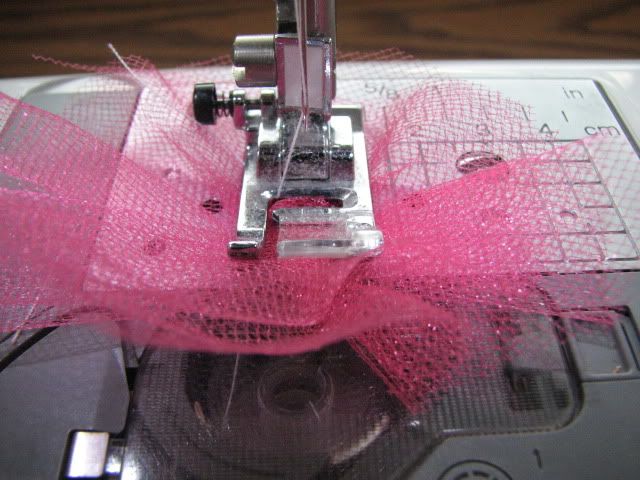
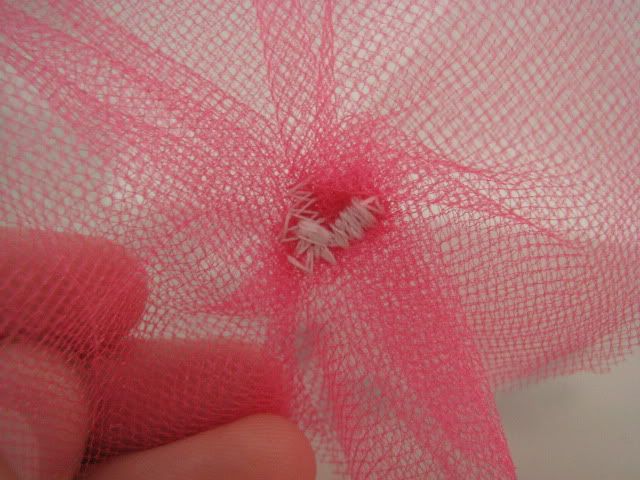
Now you want to make the tulle layer.  I just freehand cut three layers of tulle a bit smaller than the flower I'd just sewn on.  Stack them up then sort of scrunch them together in the middle, like this:


Put under the machine, and zig-zag back and forth a few times.  Lift the presser foot, change directions (opposite of what you just did) and zig-zag again.  That should hold it!


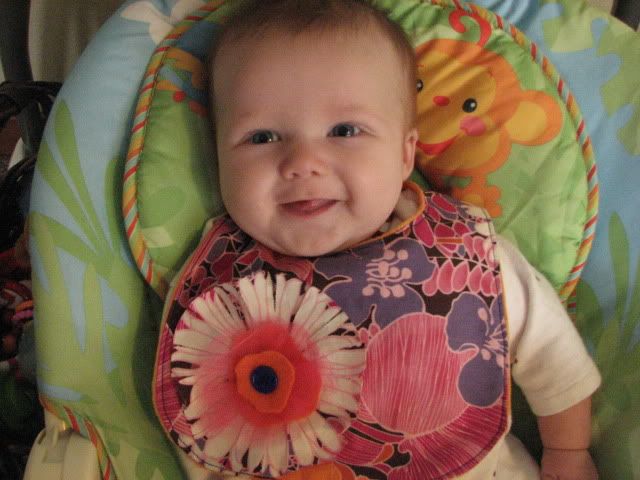
For the felt layers I just cut random shapes (flowery looking) one a bit smaller then the tulle layer and then another a bit smaller then the first felt layer.  Then stack them up!  It should go (from bottom) bib front, fringy flower, bigger felt, tulle, smaller felt.  Zig-zag them in place and then attach a button, making sure your button covers the stitching.  Make sure you secure the button very well, as it's for a baby after all!  Sew front and back together, right sides together, leaving an opening for turning.  Turn, iron flat, then topstitch 1/8" from edge.  Add a snap or velcro to the straps.
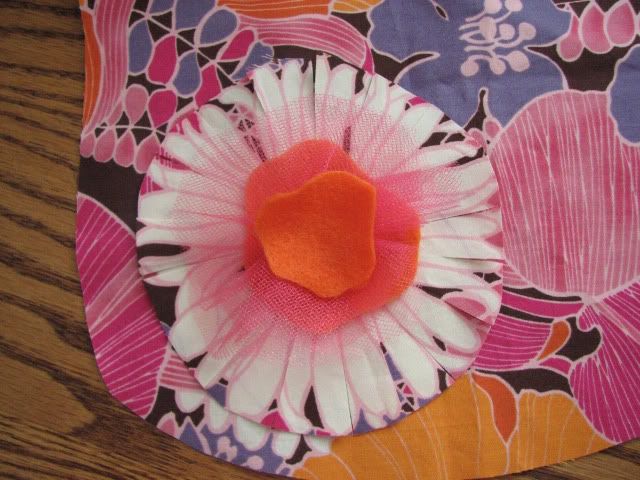


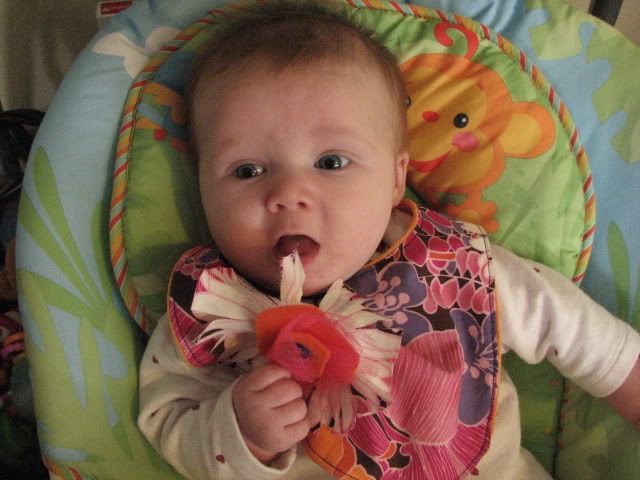
I need to get some pics of what it looked like after the first washing (which was WAY too soon!)  It got all fringy and curly and fluffy!  Here are some pics of Binks enjoying her new bib.  I'm going to make her some more bibs with "stuff" on them, because she loved playing with the flower!   Oh, and yes I do know how to sew a straight line.  The bib isn't laying flat in the final picture so it looks like I can't sew!  Also, there is a visible edge of backing on the front of the bib I made.  That was intentional, as I don't like the seam to touch my spoiled-rotten baby girl.  If you want to do this, just cut your backing slightly bigger then the front, but make sure you still match edges when sewing.  This will sort of roll the back onto the front.

Thanks for my awesome bib mama!


Huh...this might be good to eat...


yup.
 
**Disclaimer**  These bibs are meant to be used with supervision.  I never leave bibs on my baby when I am not in the room with her, because of the choking/suffocation hazards.

Sunday, January 3, 2010

Doggie delights!


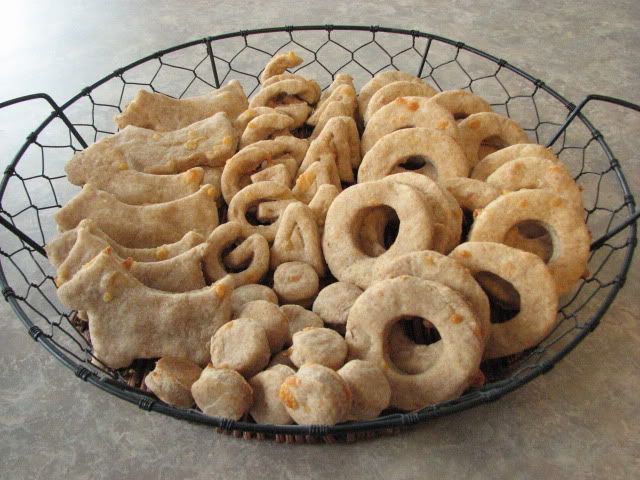
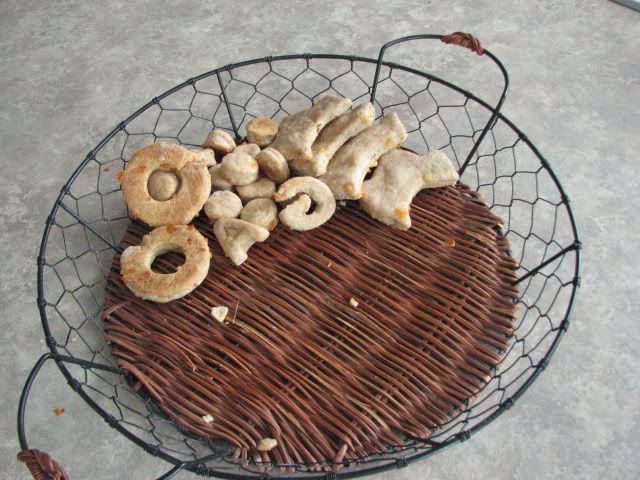
So today is Sunday, and I just don't feel like creating much on Sundays.  Maybe that's because I stayed up until midnight last night making recycled t-shirt gauchos from Lil' Blue Boo's tutorial.  But I can't seem to go one day without doing something different, so I whipped up these delicious (I think?) doggie biscuits for my pups.  They are really easy and come together in just a few minutes!  One of my new year resolutions is to pay more attention to my dogs.  In 2009 they got back-burnered with all that was going on, and this year I'm going to change that!

The recipe:

1 1/2 cups whole-wheat flour
1 3/4 cups all-purpose flour
2 tsp. garlic powder
1 egg, beaten
1 cup buttermilk
1 cup shredded cheddar cheese
2 Tbsp. grated parmesan cheese
1/2 cup oil

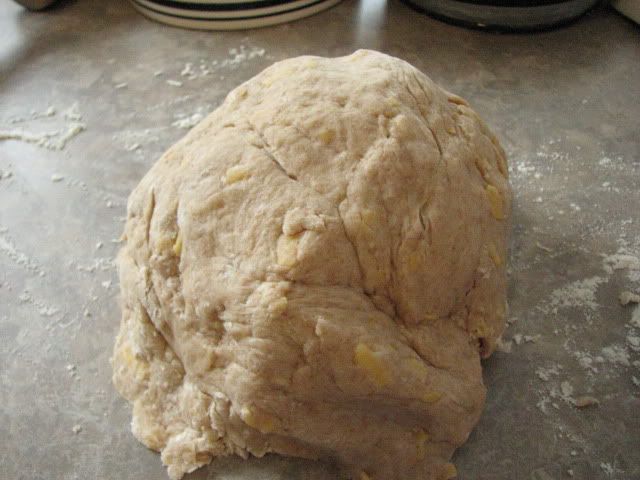
Combine flours and garlic, set aside.  Mix egg, buttermilk, cheeses and oil together.  Slowly add to flour mixture until you get a stiff dough.


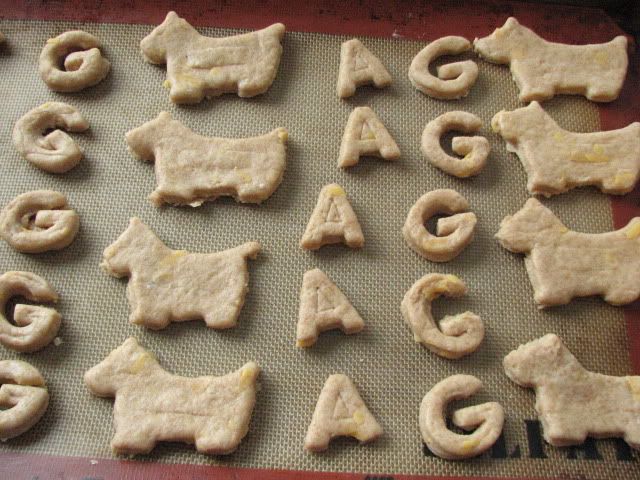
Roll out dough on floured surface until about 1/4" thick (or thicker if you want really big biscuits)  Cut your shapes, place on cookie sheet and bake at 350 for 15 minutes then 300 for another 10 minutes.  (I experimented with this and it seems to make them a bit more crispy, but not burned)


Cool on a wire rack, then savor the look in your pooches eyes when they realize that THEY get something from the oven for once!


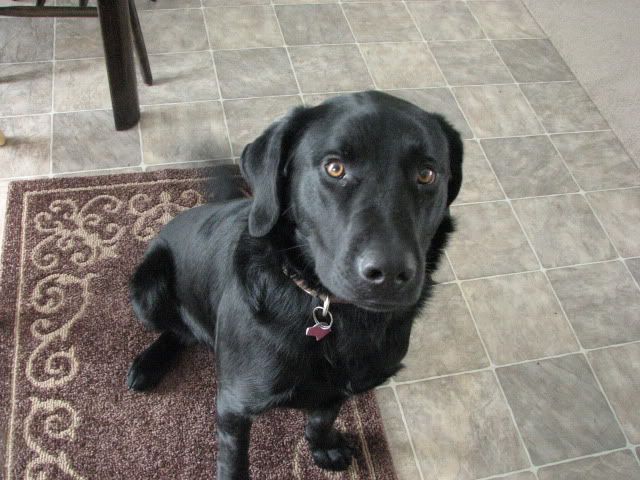
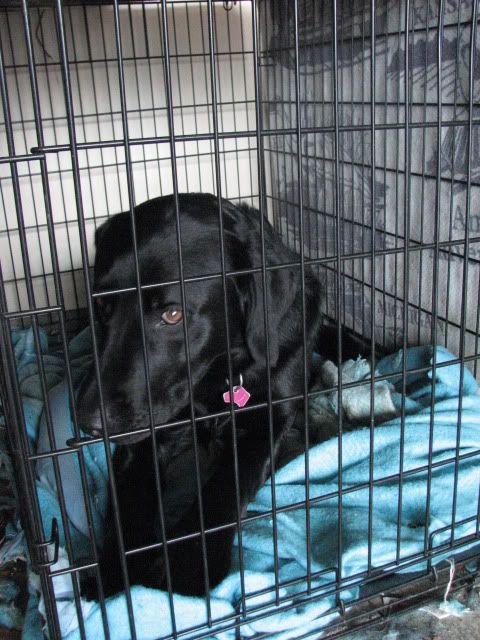
This is Gus.  He loves treats more than anything.  I gave him four, then went upstairs for a bit.  A few minutes later he comes up with "that" look on his face...which means he feels guilty.  Down the stairs we go, and sure enough this is what I found:


Bad Gus. Very very bad Gus.  (see the guilty face?)


The rest are now for Abby.  But for what it's worth, he was very, very sorry.

Ruffles & Stuff is having a giveaway!

Ruffles & Stuff (my favorite blog of all time!) is having a giveaway!  Seriously, my friend Charlotte and I will call each other on the phone, or sit around while our oldest are in preschool chatting about the wonderful things Disney has created that day.  Are you serious you're asking?  Well, before you log me into the "cuckoo" side of your brain, go visit her blog and see the delicious stuff she pulls out of thin air.  The woman is talent with a capital T.

Saturday, January 2, 2010

Free art: endless DIY possibilities!


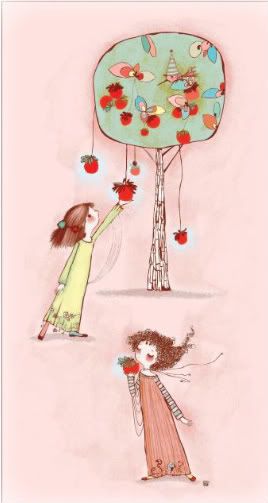
I'm sure I'm the only one in Blogville that has NOT come across this site yet, but just in case I'm not, you HAVE to go see for yourself!  Feed Your Soul, the free art project by IndieFixx has a page with dozens of amazing, beautiful, gloriously FREE art!  You can download it and do whatever your heart desires...  Some of the art on there would make amazing appliques for shirts, others would (will!) look great mod podged on my crafty supplies.  No sense in letting free art go to waste!

I love art.  I love free stuff.  Usually the two do not combine, but this time I feel like I've struck gold!  My eyes have gone starry and the crafty potential is coming in flashes.  I adore the one above, and think it may end up in some form in the playroom.  Doesn't it look like sisters?

Go check it out, and let me know what you do with the art you download!


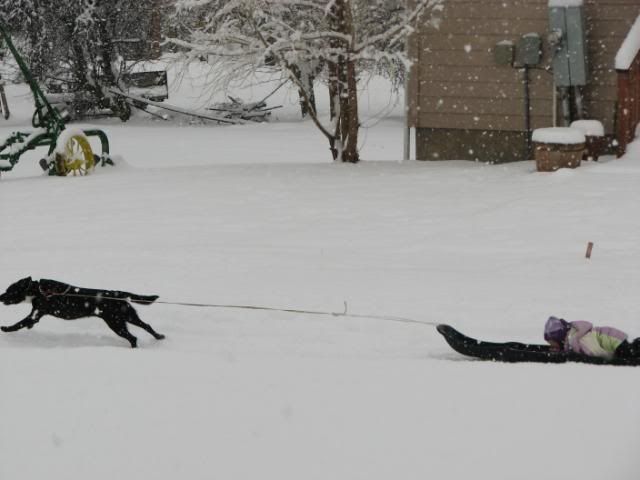
One last thing.  My newest project on my winter to-do list?  Sled seatbelts.  Helmets with attached ear muffs.  Bubble wrap snowsuits. Doggie brakes.  And this is why:
 
That is four-year-old Beary being pulled at about 20 mph by Abby, one of our dogs.  She (Abby) is only about 45 pounds, so imagine how fast they'll fly when we train our puppy Gus to pull with her (and he's already at 90lbs at 1 year!)  Lord help me.

Friday, January 1, 2010

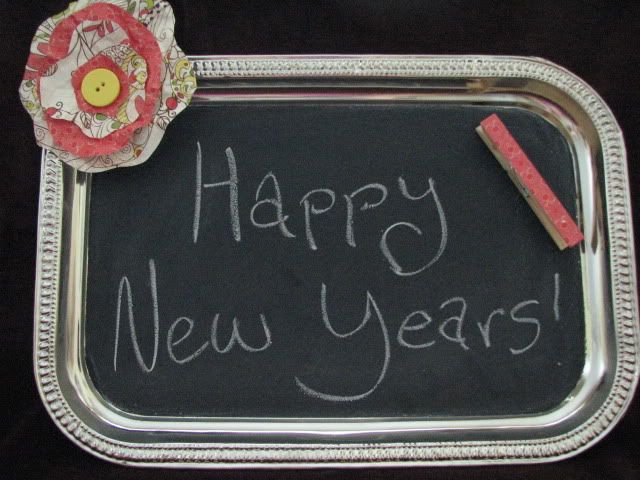
Happy New Years! ...and some last minute gift ideas


Happy New Years to all of you blogaholics out there!  I for one, am glad to have arrived safely in 2010.  We had quite the eventful year, including a new baby, a new house, two major hospital stays and the death of two people very dear to us. (We miss you Nathan and Grant!)  But I just know that 2010 will be great.  I hope all of you have an amazing year full of good times and lots of crafty inspiration!


Here are some quickie DIY ideas I'm sure you may have seen across blogland!  They make great last minute gifts.


For the chalkboard above you need:
*Silver tray (I got mine at the Dollar Tree, but see them all over the place!  Test a magnet on it first to make sure it's magnetic)
*Chalkboard paint (I prefer the spray version)
*painters tape
*chalk
*ribbon for hanging or heavy-duty magnets
*hot glue

I found inspiration for these at blackflipflops.  Hers is adorable!  To make this, first you need to mask off the outside edge of the tray with the painters tape.  Really pay attention to the line you are creating so that you won't end up with waves!  Mask over the edge too.  Spray one light coat of chalkboard paint on the masked-off tray, let dry, then repeat twice more.  This should give you a nice solid layer for your chalkboard.  Once dry, remove tape and rub entire surface of chalkboard with chalk, to "seal" it.  Wipe clean and you're done!  If you want to hang it, you can hot glue ribbon to the top, or you can hot glue some heavy duty magnets (at craft stores) to the back to hang it on the fridge!


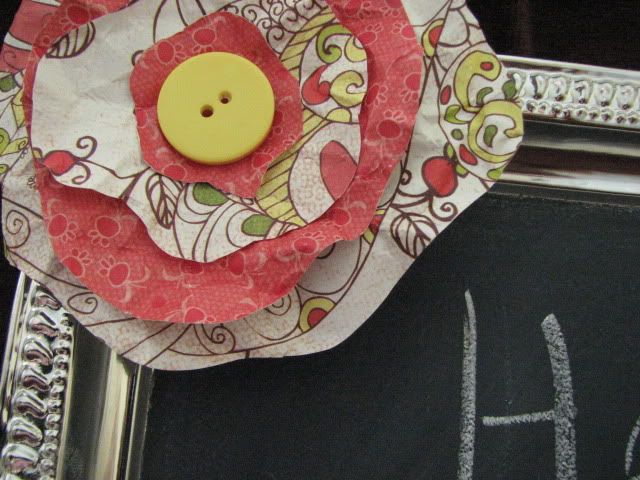
For the flower:
*scrapbook paper
*button
*hot glue, or craft glue

This is SO easy!  Just cut various squares of scrapbook paper, each layer slightly smaller than the last.  Wad each into a ball until it gets that neat wrinkled look.  Then just cut a freeform flower shape from each.  Glue one layer on top of another, then glue a button on the very top.  Secure to chalkboard (or wherever else you want it!) with hot glue or craft glue.  Simple!


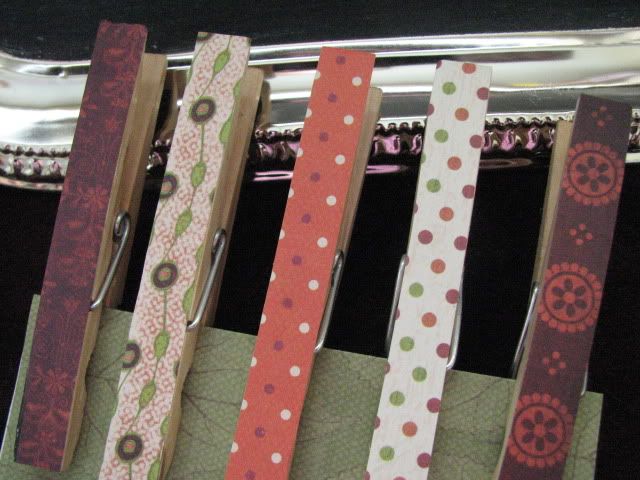
For the clothespin magnets:
*clothespins (Dollar Tree has them!)
*scrapbook paper
*glue
*magnet rolls (mine are 59cents at Joann's)

Using your clothespin as a template, cut strips of scrapbook paper and glue onto one side of clothespin.  Glue (I prefer hot glue, the self-sticking magnets just don't stay on forever) small pieces of magnet onto the opposite side.  So easy!  I also add buttons and ribbon to these.  I got some REALLY cute ones from my good friend Charlotte for Christmas that had ink rubbed onto the edges of the scrapbook paper, making them look vintage-y (is that a word?)

These are so easy to tweak to your liking!  And everyone would love one of these for a gift.  The possibilities are endless!
Related Posts with Thumbnails