

I first saw these signs featured on Dollarstorecrafts.com. I had to make one right away! So off I went to my local ReStore to hunt down some windows. I found a ton of nice and old ones for between $2.50 and $4.00 each! I have since purchased about 20, and am hoarding them in my garage for gifts. In fact, the old house we lived in (beyond scary) while we built this place just got remodeled, and I called the owner (gotta love small towns!) and asked what he was doing with them. Nothin', so they're all mine- he even thanked ME! Sweet deal!
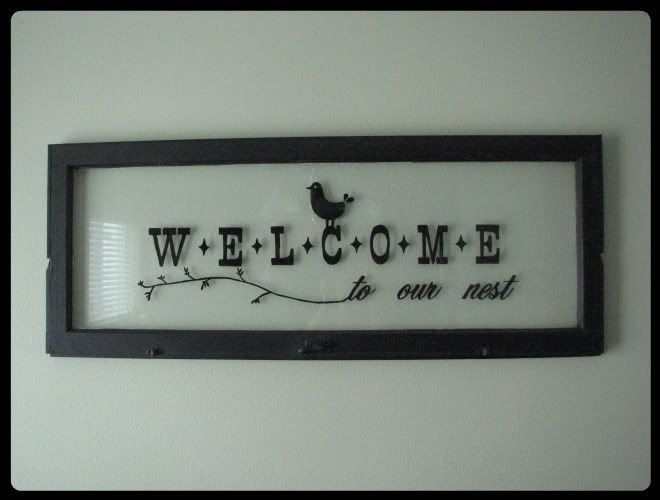
The first one I ever made is at the top. It hangs in our dining room, and I love it! The tutorial on livinglocurto is wonderful, but there are a few things you might find helpful:
1. Cheap flat black spray paint works just fine for the frame. All other colors need a better quality.
2. Mask the window well if you're painting it! And really wash it after you take the masking off. I didn't wash the first one very well, then painted it and OOPS! I couldn't clean it with paint on it!
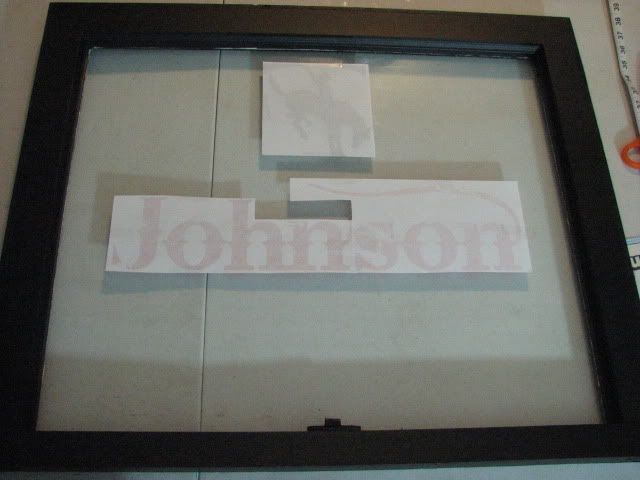
3. I don't have software that can flop images, as I use Word for my images (archaic, I know!) but I do have a print in mirror option! So check your printer settings! And if you have neither, simply outline the opposite side of the printing with marker. OH! And you can find all kinds of awesome vintage fonts online for free!
4. When using black paint on the window, print in red, it seems to be the most obvious!
6. There is a learning curve painting with the thickness of the glass, so have a paper towel handy for oops!
7. If you are right-handed, start in the top left part of your window when painting, then go down, then left and up, in a zig-zag pattern so you don't smear paint!
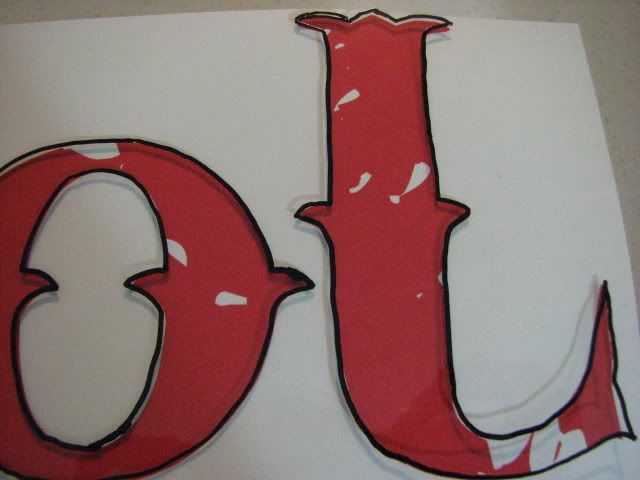
8. Invest in a paint pen. Sharpie brand works great, and comes in all sorts of colors. Because I prefer the look of black, it's easy! Outline your work, let dry, then it's simple to come back and fill in with paint.
9. DO NOT BUY CHEAP ACRYLIC PAINT! You'll have to put on 4-5 layers, and then you start wanting to throw the window OUT the window! I like the Americana brand at Joann's. It goes on nicely, and rarely needs two coats.
10. Use a really fine tip paint brush, and invest in an angle brush for nice clean lines and corners.
11. Finally, do not leave the window to dry where your child can get to it when you aren't around. For some unknown reason, my oldest (4) decided she needed to STAND on the window while watching cartoons (do they seriously affect their brain cells or something?!) and broke it to pieces. She still doesn't understand why mommy was so upset. She sees an oops! and I see visions of ambulances, ER visits, stitches, surgery, more medical bills, etc etc.... :)

this one is for a relative. I LOVE this font, it's called "bleeding cowboy"
...and if you're in the mood for one last laugh in 2009, head over to awkwardfamilyphotos.com and check out their selection. Here's a few examples (seriously, what is WRONG with people?)
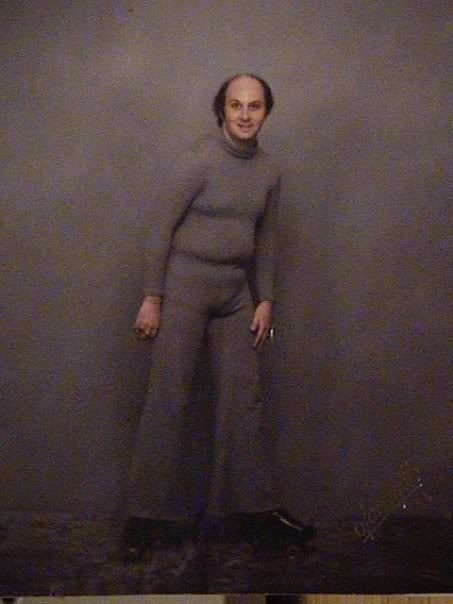
look really closely at this one:


This is cute. I like that you didn't use vinyl. Not everyone has access to vinyl or doesn't want to pay the price. I featured this at somedaycrafts.blogspot.com Grab my "featured" button.
ReplyDeleteI found you from SomedayCrafts. Love this idea! I've found my projects can be really limited because I don't have a vinyl machine or access to one. Your signs are darling, I love them! Thanks for the ideas
ReplyDeletemythriftytreasures.blogspot.com
I love the window signs! You make them look pretty easy too. I think this is something I might have to try. Thanks!
ReplyDeleteyour window looks awesome! I don't have access to vinyl, and probably never will... so this is a great way to get that look! Thanks for sharing.
ReplyDeleteps I found you because you have me on your blogroll! thanks!
I am your newest follower!
gail
Hey Sis! The vintage window signs are pretty rad! So i am guessing who that one went to...luv it! Anyways....good idea! Talk to ya soon! Ash
ReplyDeleteWow, these are completely awesome, and I'm mentally compiling a list for potential recipients... but my favorite part was the tip about the ReStore! How have I never heard about this??
ReplyDeleteThanks for the great info. :)
I love these!!! I've got to make some now. Thanks for the tutorial.
ReplyDeletehttp://www.theficklehobbyist.com