Showing posts with label sewing. Show all posts

Monday, April 26, 2010

Cherry Mania!


I've been MIA!  Visited my little brother, home on leave from Afghanistan, accomplished a lot of yard work, sewed like crazy, and couldn't post any or it because of my camera!  Finally figured out it was the finicky battery charger, but it was frustrating to say the least.
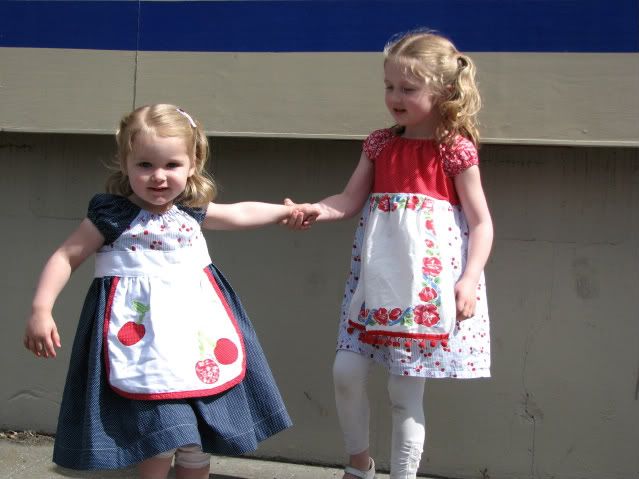
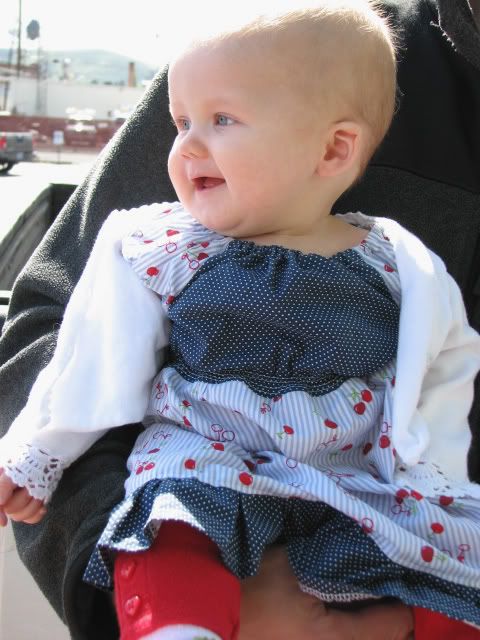
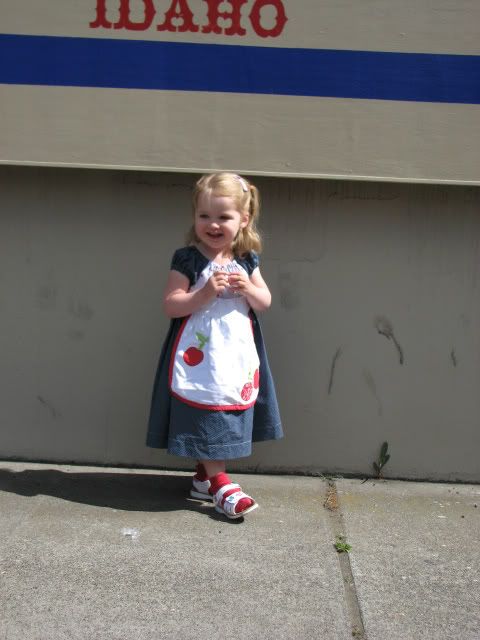
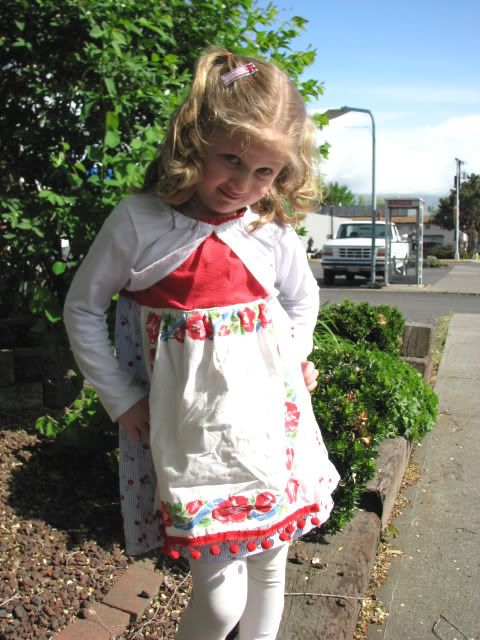
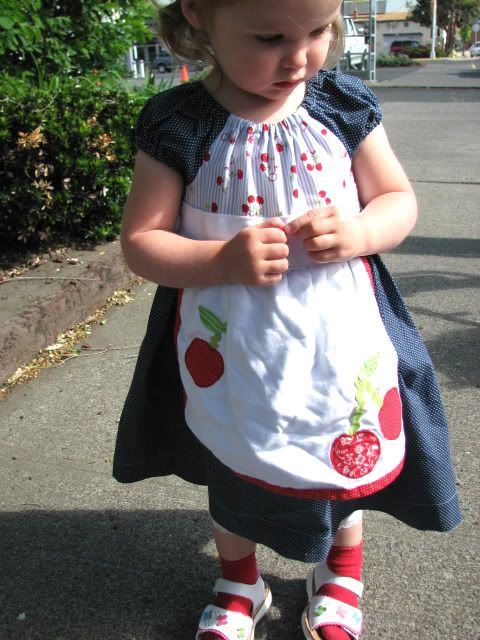
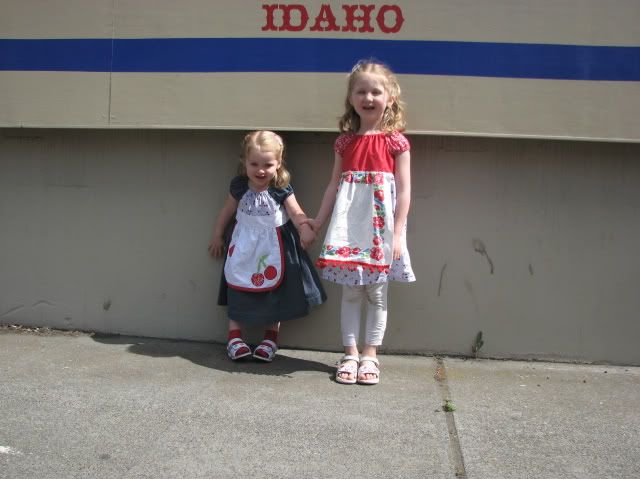
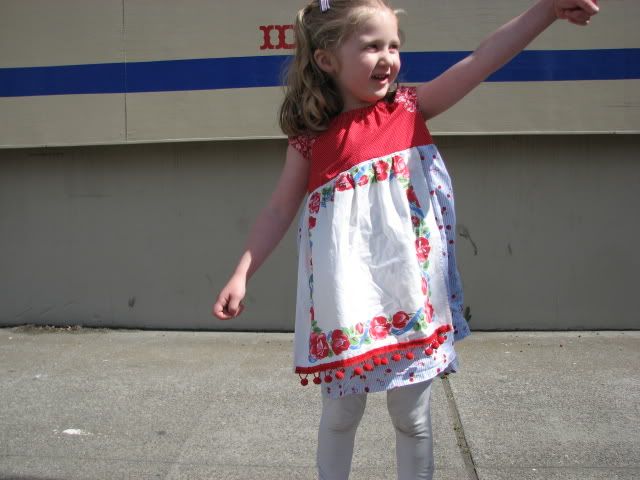
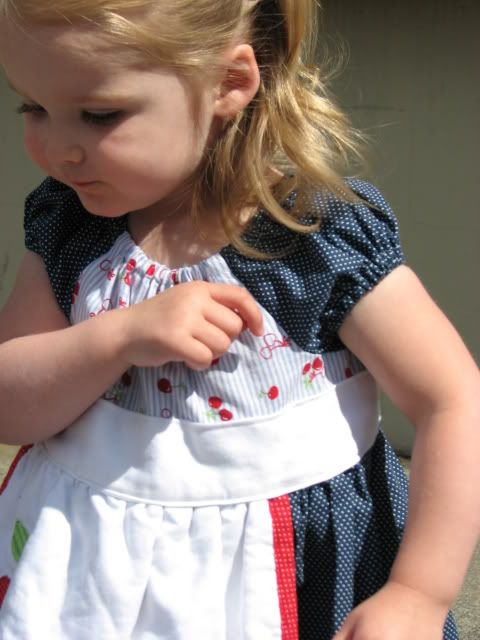
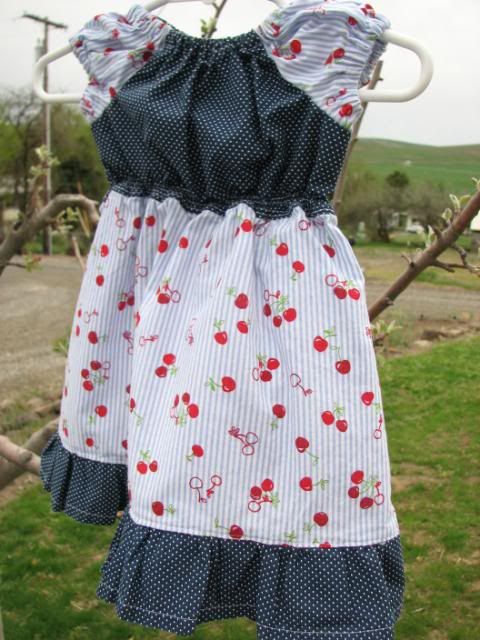
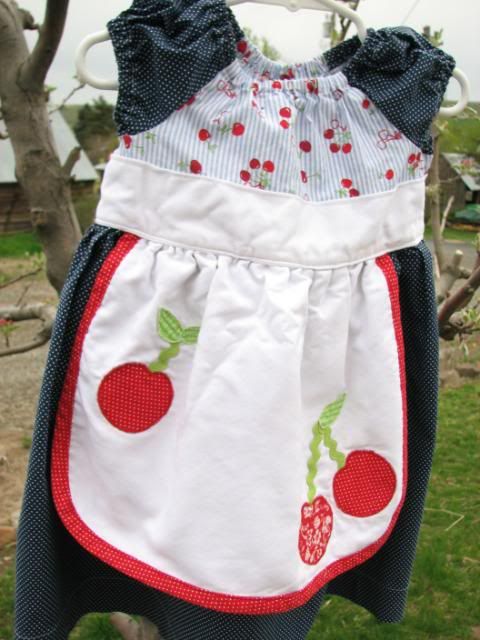
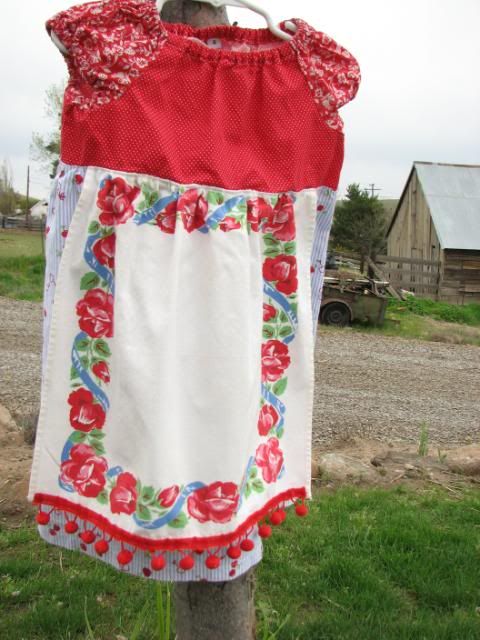
Every year the local spring celebration is the Cherry Festival.  I love making outfits every year for the parade, and this year I had three to make.  I shouldn't wait to the last minute- staying up till midnight for four days is too much!
I really wanted a vintage look to them, so I made peasant bodices and changed up the skirts a bit.  Btw, LOVE portabellopixie's patterns!  I used the "claire" pattern this time.
Beary's dress has a vintage napkin for an apron with pompom fringe.  Boo's has fun cherry appliques on the apron, which is made of an 800tc *gasp* pillow case 'cause I ran out of white fabric! (seriously, how does THAT happen?)  Binks was just a simple little ruffle dress.  I did try two new techniques this time, with the bias tape on Boo's apron and shirring on Binks dress!  Here are some pics! Which are low quality.  Thank you dearest Boo-who-is-two and loves to touch buttons on mama's machines. (camera included)


Monday, April 5, 2010

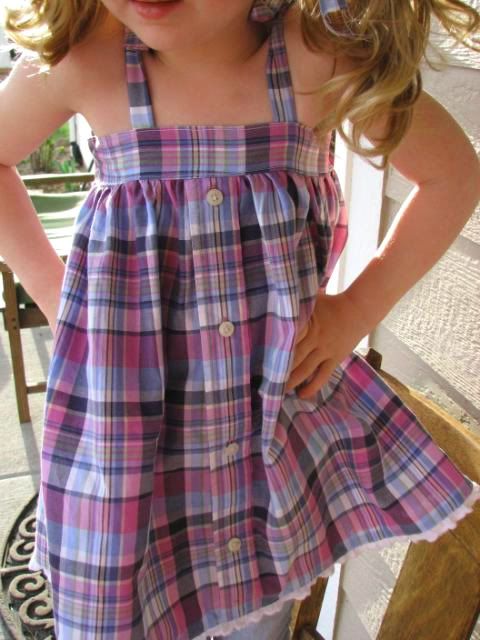
The "Daddy's Girl" top


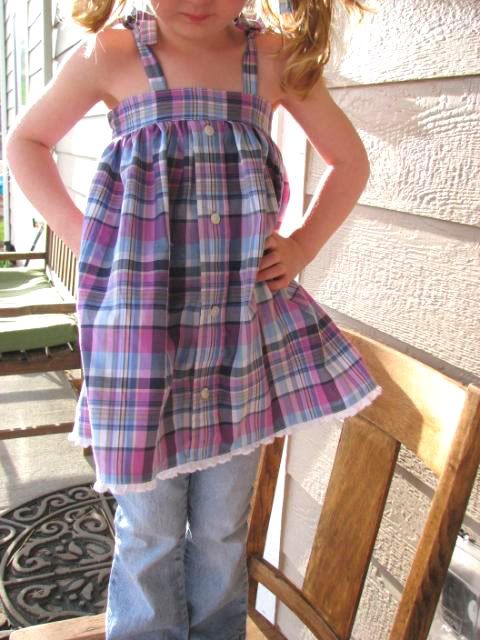
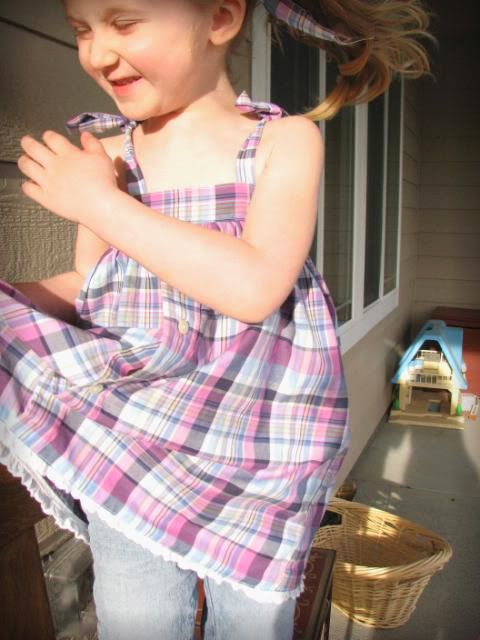
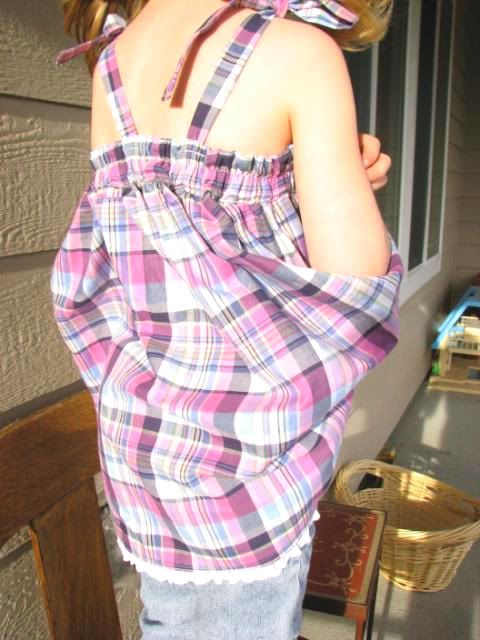
When I first saw the Ashton top on Brown Paper Packages (love this blog!) I had to make it right away!  I picked up the men's shirt for $1.00 at the thrift store.  I love the colors on Beary!  The tutorial is really simple, and this top only took ONE DAY!  I say that with enthusiasm because most things around here seem to sit forever waiting to be finished.  Ahh the joys of motherhood. (even the Easter egg Rice Krispie treats didn't get finished until today...) I didn't have any FOE, so I made some simple tie straps out of extra shirt material.  If you're liking the look, I cut four straps at 2.25" x 13" and sewed with a 1/4" seam.
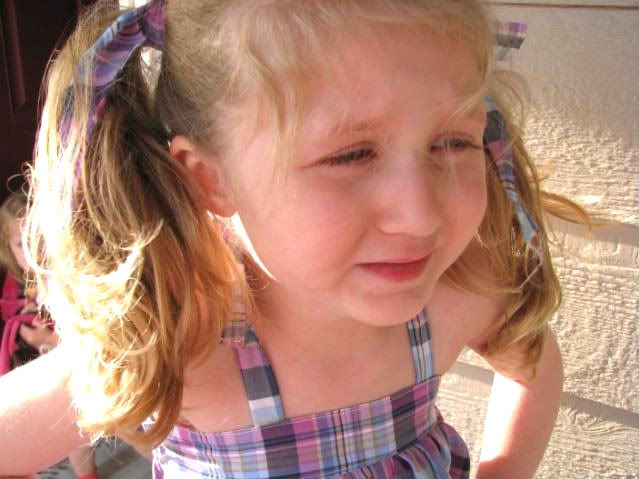
See the matching hair ribbons?  

I used some of the eyelet from this post.

I also stitched down the middle of the back elastic for more support. 
Beary hates when her elastic shifts any!

"Mommy please let me go inside now!  It's too cold for pictures!"  
Yah, it was only 45 degrees and windy, but the pictures are cute! 

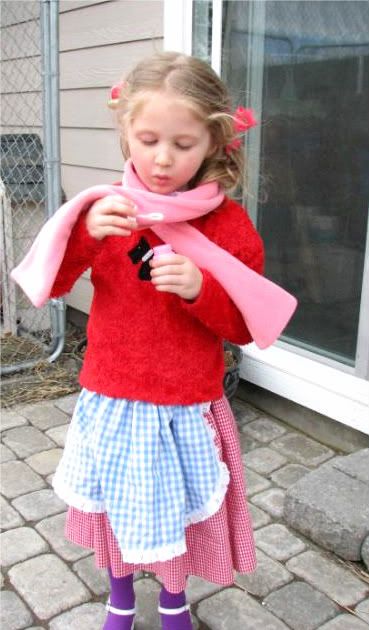
And because Beary has requested that you all see her "Post Office" outfit... (that she insisted on wearing to the P.O. today)

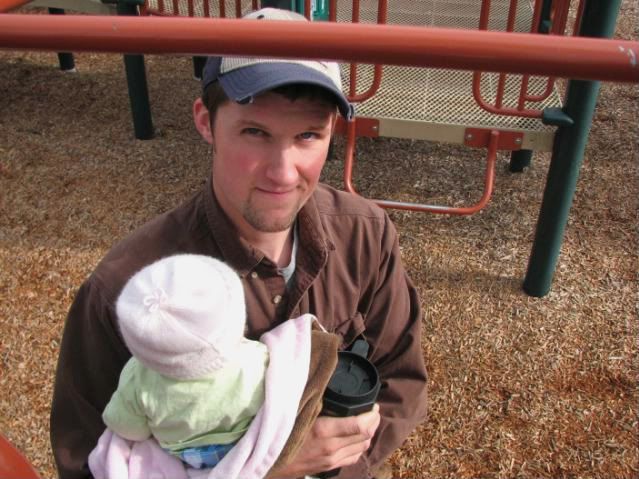
And because who can resist a hottie-hubbie holding a baby and a mug of coffee at the playground (where he chased around a busy toddler)...


Thursday, March 25, 2010

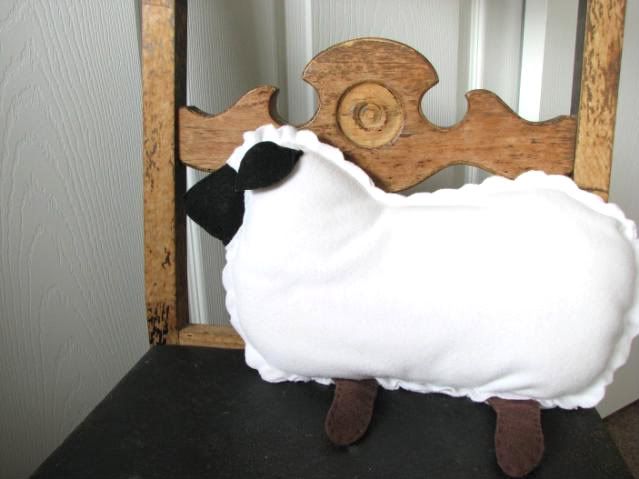
Little Lambie Lovey-face

I've been searching for something Easter-y to make the chicklets for their baskets.  I like to try and make something homemade for each major holiday, and this year I'm a bit behind. (although I guess I did make some resurrection eggs the other day...)  When I saw this post on MADE (dana always comes through for me!) I knew the little lambs were perfect for Boo.  But I wanted something truly special, so I set out to hand sew it last night while watching a movie (not such an impossible feat considering they're basically big ovals!)
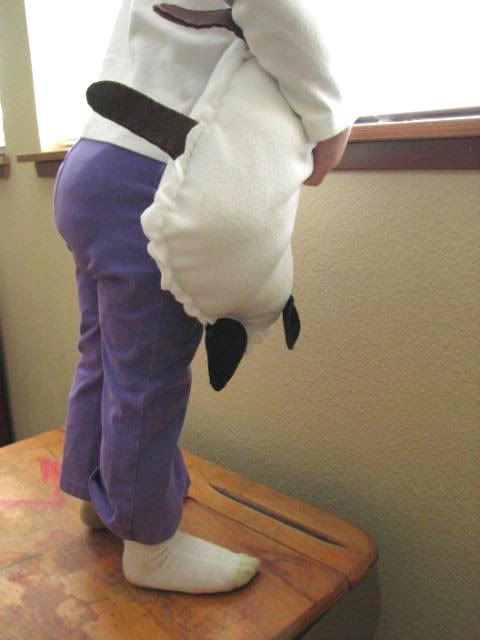
So I'm sitting there almost finished with him when Boo wakes up (*sigh* sick kiddos = no sleep...) and toddles downstairs.  She took one look at him and proclaimed "Mama? Mine.  Baa! Mine."  Of course I couldn't turn her down when she's standing there with a lion's mane for hair, snot covering her face and a nasty cough every few seconds.  So Mr. Little Lambie Lovey-face has become her best friend, and I'm quite sure he brings her much comfort as he gets covered in *cringe* snot and *gag* germ-infested drool.  And now I get to find something else to make...

Sunday, March 14, 2010

Party planning: The tutu


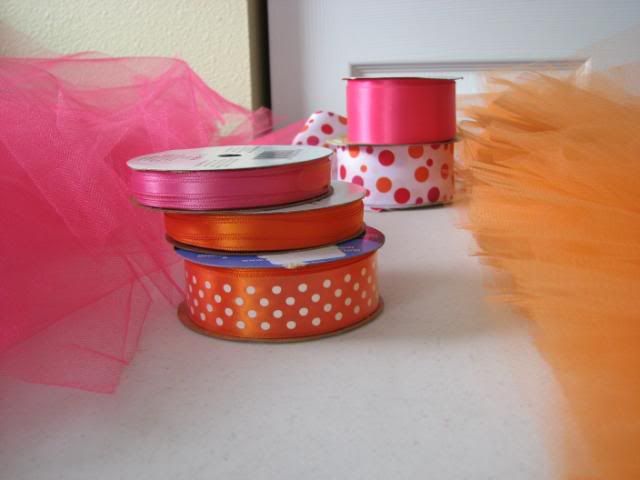
I've been SO busy getting ready for Ayla's birthday party next weekend!  She's going to be two. *sniff*  This will be her first big bash, and I want it to be awesome for her!  I thought and thought about a theme and what she liked, and a few things really stood out.  Polka dots, orange and pink, and CANDY!  Girly loves her candy, or "nan-nan" as she calls it.  So over the last few months I've been collecting everything orange, pink, polka dot and candy-like that I could.  Not so easy in our little bit of no-where!
I'll show you what I've been up to over the next few days, so stay tuned!

Part One: THE TUTU!
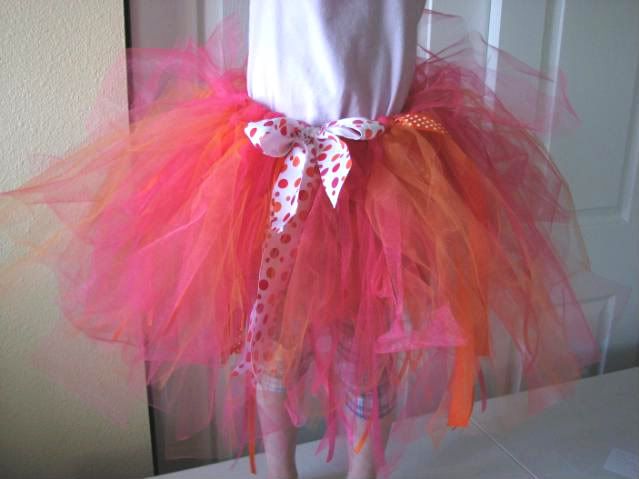
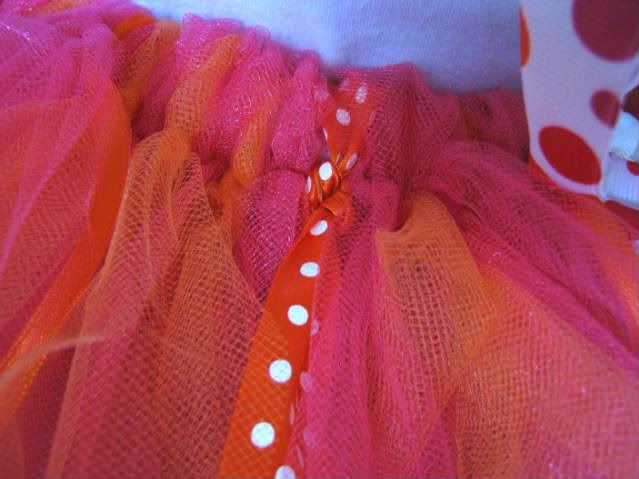
'Cause EVERY girl needs her own tutu!  I used this video on YouTube, but tied mine around elastic instead.  I prefer the wider elastic,  I believe mine was 1.5 inch.  I also made my strips about 3.5 inches wide.  AND I found that four yards for a toddler tutu just wasn't enough.  Good thing I had some extra tulle lying around, because Joann's is too far for a quick trip!  5-6 yards of tulle should do it as full as I made.  I also tied a bunch of ribbons on with the strips to jazz it up a bit.  Make sure you singe the ends with a lighter/candle/match to keep them from fraying! (You could always use Fray-check too, but I'm lazy lol)

I also double-knotted my strips rather than making a slip-knot thingy.  The last tutu I made with knotting is coming undone, and I want this to last!
And how lucky was I to find a random spool of pink and orange polka dot ribbon in my ribbon box?  I haven't used that stuff in about 3 years!
Looks a little frazzled after big Sis tried it on, but I promise it will look adorable on Boo next Saturday!  I even found a pink/white polka dot shirt with orange buttons (gotta love Carter's!) and pink/white polka dot leggings!  Score one for mom.

Saturday, January 16, 2010

Tutorial: baggy romper to cute dress

 
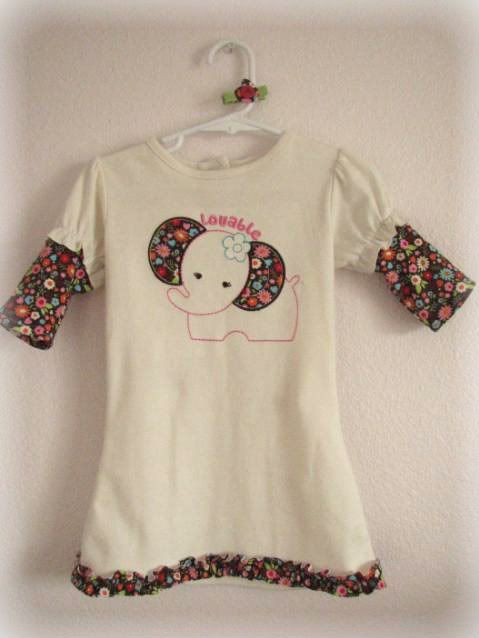
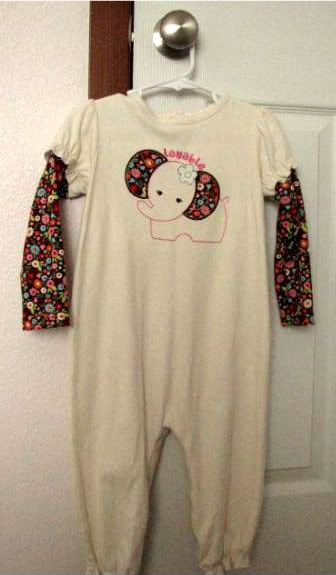
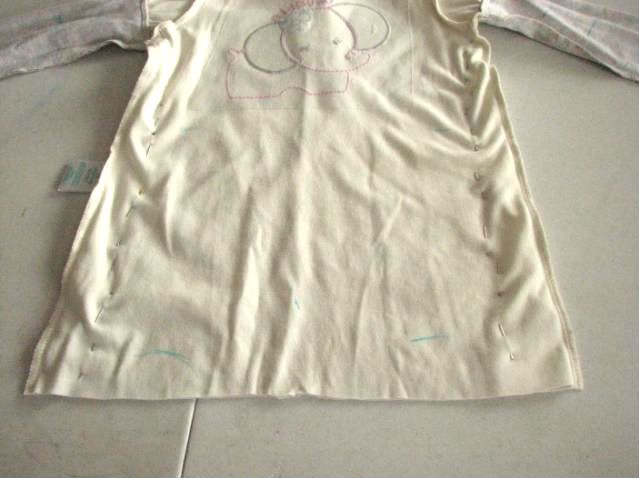
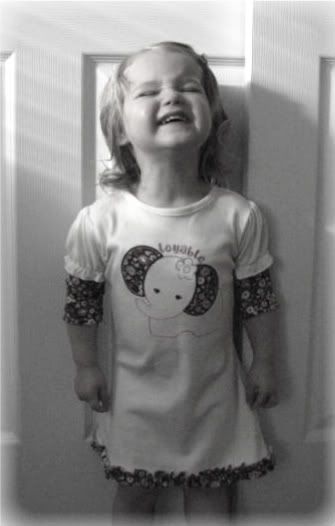
 Changing unflattering clothing with cute features into something adorable is really not that hard!  If I can do it, anyone can.  I found this romper with an adorable elephant on it on clearance a while back.


It was one of those enormous bubble rompers, which I just don't like that much on toddlers.  Babies, maybe, but not my almost two-year-old.  Originally I was going to make it into a short-romper with an attached skirt, but changed my mind once I hacked the legs off.

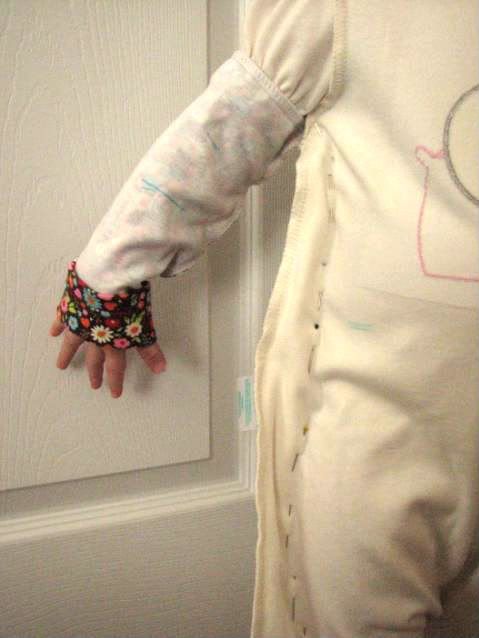
First thing you'll want to do is try it on your child inside-out.  Then pin or mark the general lines you want it to be.  I wanted this dress to fit more like a tunic, fitted through the hips.  I didn't realize until after I made it that a fitted shape would just accentuate her little pot belly! 

You can see I pinned the sides in a bit, and marked where I wanted the sleeve to fall. I like 3/4 sleeves on Boo because she chews on longer sleeves when she sucks her thumb.


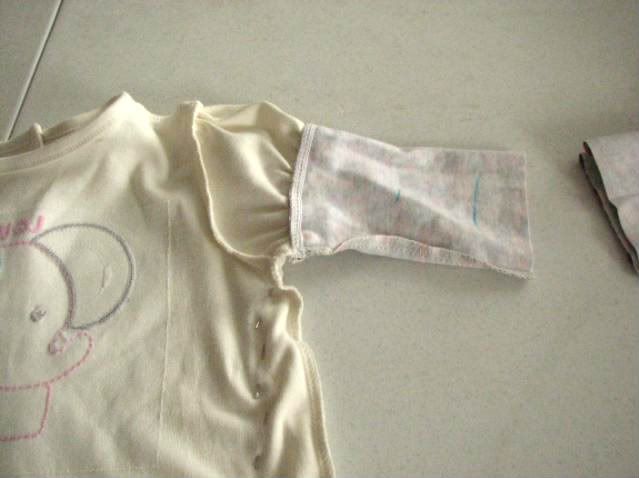
Here it is after I removed it and chopped the legs and arms off.  I didn't take pictures of the next step, but you mark with your sewing pen the lines you pinned on the sides, then stitch or serge on those lines.  I actually went from the bottom of the dress clear up and around the armpit to the end of the arms, making the arms a big tighter-fitting.  I really wish I could have gotten better pics of the next steps, but the light in our family room at night is awful!

After the sides are stitched, turn right side out and iron seams.  Then fold up hems on the arms and bottom edge of dress.  I didn't bother doing a narrow hem or serging because jersey doesn't unravel!  Iron again after stitching.


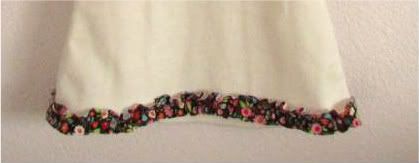
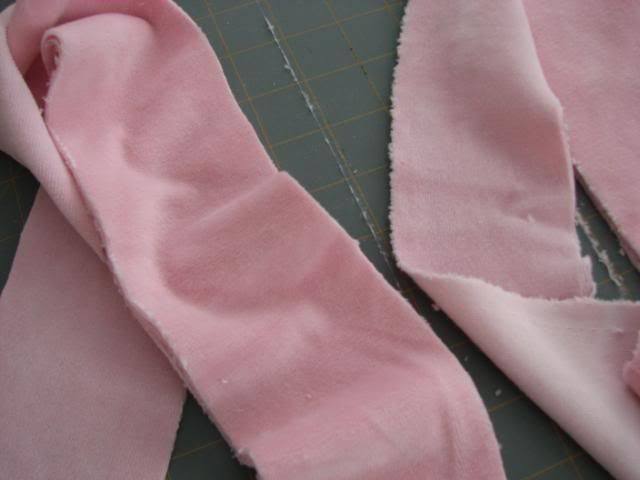
I decided the bottom was too plain, so I added some ruffles I made from the leftover arm scraps.  I cut them into 1" strips then ruffled them on my machine.  If you don't know how to do this it's easy!  Set your tension to the highest and the stitch length to the longest.  Then stitch the center of the strip you cut.  Don't worry about back-stitching.  The machine will automatically ruffle it for you!  I amazingly had exactly enough (how does that happen?) do go around the bottom hem of the dress.  I laid them out, overlapping each one a tiny bit, then stitched in place.


Look how excited Ayla (Boo) is!


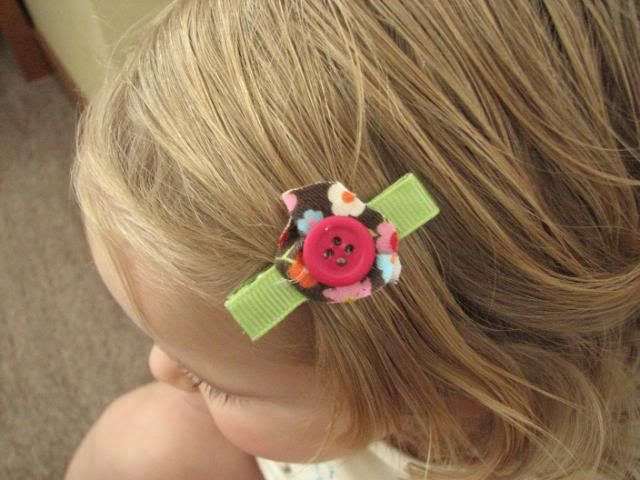
And of course every new outfit must include a matching hair clippie!
Did you know you can get a box of 100 clips at Sally Beauty Supply for less than $6.00?  Wow.
This one I used lime green grosgrain and simply hot-glued on a loose-flower shape with a button.


 I hope everyone has a fabulous weekend!

Wednesday, January 6, 2010

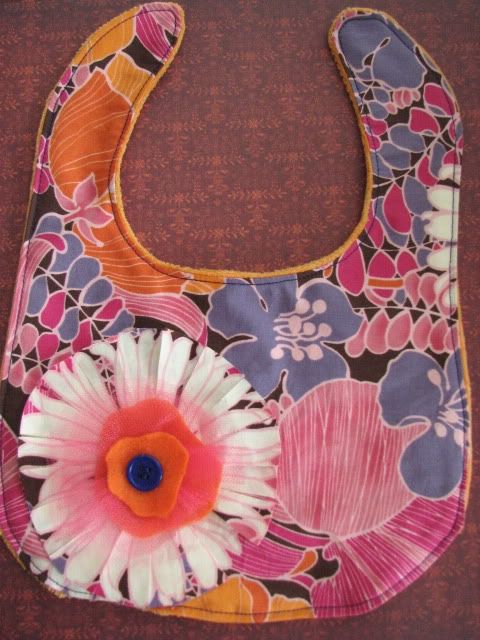
Tutorial: boutique bibs!


Binks is a puker.  She goes through at least 3 outfits (usually more) a day!  But I hate those cheap gerber bibs, and the ones that come with outfits are never big enough.  I love making cutesy ones for her, so I thought I'd share how EASY it really is!  I'll post more of them this week as I take pics!

First you'll need a pattern.  I have my own (She needs a lot of coverage!), but there is a great free pattern at Chickpea Studio.  Pick a cute print for the front, and a soft absorbent fabric for the back.  I I typically use flannel (I stock up at Joann's Black Friday sale every year) but for this one I used cotton velour.  Yum yum.  I also used tulle, felt and buttons I had on hand.

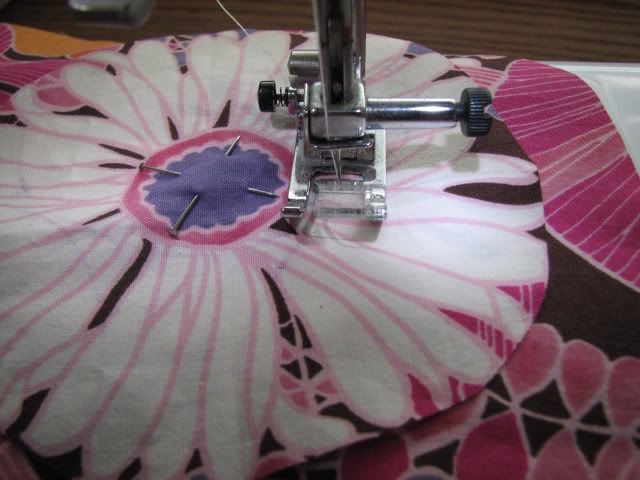
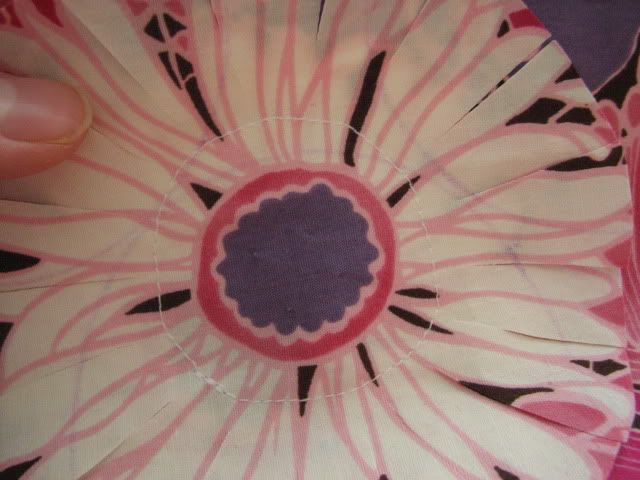
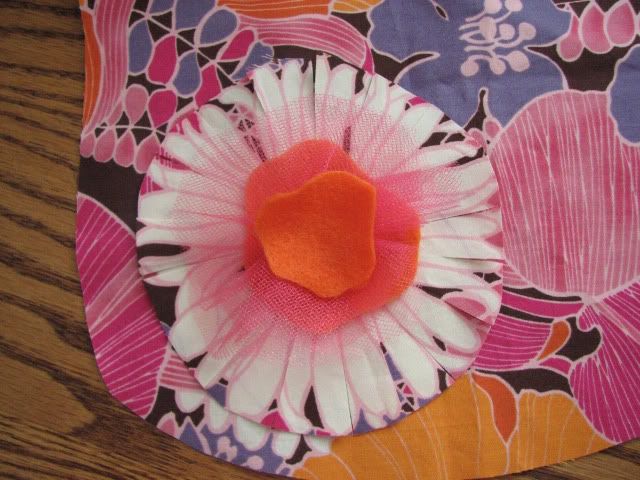
Cut the front and back pieces out.  I then cut one of the large flowers out of the scrap material.  If you don't have a bold floral print, just sort of free hand a big circle.  Sew the circle onto the right side of the front piece, wherever you want.  Just make sure to leave the seam allowance at the bottom for sewing to the back.  I stitched around the center of the flower, but you can just sew about a 1.5" circle in the middle.  Then I cut "petals" around the flower.  No rhyme or reason to my cuts, I just did what I thought looked good.  Just don't make the petals too narrow, and don't cut all the way to the circle you just sewed.


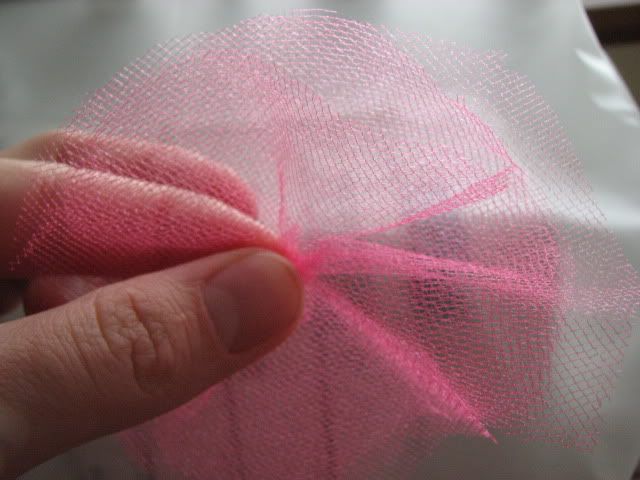
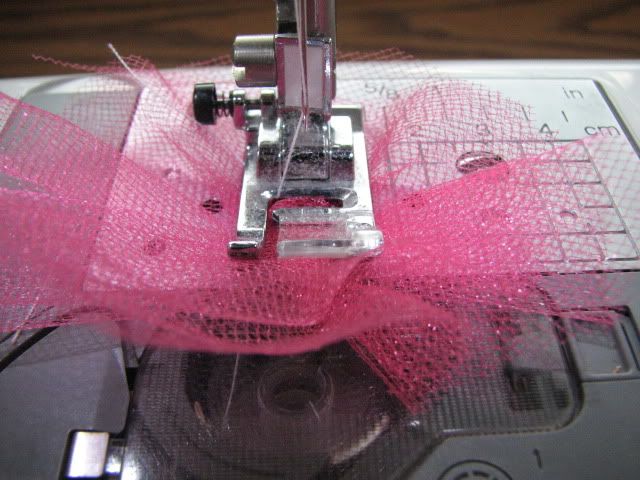
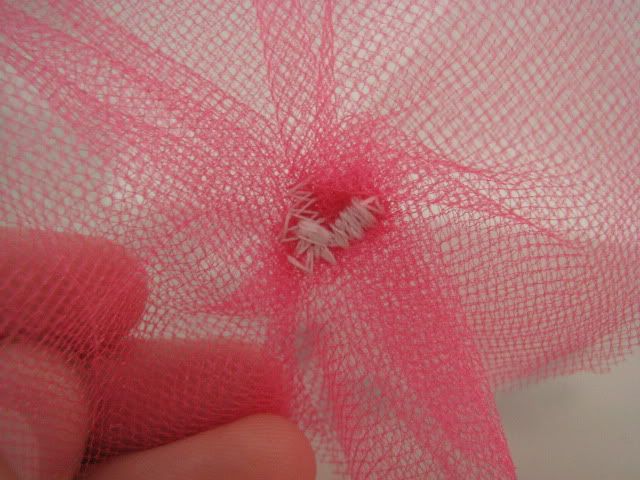
Now you want to make the tulle layer.  I just freehand cut three layers of tulle a bit smaller than the flower I'd just sewn on.  Stack them up then sort of scrunch them together in the middle, like this:


Put under the machine, and zig-zag back and forth a few times.  Lift the presser foot, change directions (opposite of what you just did) and zig-zag again.  That should hold it!


For the felt layers I just cut random shapes (flowery looking) one a bit smaller then the tulle layer and then another a bit smaller then the first felt layer.  Then stack them up!  It should go (from bottom) bib front, fringy flower, bigger felt, tulle, smaller felt.  Zig-zag them in place and then attach a button, making sure your button covers the stitching.  Make sure you secure the button very well, as it's for a baby after all!  Sew front and back together, right sides together, leaving an opening for turning.  Turn, iron flat, then topstitch 1/8" from edge.  Add a snap or velcro to the straps.


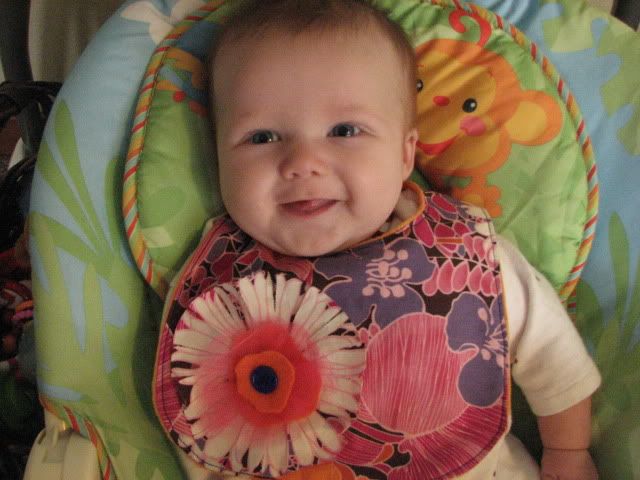
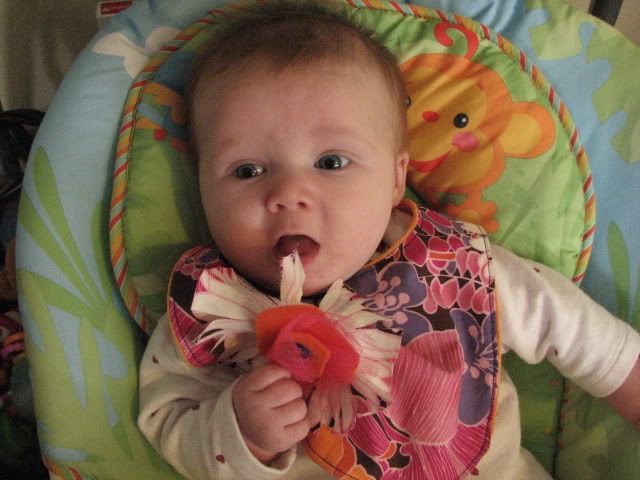
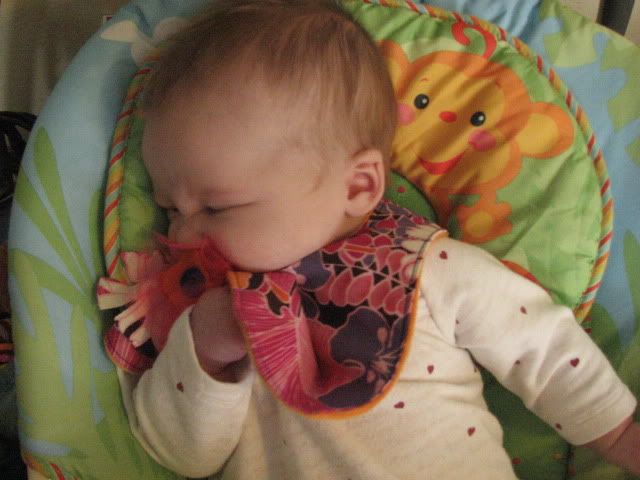
I need to get some pics of what it looked like after the first washing (which was WAY too soon!)  It got all fringy and curly and fluffy!  Here are some pics of Binks enjoying her new bib.  I'm going to make her some more bibs with "stuff" on them, because she loved playing with the flower!   Oh, and yes I do know how to sew a straight line.  The bib isn't laying flat in the final picture so it looks like I can't sew!  Also, there is a visible edge of backing on the front of the bib I made.  That was intentional, as I don't like the seam to touch my spoiled-rotten baby girl.  If you want to do this, just cut your backing slightly bigger then the front, but make sure you still match edges when sewing.  This will sort of roll the back onto the front.

Thanks for my awesome bib mama!


Huh...this might be good to eat...


yup.
 
**Disclaimer**  These bibs are meant to be used with supervision.  I never leave bibs on my baby when I am not in the room with her, because of the choking/suffocation hazards.

Monday, December 28, 2009

Tutorial: Dreamy Tulle Bed Canopy

So my oldest has this enormous twin-over-full bunk bed in her room that just has to go. She never uses the top bunk, and I'm sick of staring at a giant pile of animals. But she LOVES her bunks (new house, new bed thing) so we came to a compromise. IF she let me ditch the bed, and replace it with just a twin, I'd make her a big fluffy princess canopy for above her bed. She loves loves princesses and anything girly so she agreed.

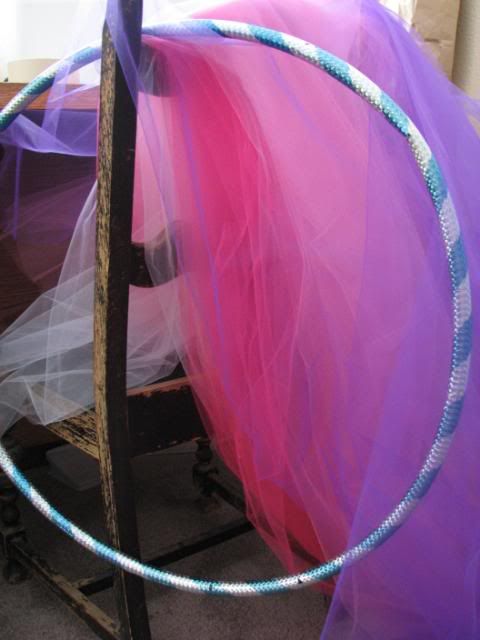
I had picked up 16 yards of tulle (4 colors, 4 yds each) at Joann's a month or so ago, and along with a hula-hoop and some fake peonies from the Dollar Tree,, I was all set for supplies.

So, without further ado, here is the tutorial:

Supplies:
*about 16 yards of tulle (the regular stuff on the bolts, I think it's 60" or so?) I used 4yds of 4
different colors
*hula hoop (mine had a circumference of 84")
*Fabric for casing-I used cotton velour that my daughter chose, but you could use cotton or anything else you had.
*Duct tape or electrical tape
*Ribbon, for hanging
*Fabric flowers, extra ribbon, etc.

Directions:
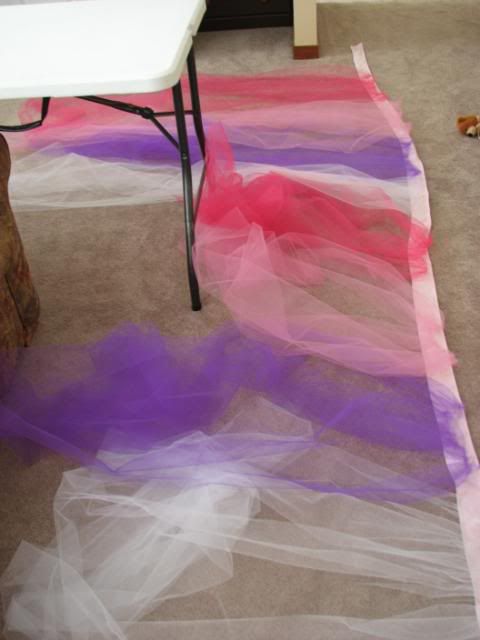
First thing you need to do is to cut your tulle into strips. Because I had four different colors, mine was a bit more complex. I folded each section (4yards each) into half so it was two yards wide and cut on the fold. That gave me two strips 56" wide. In the end I had eight different strips. If you use on color it would be MUCH easier! Set your hoop and tulle aside.
Now you'll need to make the casing for the hoop. Measure the circumference of your hoop around the outside and how wide the casing strip will need to be (to fit around the hoop). Mine was 84" around and I needed about 3" wide strip to fold over the hoop (with room added for a seam) My cotton velour was about 69" long so I doubled it to about 138"(to make it easy!) which allowed for some extra gather on the hoop. Cut your strips out...
...then serge the two pieces together to make one long strip. Now you can serge all four sides of the strip, or zig-zag if you don't have a serger. If you're REALLY picky, you can hem the sides, but make sure to leave allowance for that when you cut.

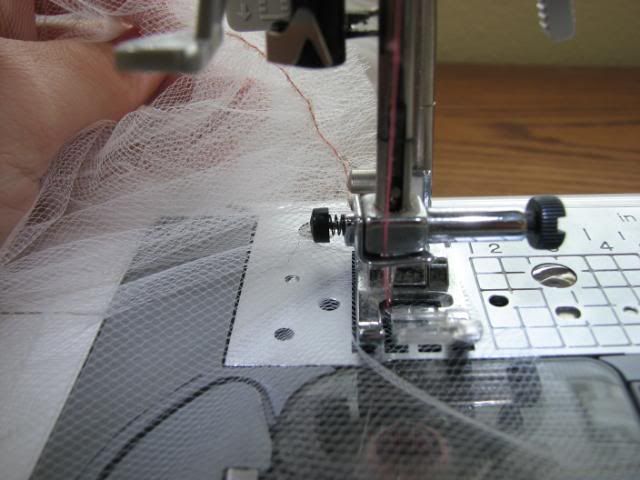
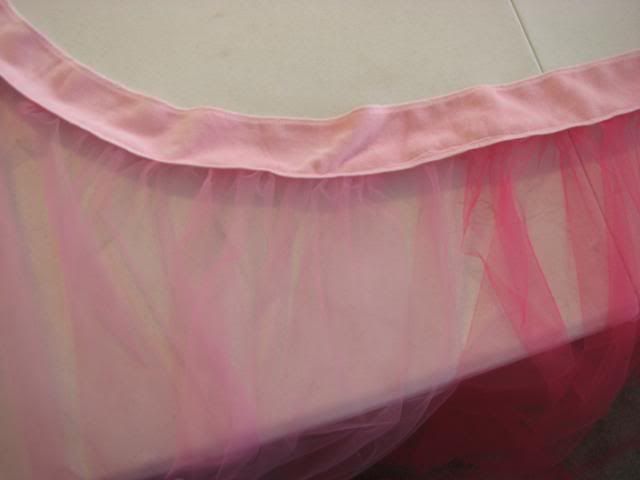
Now for the tulle. I originally left the pieces separate for a more airy look, but in the end I went and sewed all the panels together to make one big honkin piece of tulle. It's your choice...if you have more than one color you can join the pieces or leave them open. If you join them make sure you leave one seam open for an entrance! So, if you decided to leave them separate, gather them all separately. If you joined them together, gather as one big piece. To gather I simply adjusted the tension on my machine to about 6 (mine goes to 9-norm is 4) and set my straight stitch length to the max. This will automatically gather it for you!

Lay the big casing strip out flat with the wrong side up. Lay the gathered piece(s) on top of the casing, pinning in place. IF you decide to add some ribbons to hang down with the tulle, you can add it now, either underneath the tulle (to be on the outside of the canopy) or on top (for the inside) I was out of "pretty" ribbon, so mine will be added later in the week.

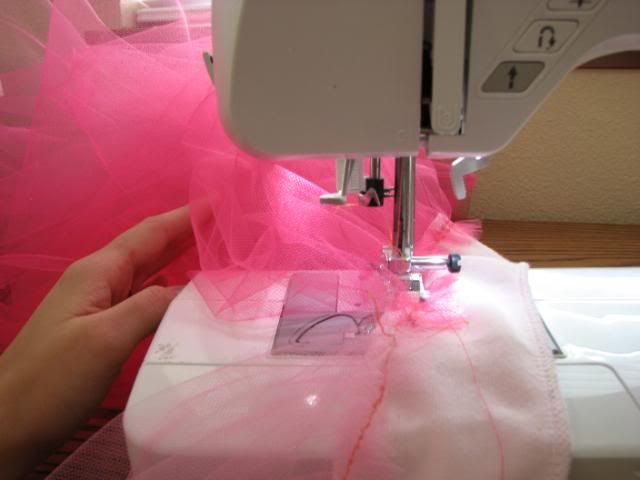
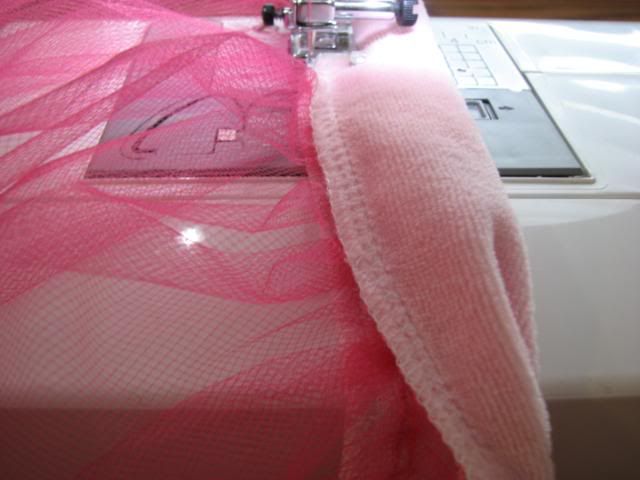
Set your tension and stitch length back to normal on your machine. Then begin to sew the gathers into place. Make sure every few feet or so to tuck the already sewn part behind the machine so it doesn't get in your way. Tulle is easy to accidentally catch!
You should now have one big piece of tulle with the casing on top.
Now it's time to sew the casing closed. Flip the casing over so the tulle is facing up and put under the machine. You can either pin the casing closed (wrong sides together, over the tulle) or you can fold as you go, which I preferred. (Seriously, I hate pinning and it was like 140" worth!)
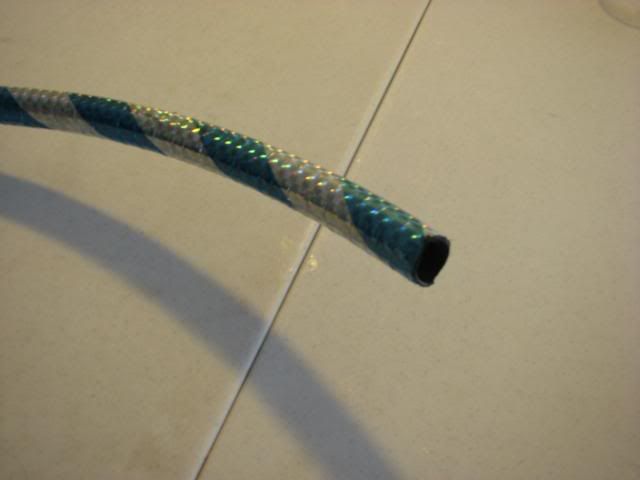
YAY! Hard part is done! Now you can assemble the canopy. First cut the hulahoop in half to create an opening for the casing to go on:
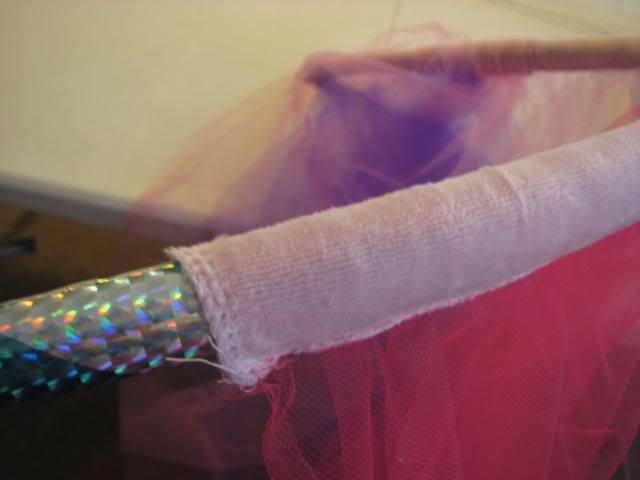
Then pull the casing onto the hoop.
Easy, wasn't it?
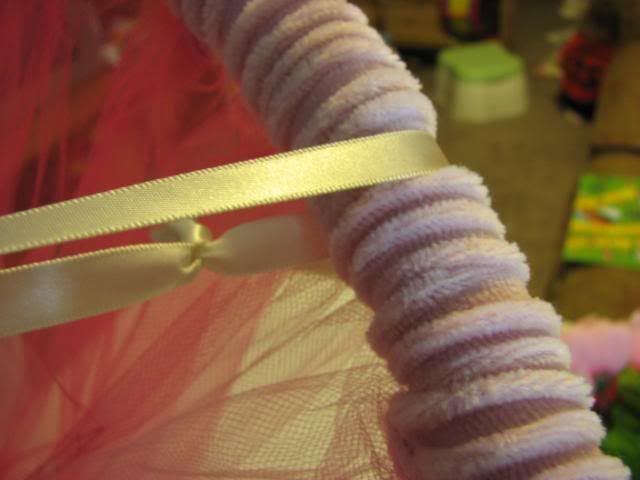
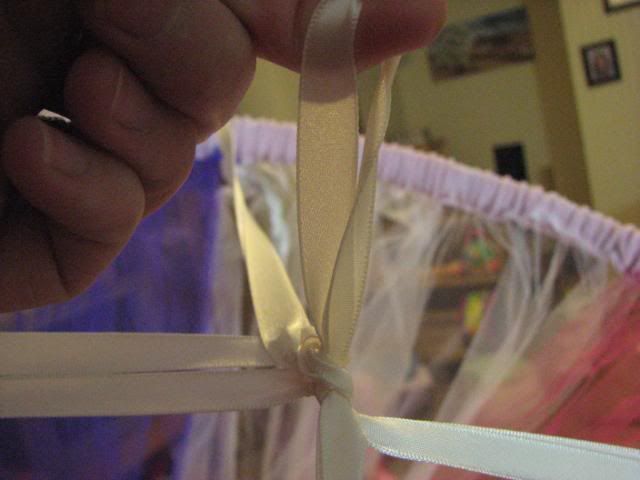
Now either duct tape or use electrical tape to close the hoop back up. Make sure you really secure it or it'll get an odd oblong look to it. I go for about 6" on either side of the cut to really hold that sucker on. To attach the ribbon hangers, imagine a big cross on the hoop, and mark with pins where the points would be. Now cut a tiny slit in the tulle and insert a ribbon through and around the hoop and tie:
Do that on all four points then tie together in the middle, forming a loop for hanging:
You may have to adjust the length of one or more sides, which is easily done by retying the first spot you tied.

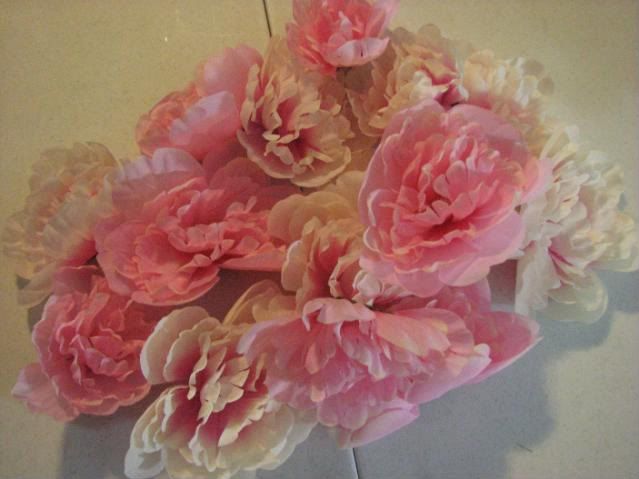
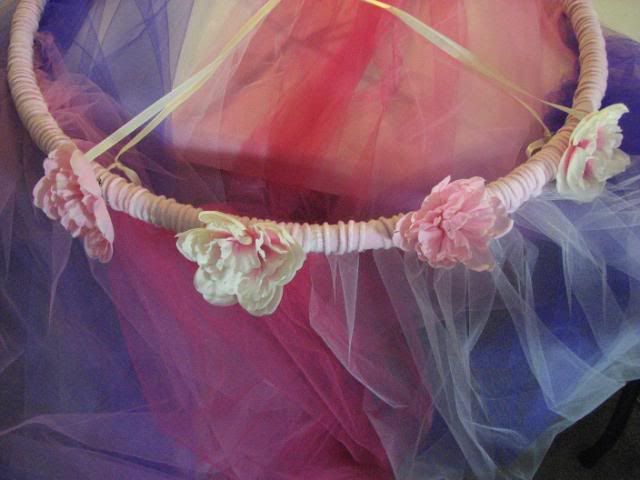
If you want to, you can hot glue (or sew) fabric flowers onto the casing. Make sure to cut the little stem thingy off really short on the underside of the flower before attaching it.


and you're done!

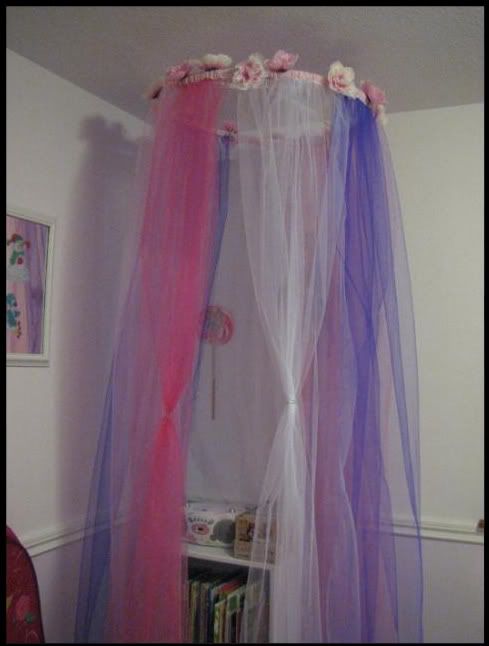
Here it hangs in my daughter's room until the bunk is removed. It will eventually go around her new bed, but that still has to be painted. :)


Oh, I want to quickly share what I made my oldest and her best friend for Christmas:
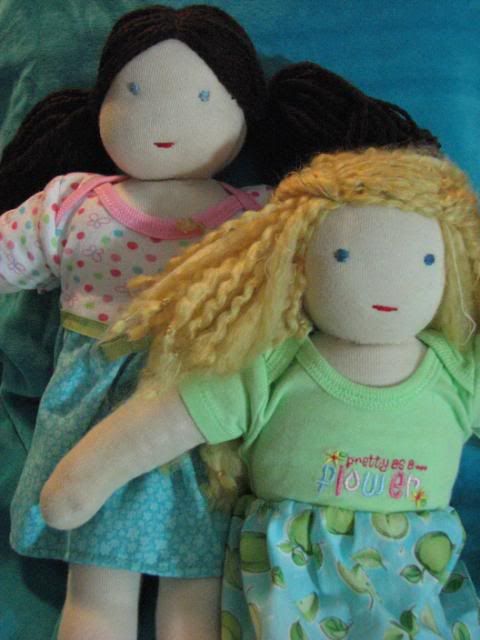
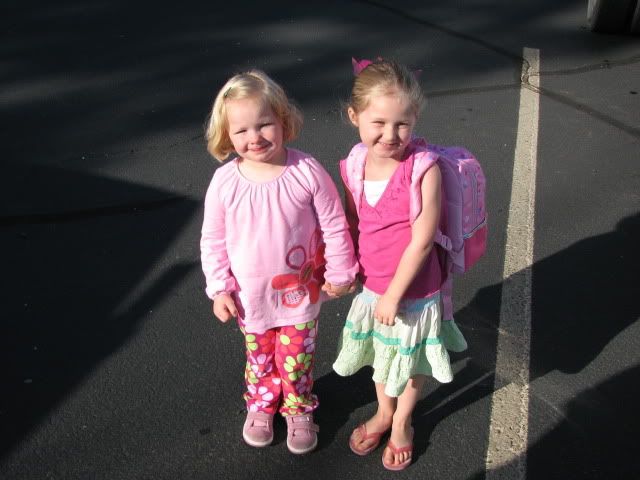
These are Waldorf dolls. They have simple expressions to encourage imaginative play (not everyone is always as happy as Barbie!) They are also stuffed with wool, which makes the limbs firmer. Wool will take heat from the body as well, making them more cuddly. The blonde is for Beary, and the brunette is for her friend L. Unfortunately, the string holding the eyeline on the blonde (to give the face shape, like on the brown haired doll) must have snapped after I made it. You have to really really pull it tightly, and I'm guessing the string must not have been knotted enough. Oh well, she'll still love it! The dresses I made from Binks old nb sized onsies, which i hacked off and sewed little skirts onto. They are going to open them tomorrow (a little late, I know) and I so hope they like them! Beary isn't exactly a "doll" girl, but I'm hoping that when she sees that L. and her have matching dolls, it will become special. Here they are on their first day of preschool:
Goodnight!
Related Posts with Thumbnails