Happy New Years to all of you blogaholics out there! I for one, am glad to have arrived safely in 2010. We had quite the eventful year, including a new baby, a new house, two major hospital stays and the death of two people very dear to us. (We miss you Nathan and Grant!) But I just know that 2010 will be great. I hope all of you have an amazing year full of good times and lots of crafty inspiration!
Here are some quickie DIY ideas I'm sure you may have seen across blogland! They make great last minute gifts.
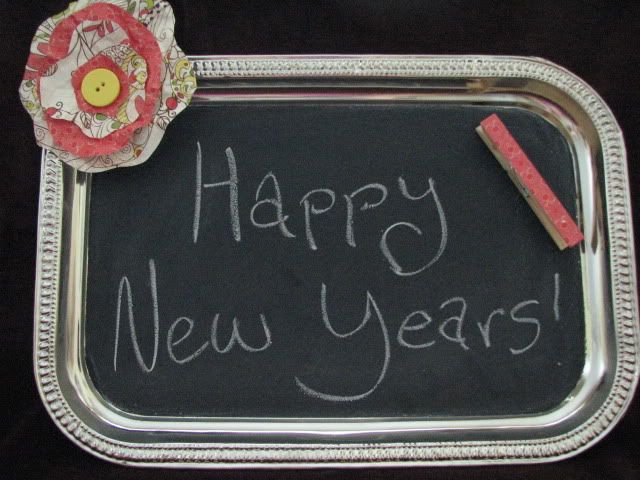
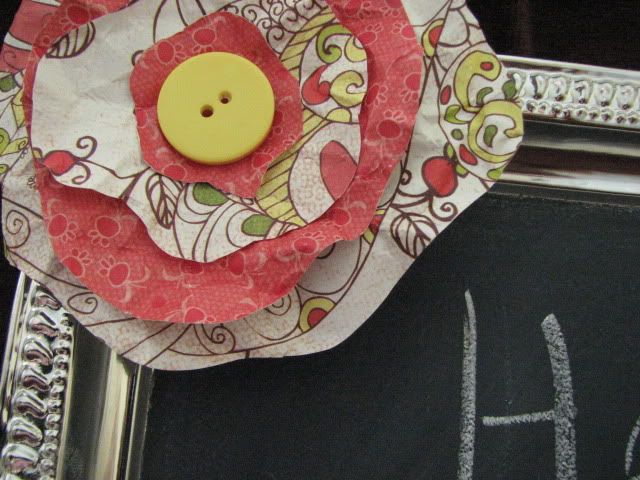
For the chalkboard above you need:
*Silver tray (I got mine at the Dollar Tree, but see them all over the place! Test a magnet on it first to make sure it's magnetic)
*Chalkboard paint (I prefer the spray version)
*painters tape
*chalk
*ribbon for hanging or heavy-duty magnets
*hot glue
I found inspiration for these at
blackflipflops. Hers is adorable! To make this, first you need to mask off the outside edge of the tray with the painters tape. Really pay attention to the line you are creating so that you won't end up with waves! Mask over the edge too. Spray one light coat of chalkboard paint on the masked-off tray, let dry, then repeat twice more. This should give you a nice solid layer for your chalkboard. Once dry, remove tape and rub entire surface of chalkboard with chalk, to "seal" it. Wipe clean and you're done! If you want to hang it, you can hot glue ribbon to the top, or you can hot glue some heavy duty magnets (at craft stores) to the back to hang it on the fridge!
For the flower:
*scrapbook paper
*button
*hot glue, or craft glue
This is SO easy! Just cut various squares of scrapbook paper, each layer slightly smaller than the last. Wad each into a ball until it gets that neat wrinkled look. Then just cut a freeform flower shape from each. Glue one layer on top of another, then glue a button on the very top. Secure to chalkboard (or wherever else you want it!) with hot glue or craft glue. Simple!
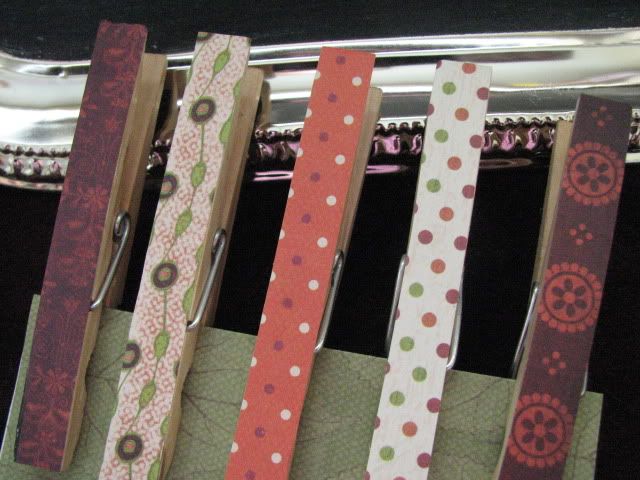
For the clothespin magnets:
*clothespins (Dollar Tree has them!)
*scrapbook paper
*glue
*magnet rolls (mine are 59cents at Joann's)
Using your clothespin as a template, cut strips of scrapbook paper and glue onto one side of clothespin. Glue (I prefer hot glue, the self-sticking magnets just don't stay on forever) small pieces of magnet onto the opposite side. So easy! I also add buttons and ribbon to these. I got some REALLY cute ones from my good friend Charlotte for Christmas that had ink rubbed onto the edges of the scrapbook paper, making them look vintage-y (is that a word?)
These are so easy to tweak to your liking! And everyone would love one of these for a gift. The possibilities are endless!