Showing posts with label decorating. Show all posts

Friday, March 26, 2010

Shutters for Boo's room

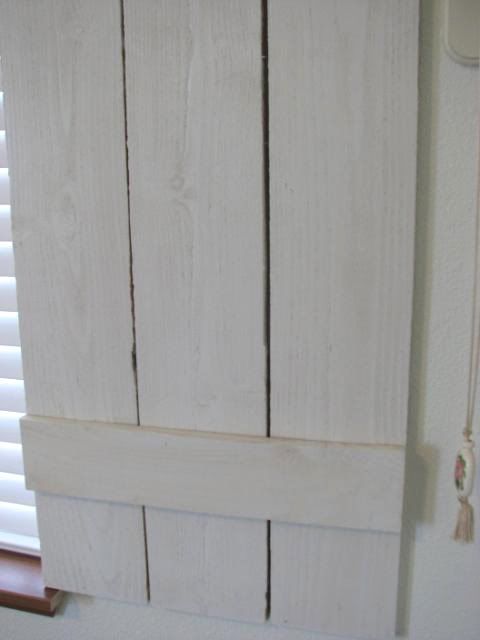
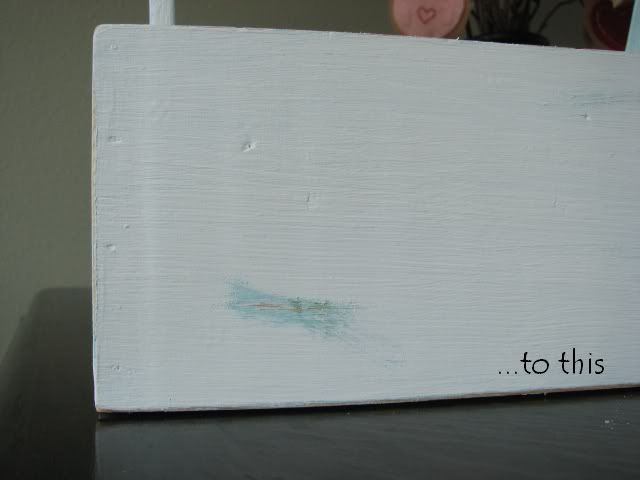
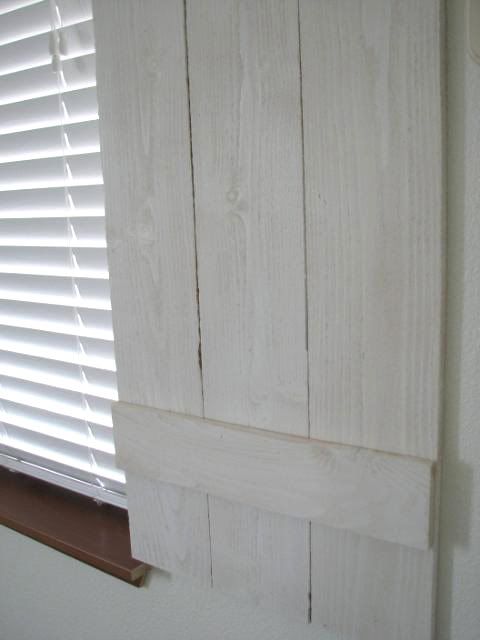
 After I saw this post on The Lettered Cottage I had to have shutters in Boo's beachy room asap.  So the next day (seriously) we drove into town to get some fence boards from Home Depot.  They were on sale for $1.50 each, and we only needed three!  Sweet deal.  The boards were really wet, which turned out to be a really good thing after we hung them.  The hubs cut the boards to length and sanded them a bit so they weren't shaggy.  I then painted on a thin coat of watered down white latex.  I wanted the grain and some of the color of the wood to show through a tiny bit so I left it at one coat.

A little glue and some brads (nailed from the back) later and we've got some rockin shutters!  We hung them on picture hooks because I don't actually want them to work. (they're in a kids room after all)

 Don't they look great?
  
After they dried on the wall a few days the boards are separating and shrinking and looking awesome!
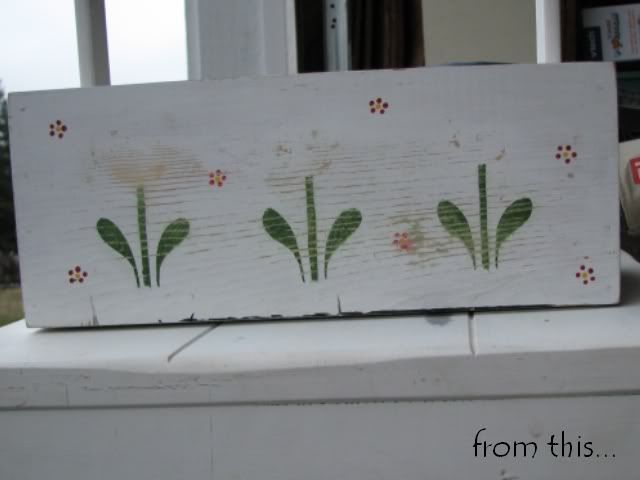
Before
 
After

Saturday, March 6, 2010

Boo's room almost done!


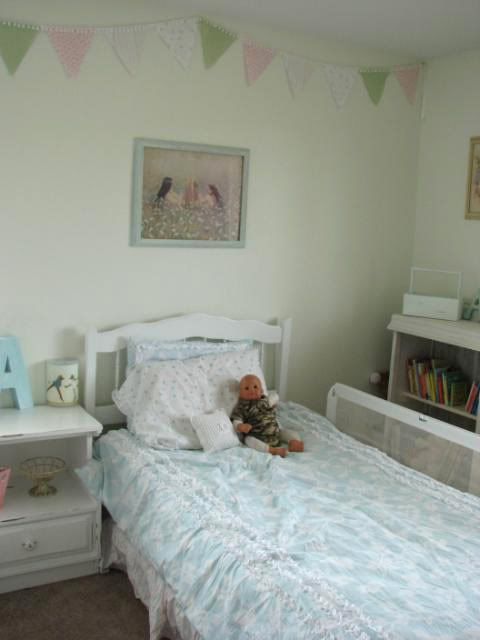
 Boo's room is almost done!  I went with a shabby beach-cottage theme this time, and I'm loving the look of it!  I still have a few small things to do, but it's coming together nicely.  The wall color is Sherwin William's "pearl onion".  The bedding and flag bunting are from the Simply Shabby Chic collection at Target.  The only thing we have to do in here is replace the dresser, which I don't like at all.  And I think I'll add some airy curtains this spring, along with some beachy accents we pick up on our vacation to the coast this summer.   I have some more frames to hang, but I'm not sure exactly what I'm going to put in them yet.  Maybe something like this and this or a sand written message, maybe one that says Rosie?


Here is the room.  I've got a few more things to put up on the walls, and the three-sisters print above her bed will be moving across the room soon.  I'm hoping to find an old paned window frame to go above the bed instead. 

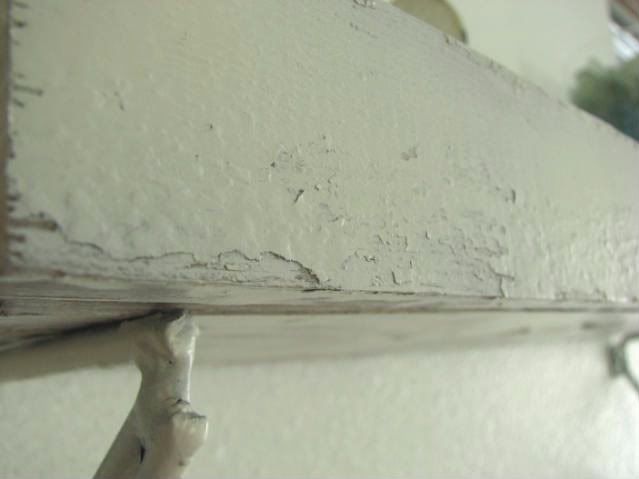
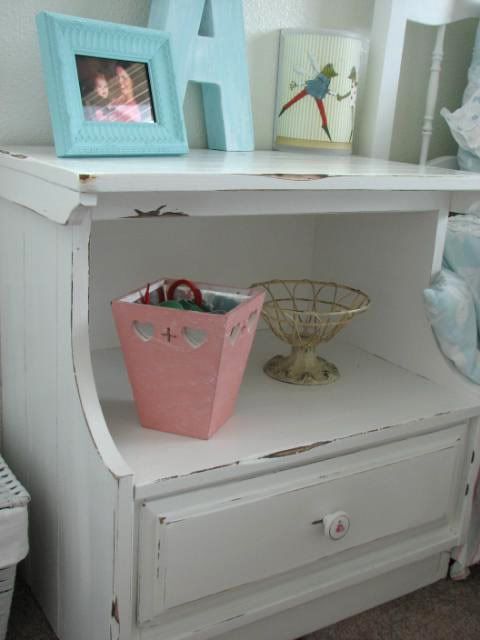
The old nightstand I picked up at the thrift store for $6!  It's gorgeous!  I repainted it and then just sanded it down in a few spots.  I was going to replace the knob with a glass one, but this one has a rose on it and Boo's most-used nickname is Rosie.  So it stays for now!


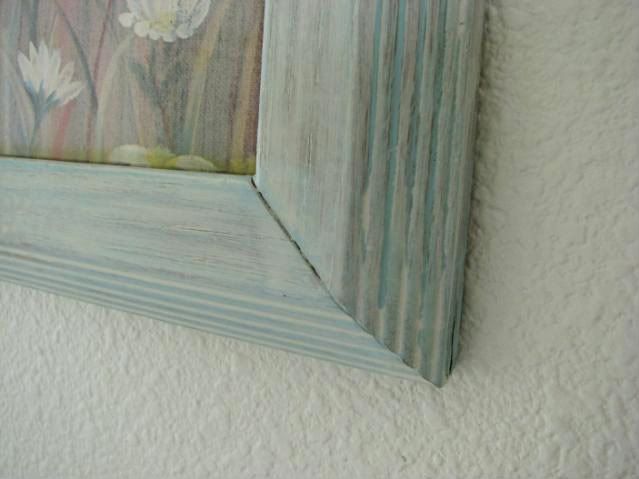
Here is the frame around the sisters' print above her bed.  I got it for $1 and just painted on a really light layer of robin's egg acrylic paint, then another layer of watered down off-white acrylic.  I think it looks great, and you can't beat the price!  I love the print too- I found it at the thrift store shortly after I found out we were having a third girl. 

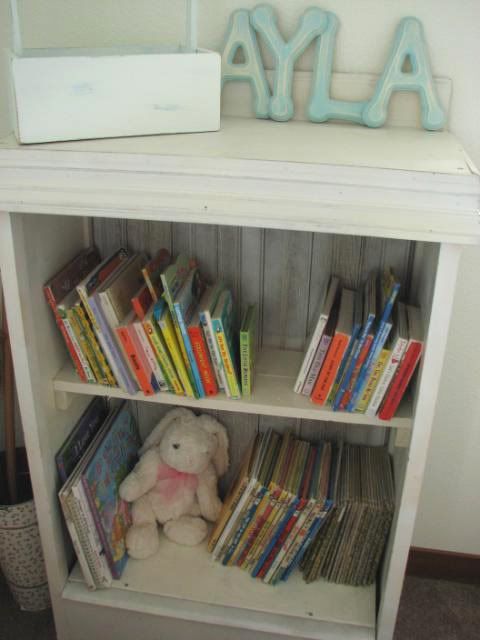
I found this adorable little shelf at a yard sale about two years ago.  The lady was selling this awesome shabby-chic stuff, which is almost impossible to find around here!  I think I paid $2 for it!  The only thing we did to it was pop off the shelf that was originally on it as it was too narrow.  Then the hubs put in some 1x4s and made a simple shelf to hold more books.  A light coat of white & antique white spray paint (my ingenious hubs thought of layering them all on his own!) made it look original!

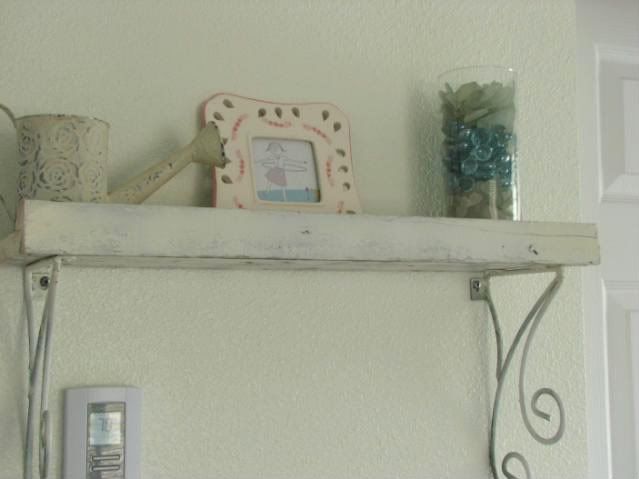
Here is the shelf we ripped off of the bookshelf.  We painted the raw edges and it was good to go!

Only a few more little details and the room will feel complete.  Then it's on to Binks room!

Linking up to Disney's giveaway at Ruffles & Stuff!

Friday, February 26, 2010

Beary's room update

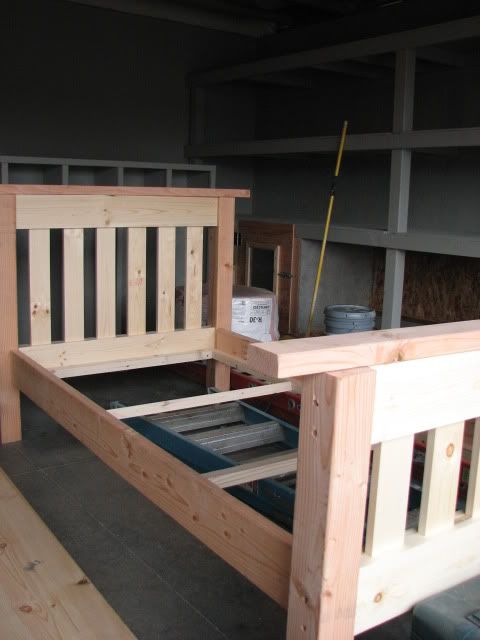
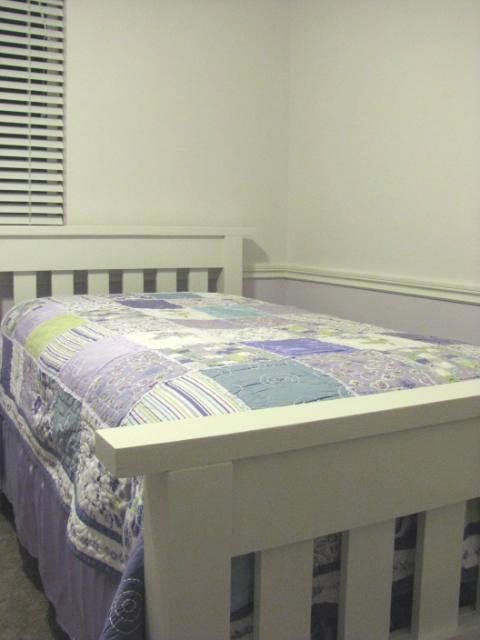
 I *think* Beary's room is almost done!  We got rid of an old, boring bunkbed and made her this bed from knockoffwood's plans.  It was fairly easy, although we ran into some problems.  We couldn't find quality lumber at our Home Depot (small store) so ran into some issues sanding down the stuff we could find.  It's a little rough in spots, but we put those towards the back or inside.  And in our haste, we decided to paint in a 35 degree garage.  Not.a.good.idea.  Seriously, the paint was getting thicker by the second!  Soooo...we'll be more patient on our next project.
 Almost finished!  We added metal brackets to the inside corners of the frame to solidify it more.  Also, we fit dowel ends into the screw holes for a more finished look. (and to prevent random little toys from getting shoved in the holes)

This is a heavy, substantial bed!


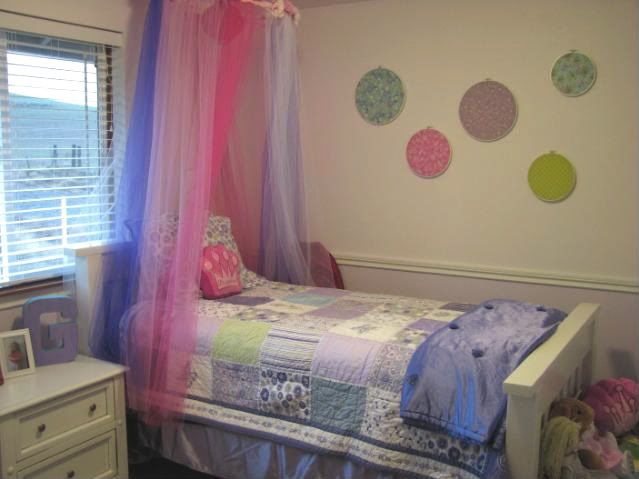
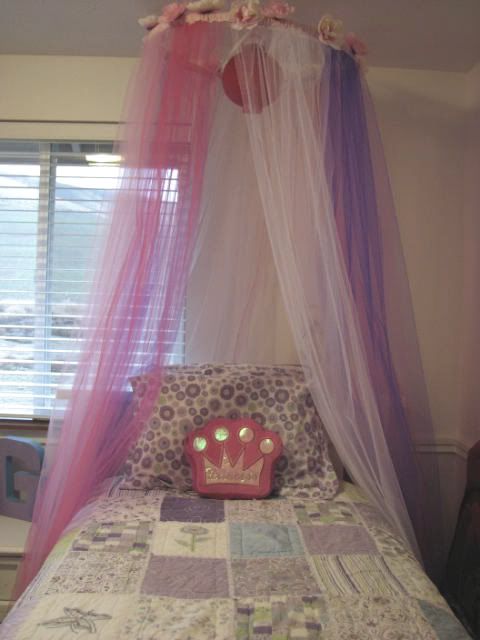
Doesn't the princess canopy from this post look darling?

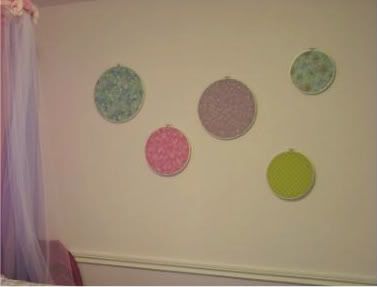
I also added some embroidery hoop art to the big empty wall, although I think I'll try to find some custom art soonish. 

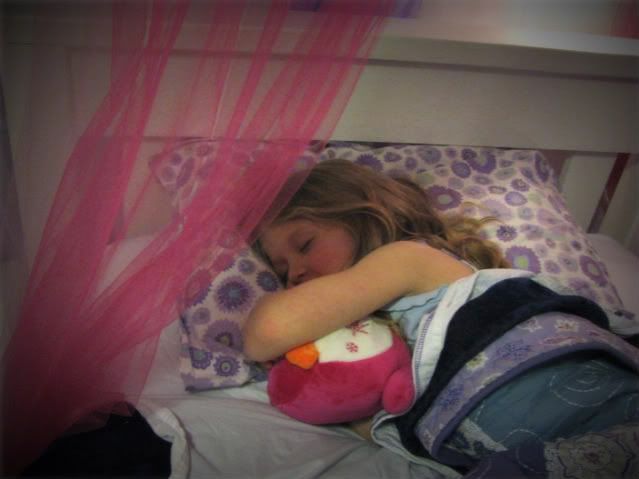
She loves it!

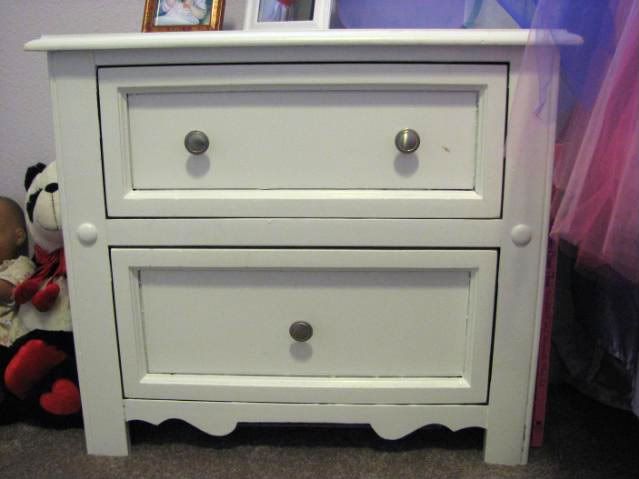
Up next is this nightstand, that I got at a yard sale for $5. It was black with metal drawer insets.  Ick!  We painted it white for the moment, but I'm going to add beadboard to the drawer fronts.  There is a big gap between the drawer front and the drawer trim, and it looks weird!  

Linking up to my dear friend Nicole of Frontier Dreams giveaway.  If you haven't seen her blog, go take a peek!  She is simply amazing.  And I'm so glad she's on my side of the nation now!

Wednesday, February 10, 2010

Project get 'er done: Part Two


Part two of project get 'er done is painting some little things I've had laying around forever!  Do you ever buy something (or find something!) with intentions of re-purposing it or painting it immediately, but find that three months later it's still sitting in your closet?  I do this all the time, and I'm so sick of unfinished projects!

I've had these little things for Boo's room for a while, and because I am currently re-doing her room in a shabby beach theme, I decided to paint them in vintage whites and sea-glass blues.  There is also a picture frame that somehow didn't make the pictures.  I recently picked up a Simply Shabby Chic bed-in-a-bag from Target (along with the matching flag banner!) on clearance.  LOVE it, and the colors are slightly more vibrant that they show online.  They look great with her faded green walls (think really pale sea-glass green) and the new matching accessories match perfectly!

 
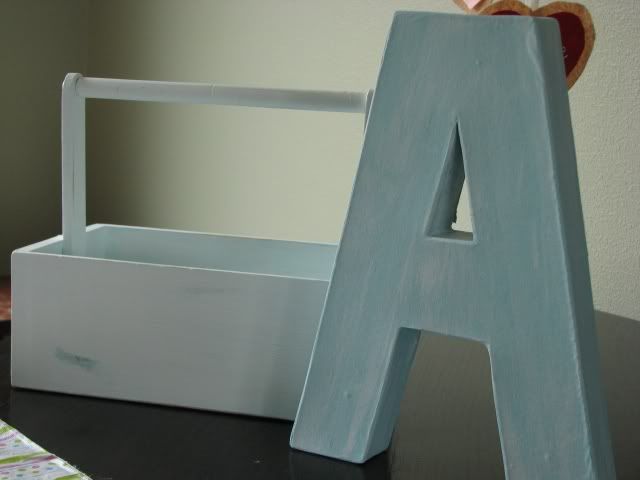
This little caddy will hold the tea set she'll get for her birthday next month.

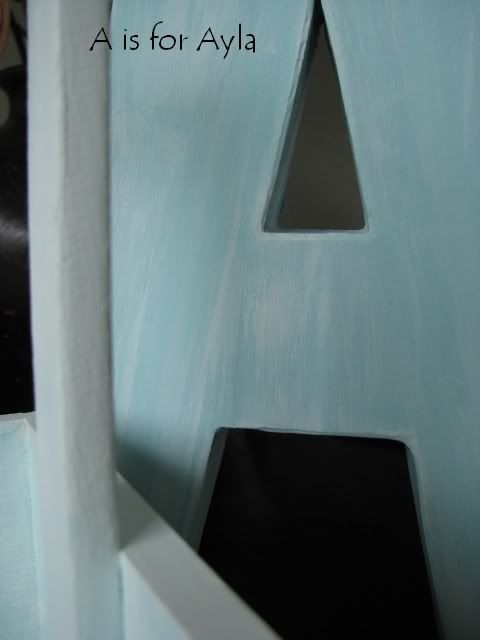
Gotta love these paper mache letters!

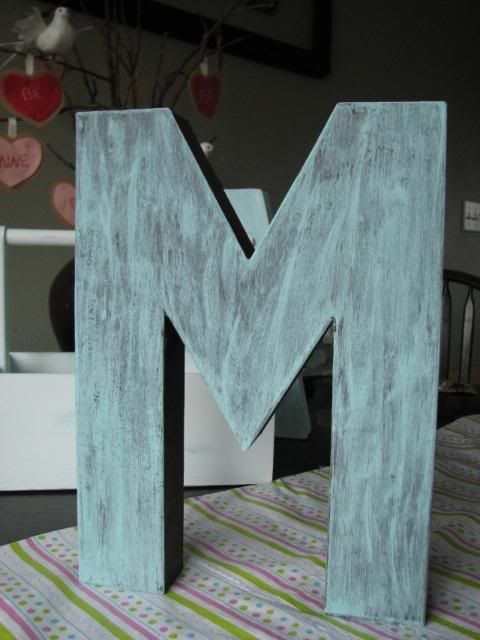
While I was at it, I painted another letter I had sitting around, this one to liven up our kitchen/dining area.  I used raw umber underneath and some aqua tinted with Christmas green on top.  Beary likes to "remind" me that our "wast name" starts with M!  I'm considering buying two slightly smaller m's to spell "Mmm" as it sits in the kitchen window.  But that could be another of Jill's dorky ideas!

Saturday, January 23, 2010

Lazy weekends and HELP my dining room!


We had a wonderful, beautiful day today.  It's so rare to get sunshine here in January, and today was warm and refreshing.  I opened up the windows and let the fresh air wash away the sickies we had last week!  After a bit of cleaning I'm feeling renewed, and the good light meant that I could play with my camera!  This explains the random fruit arranged on the dining room table.

Here are some  pictures of my girls'.  Some people have asked who Boo, Beary and Binks are, so here you go!


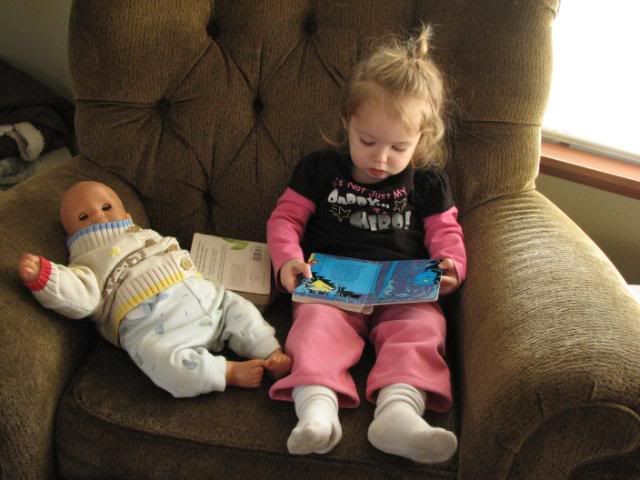
Boo is my middle girl, Ayla.  She's entering those "terrible twos" in the next couple of months and I'm pretty sure she's practicing now.  Here she is with "Bo," her little boy dolly.  It's so funny to me that she chose for her baby to be a boy...very unusual for a little girl!  She's also my little shadow, and loves to do mommy things.


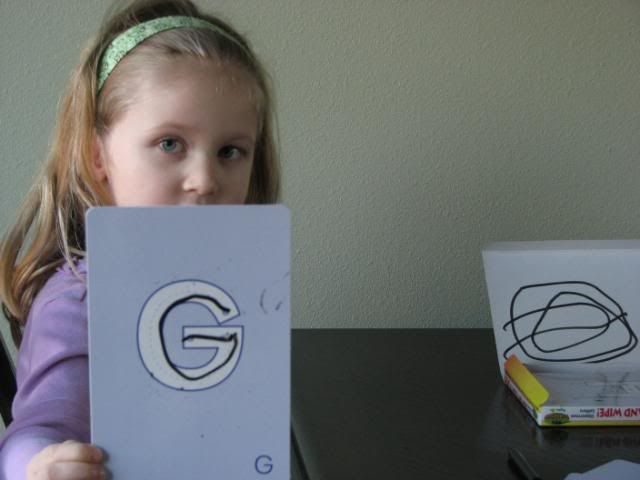
Beary, or Grace, is my oldest.  She is a very "spirited" child that likes to test my boundries every chance she gets. ( I guess that comes with being four!)  She has a heart of gold though (she's  resting on my shoulder above) and adores going to preschool, where she gets to practice her letters.  This is one of her favorite pastimes:
 
Moms:  those cards are Kumon dry-erase cards.  They come in uppercase, lowercase and numbers, along with a pen.  SO awesome!


 And here is Binks, my sweet little Norah.  She's spoiled rotten, as she should be.  After all, she is the youngest, the last, and had a rather rough start in the NICU for two weeks.  I'm sure we'll be payed back for the "rules" we're breaking with her, but it's well worth it.  She loves to smile and is discovering that her hands are actually useful objects, which is a delight to watch.


There you go, those are the lovely ladies that keep me on my toes!


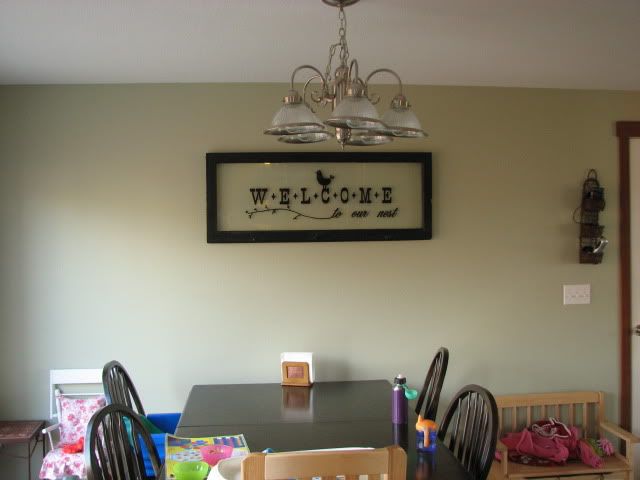
So I need some help.  I'm finally able to start working on some details that bother me in the house, and the dining room is a big one.  It's a small space, and is open to the kitchen and the living room.


You can see the door to the garage on the right, and there is a wide open space to the living room on that side.  The sliding glass door is on the left, just out of the picture.  The kitchen is where I'm standing holding the camera.  So, it's hideous, isn't it?  Here are some things we know we're changing in the room:
We're making a new farmhouse table with a bench soon, and it will take up a good chunk of space.  I think we'll turn it parallel to the wall.  The chandelier light will be gone soon, and I am currently looking for suitable replacements.  I hate that light with a passion!  The little bench will disappear as well because we're building a cubby system in the garage, so won't need it anymore.  What I need help with the most is the wall.  It's a huge, ugly, boring wall!  I was thinking of doing some faux-wainscoting as seen on Frugal Home Ideas, but I'm not sure how that will look with our trim.
The trim.  Oh how I despise thee!  Seriously folks, we're talking paper thin thermo-foil cherry colored trim.  It was the only option when building the house, so we learn to live with it, but as soon as we can afford it, we're upgrading!  I'm going to try a new primer to see if I can paint it in the meantime...any tips?

Any and all ideas will be greatly appreciated!  I need some inspiration


Wednesday, December 30, 2009

Vintage-looking window sign


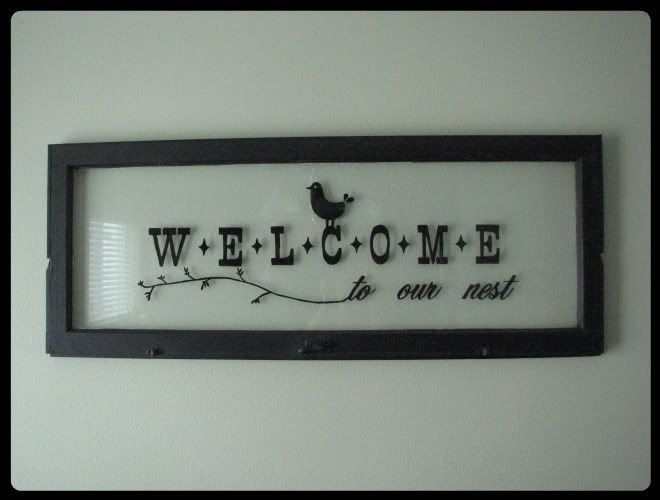
I first saw these signs featured on Dollarstorecrafts.com. I had to make one right away! So off I went to my local ReStore to hunt down some windows. I found a ton of nice and old ones for between $2.50 and $4.00 each! I have since purchased about 20, and am hoarding them in my garage for gifts. In fact, the old house we lived in (beyond scary) while we built this place just got remodeled, and I called the owner (gotta love small towns!) and asked what he was doing with them. Nothin', so they're all mine- he even thanked ME! Sweet deal!

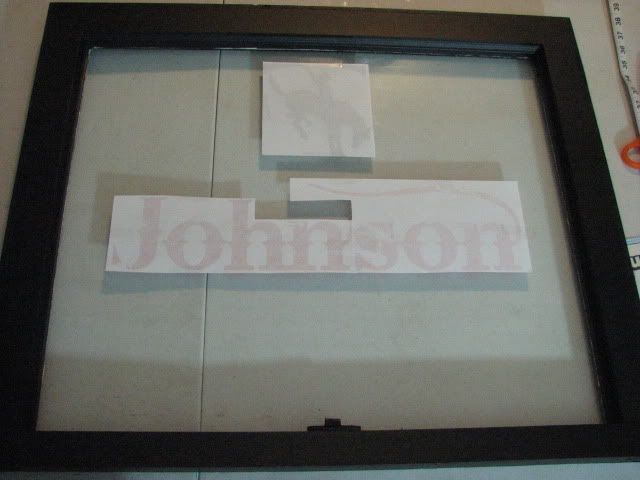
The first one I ever made is at the top. It hangs in our dining room, and I love it! The tutorial on livinglocurto is wonderful, but there are a few things you might find helpful:
1. Cheap flat black spray paint works just fine for the frame. All other colors need a better quality.

2. Mask the window well if you're painting it! And really wash it after you take the masking off. I didn't wash the first one very well, then painted it and OOPS! I couldn't clean it with paint on it!

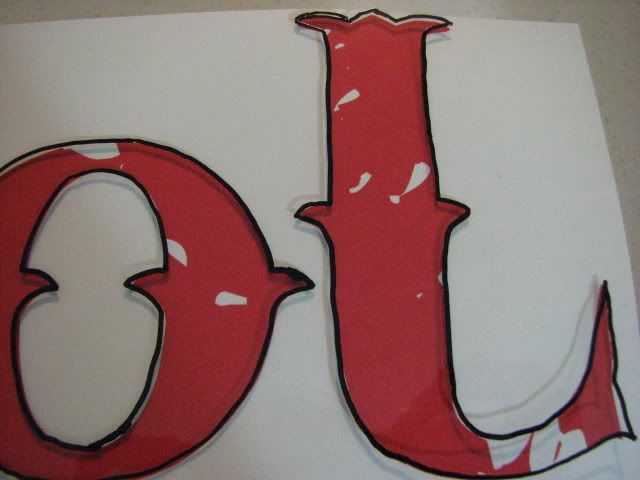
3. I don't have software that can flop images, as I use Word for my images (archaic, I know!) but I do have a print in mirror option! So check your printer settings! And if you have neither, simply outline the opposite side of the printing with marker. OH! And you can find all kinds of awesome vintage fonts online for free!

4. When using black paint on the window, print in red, it seems to be the most obvious!


5. Use a ruler to make sure the template is square on the window!

6. There is a learning curve painting with the thickness of the glass, so have a paper towel handy for oops!

7. If you are right-handed, start in the top left part of your window when painting, then go down, then left and up, in a zig-zag pattern so you don't smear paint!

8. Invest in a paint pen. Sharpie brand works great, and comes in all sorts of colors. Because I prefer the look of black, it's easy! Outline your work, let dry, then it's simple to come back and fill in with paint.


9. DO NOT BUY CHEAP ACRYLIC PAINT! You'll have to put on 4-5 layers, and then you start wanting to throw the window OUT the window! I like the Americana brand at Joann's. It goes on nicely, and rarely needs two coats.

10. Use a really fine tip paint brush, and invest in an angle brush for nice clean lines and corners.

11. Finally, do not leave the window to dry where your child can get to it when you aren't around. For some unknown reason, my oldest (4) decided she needed to STAND on the window while watching cartoons (do they seriously affect their brain cells or something?!) and broke it to pieces. She still doesn't understand why mommy was so upset. She sees an oops! and I see visions of ambulances, ER visits, stitches, surgery, more medical bills, etc etc.... :)


this one is for a relative. I LOVE this font, it's called "bleeding cowboy"


...and if you're in the mood for one last laugh in 2009, head over to awkwardfamilyphotos.com and check out their selection. Here's a few examples (seriously, what is WRONG with people?)


look really closely at this one:


Related Posts with Thumbnails