Showing posts with label kids room. Show all posts

Tuesday, April 27, 2010

This n' that

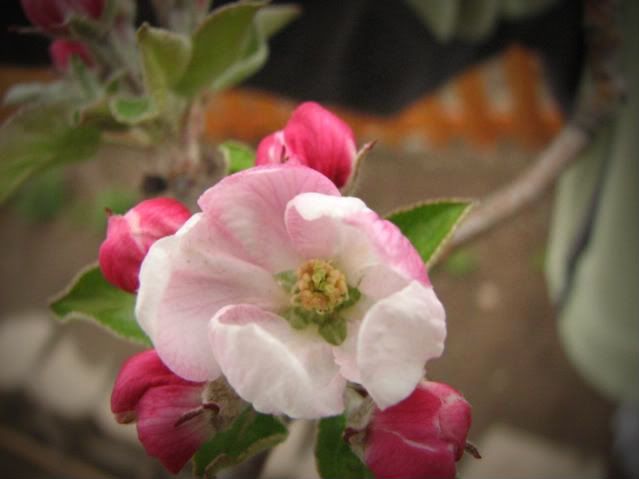
Looking forward to seeing more blooms.  This one is my Pink Lady apple tree, and she's be gorgeous in a week or so!

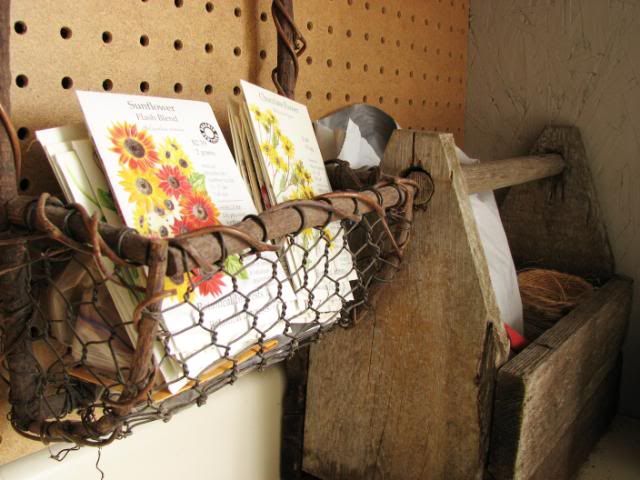
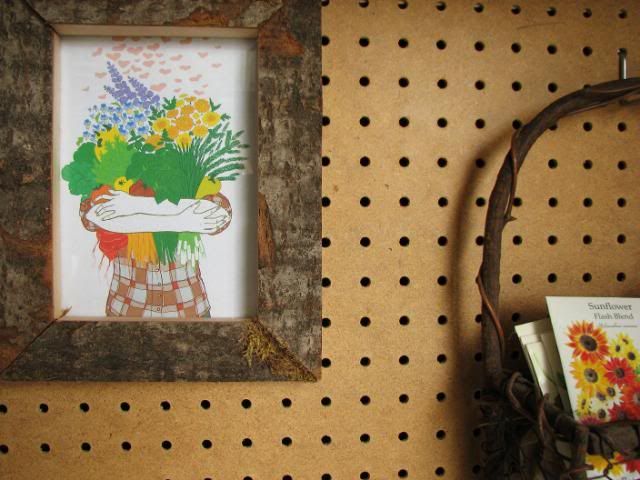
Prettied up my gardening bench.  Now I can see my seeds and actually 
remember to plant them all this year!

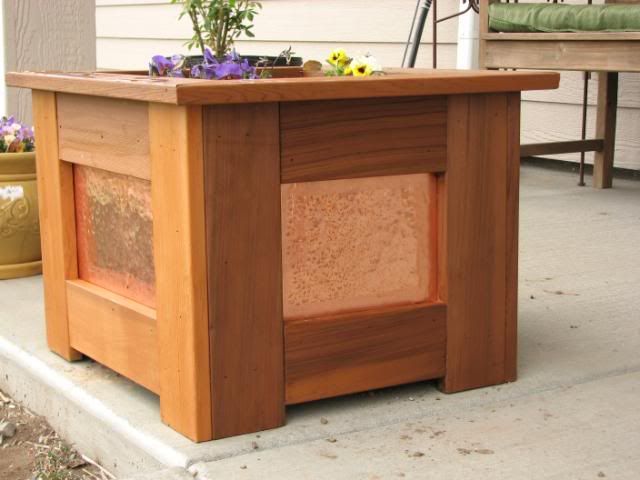
Isn't this gorgeous?  The Hubs made me two of these, with three more on order. His own design, and he even hammered the copper himself!  Nothin' sexier than a handy-man with an eye for decorating!  

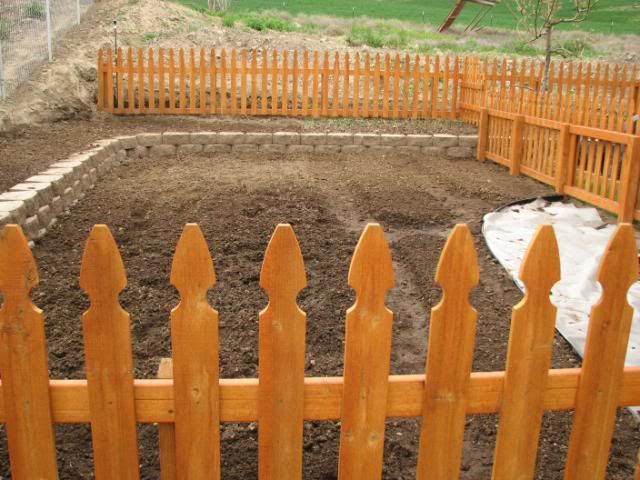
Worked in the garden, which just had some peas, broccoli, radishes, spinach, lettuce and cabbage added to it.  You can see the landscaping cloth where the pea-gravel path will go.  And right where the path ends, next to the gate, will be the CUTEST little enamel sink I found with plumbing so I can wash my veggies outside!

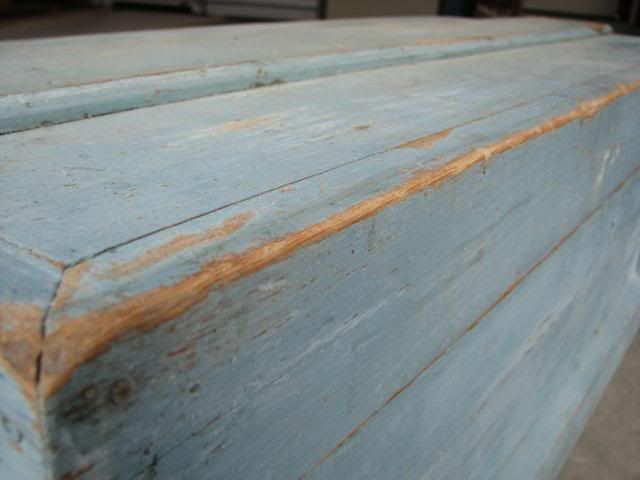
Sneak peek of the new chest going in Boo's beachy room.

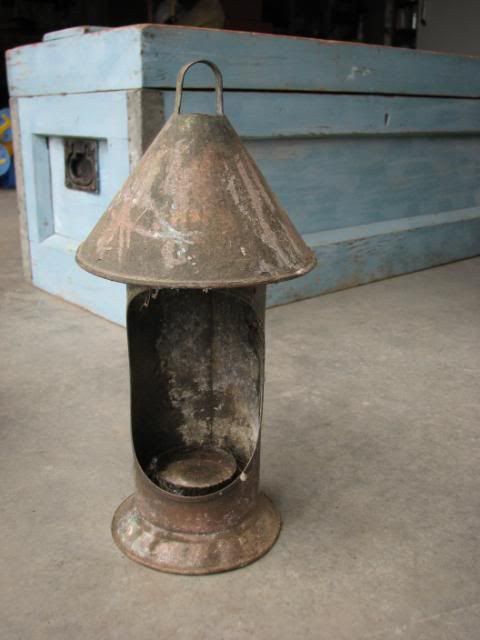
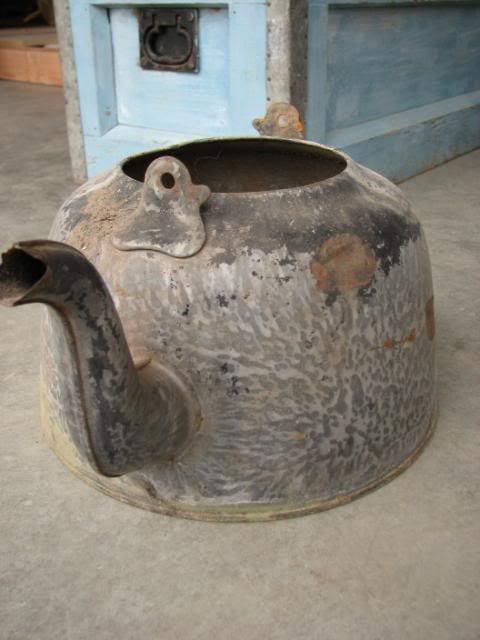
The Hubs has a grandma who passed a while back, and the family has been going through her house. (which is way old and way haunted...I should show you the giant creepy babydoll that Boo brought home)  We go up there with intentions of going through stuff in the house, but naturally I was looking for quirky odds n' ends.  There is this really deep (20 ft+) creek ditch next to the house and when we looked over the edge we saw this really cool kettle sitting in the creek.  I sent the hubs after it, and also had him snag a really awesome wooden ladder that I saw.  The little lantern thingy was in the yard.  Also scored some old windows for painting on!  Seriously, why can my brain not operate like a normal person's?

So what should I do with the kettle and lantern?  I know!  Add them to my already enormous pile of things I need to re-purpose in the garage! (hehe)

Friday, March 26, 2010

Shutters for Boo's room

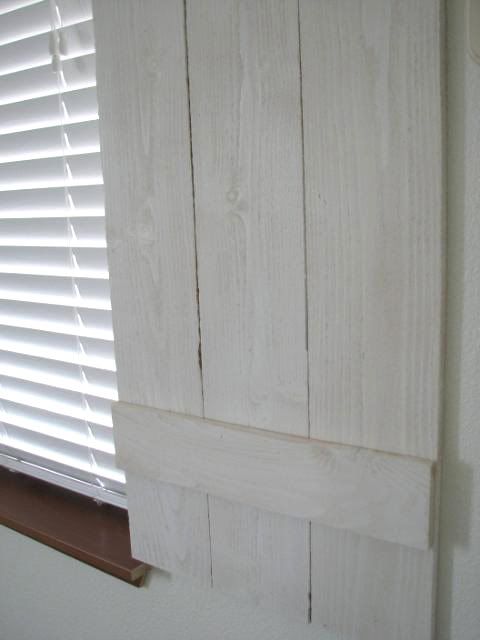
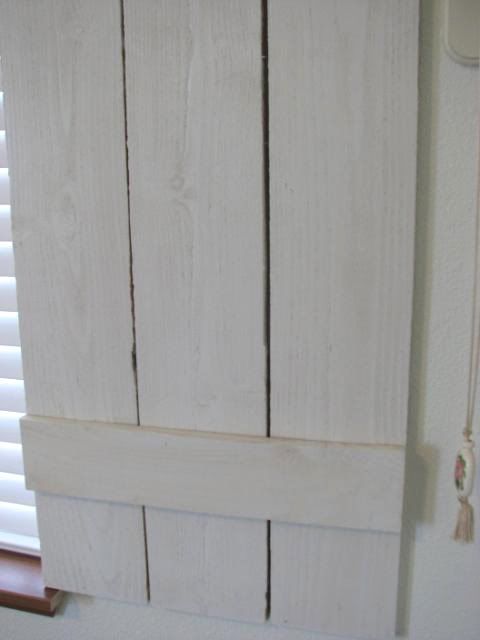
 After I saw this post on The Lettered Cottage I had to have shutters in Boo's beachy room asap.  So the next day (seriously) we drove into town to get some fence boards from Home Depot.  They were on sale for $1.50 each, and we only needed three!  Sweet deal.  The boards were really wet, which turned out to be a really good thing after we hung them.  The hubs cut the boards to length and sanded them a bit so they weren't shaggy.  I then painted on a thin coat of watered down white latex.  I wanted the grain and some of the color of the wood to show through a tiny bit so I left it at one coat.

A little glue and some brads (nailed from the back) later and we've got some rockin shutters!  We hung them on picture hooks because I don't actually want them to work. (they're in a kids room after all)

 Don't they look great?
  
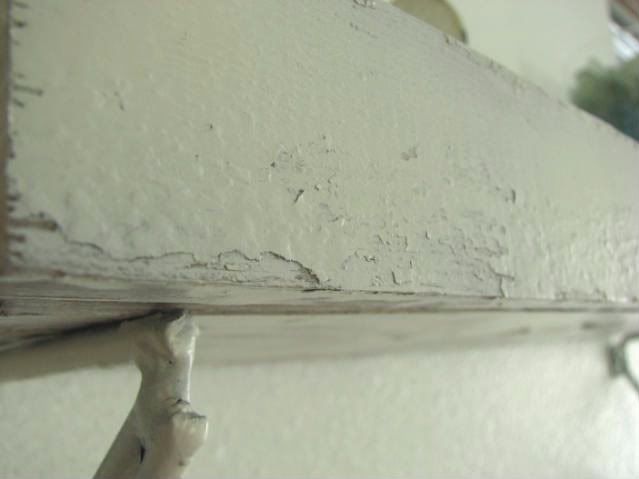
After they dried on the wall a few days the boards are separating and shrinking and looking awesome!
Before
 
After

Saturday, March 6, 2010

Boo's room almost done!


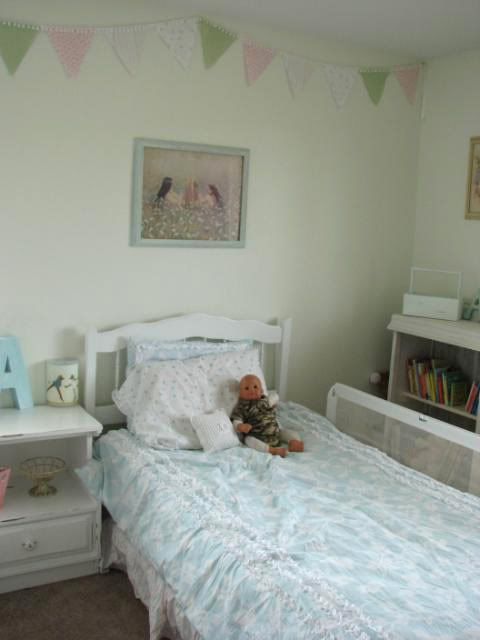
 Boo's room is almost done!  I went with a shabby beach-cottage theme this time, and I'm loving the look of it!  I still have a few small things to do, but it's coming together nicely.  The wall color is Sherwin William's "pearl onion".  The bedding and flag bunting are from the Simply Shabby Chic collection at Target.  The only thing we have to do in here is replace the dresser, which I don't like at all.  And I think I'll add some airy curtains this spring, along with some beachy accents we pick up on our vacation to the coast this summer.   I have some more frames to hang, but I'm not sure exactly what I'm going to put in them yet.  Maybe something like this and this or a sand written message, maybe one that says Rosie?


Here is the room.  I've got a few more things to put up on the walls, and the three-sisters print above her bed will be moving across the room soon.  I'm hoping to find an old paned window frame to go above the bed instead. 

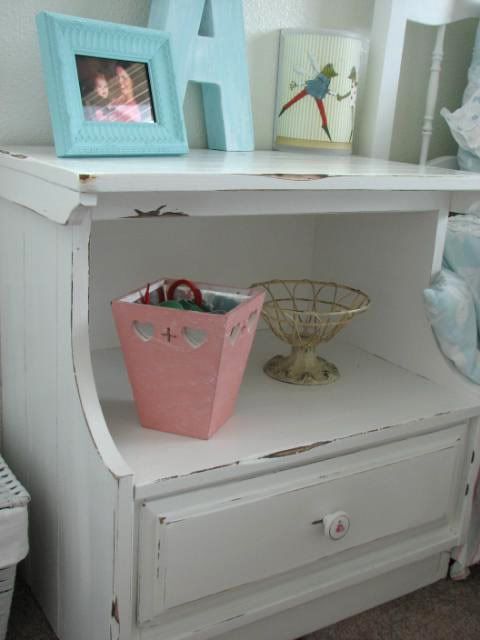
The old nightstand I picked up at the thrift store for $6!  It's gorgeous!  I repainted it and then just sanded it down in a few spots.  I was going to replace the knob with a glass one, but this one has a rose on it and Boo's most-used nickname is Rosie.  So it stays for now!


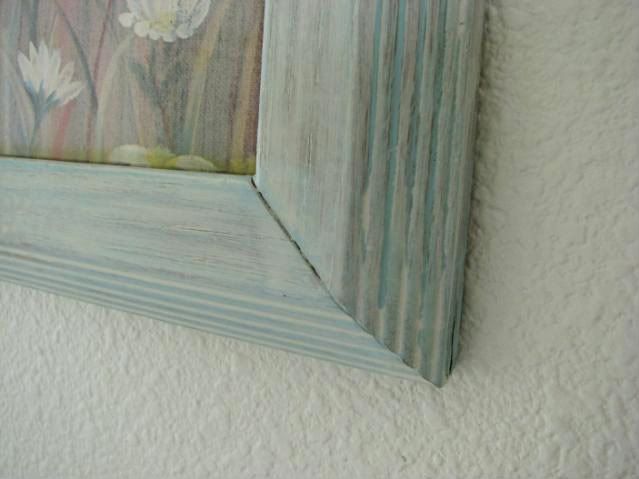
Here is the frame around the sisters' print above her bed.  I got it for $1 and just painted on a really light layer of robin's egg acrylic paint, then another layer of watered down off-white acrylic.  I think it looks great, and you can't beat the price!  I love the print too- I found it at the thrift store shortly after I found out we were having a third girl. 

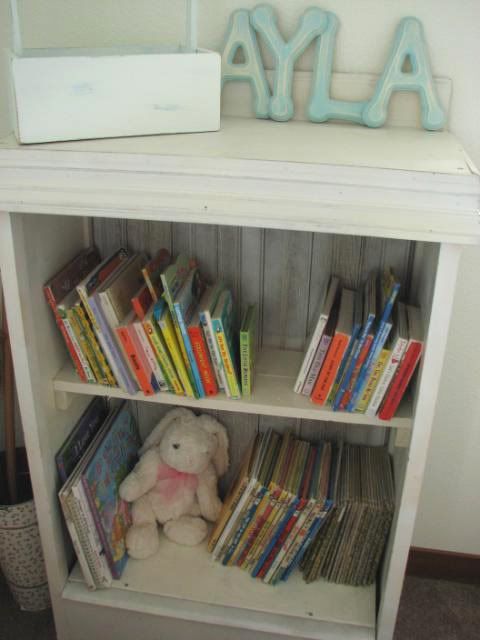
I found this adorable little shelf at a yard sale about two years ago.  The lady was selling this awesome shabby-chic stuff, which is almost impossible to find around here!  I think I paid $2 for it!  The only thing we did to it was pop off the shelf that was originally on it as it was too narrow.  Then the hubs put in some 1x4s and made a simple shelf to hold more books.  A light coat of white & antique white spray paint (my ingenious hubs thought of layering them all on his own!) made it look original!

Here is the shelf we ripped off of the bookshelf.  We painted the raw edges and it was good to go!

Only a few more little details and the room will feel complete.  Then it's on to Binks room!

Linking up to Disney's giveaway at Ruffles & Stuff!

Friday, February 26, 2010

Beary's room update

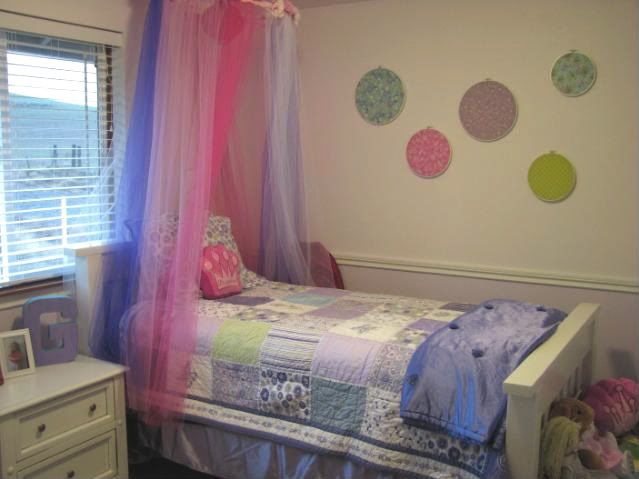
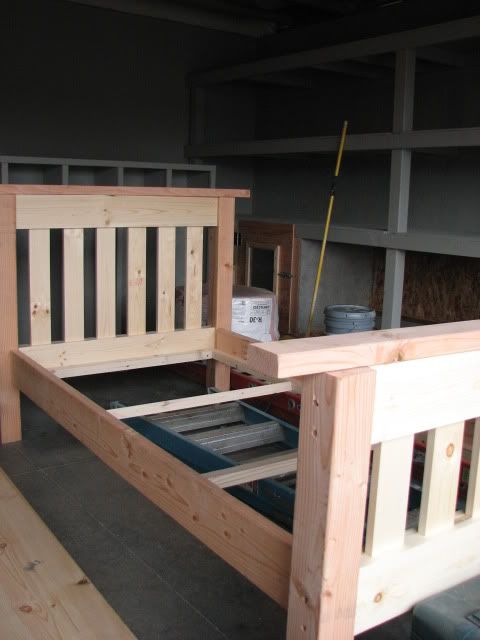
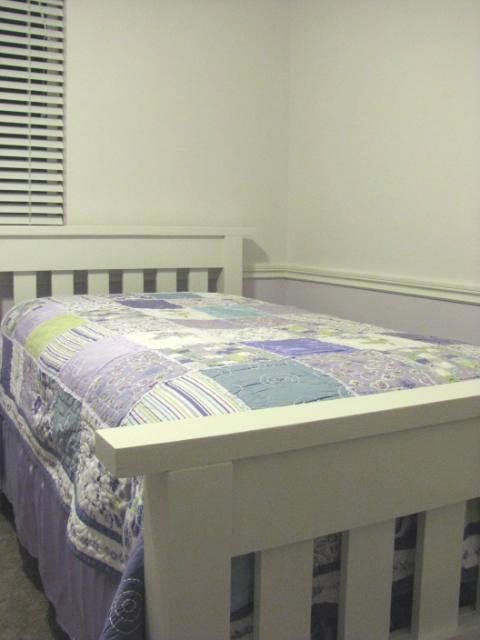
 I *think* Beary's room is almost done!  We got rid of an old, boring bunkbed and made her this bed from knockoffwood's plans.  It was fairly easy, although we ran into some problems.  We couldn't find quality lumber at our Home Depot (small store) so ran into some issues sanding down the stuff we could find.  It's a little rough in spots, but we put those towards the back or inside.  And in our haste, we decided to paint in a 35 degree garage.  Not.a.good.idea.  Seriously, the paint was getting thicker by the second!  Soooo...we'll be more patient on our next project.
 Almost finished!  We added metal brackets to the inside corners of the frame to solidify it more.  Also, we fit dowel ends into the screw holes for a more finished look. (and to prevent random little toys from getting shoved in the holes)

This is a heavy, substantial bed!


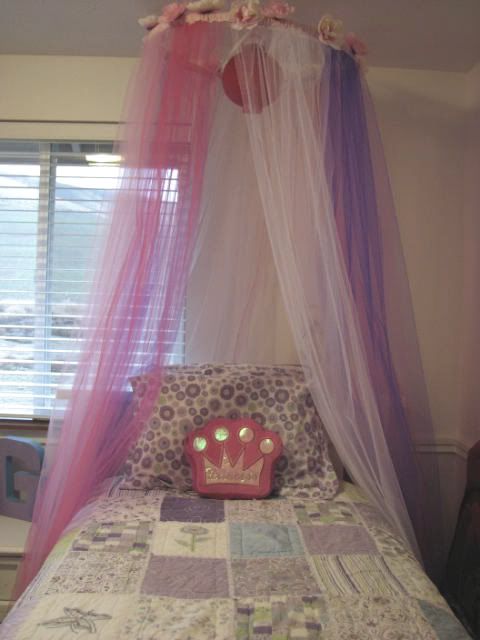
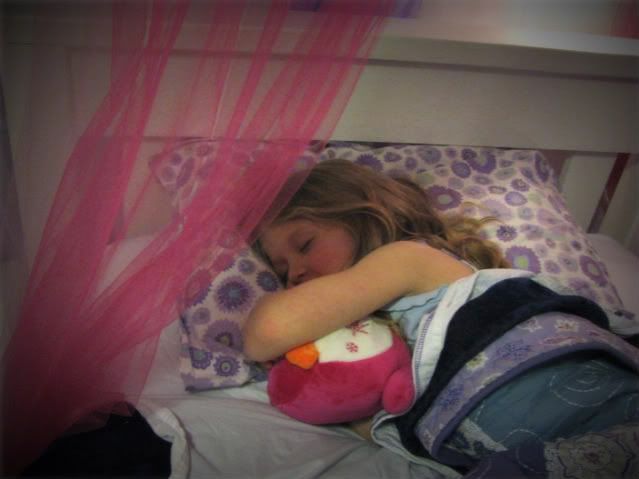
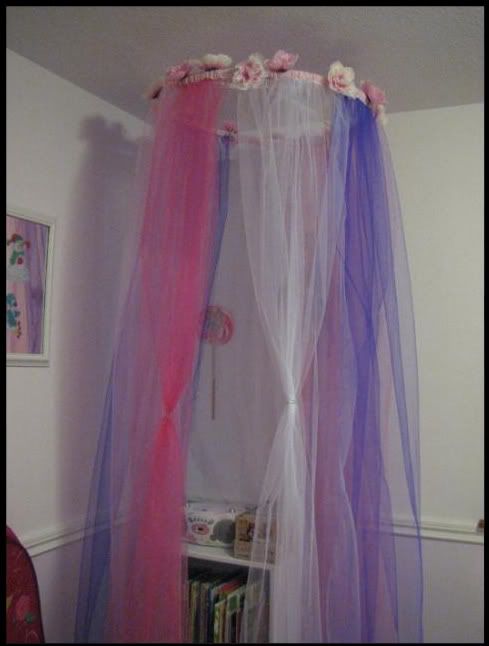
Doesn't the princess canopy from this post look darling?

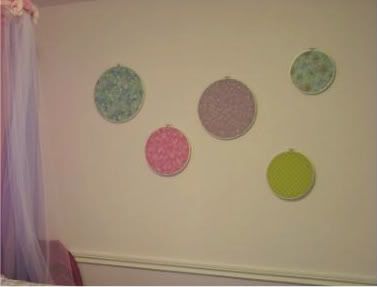
I also added some embroidery hoop art to the big empty wall, although I think I'll try to find some custom art soonish. 

She loves it!

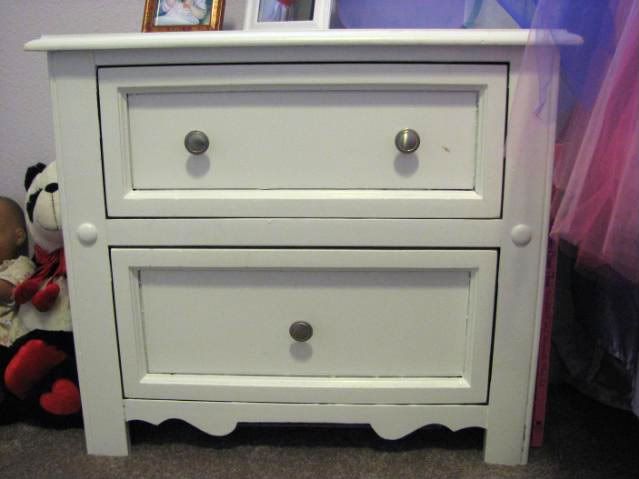
Up next is this nightstand, that I got at a yard sale for $5. It was black with metal drawer insets.  Ick!  We painted it white for the moment, but I'm going to add beadboard to the drawer fronts.  There is a big gap between the drawer front and the drawer trim, and it looks weird!  

Linking up to my dear friend Nicole of Frontier Dreams giveaway.  If you haven't seen her blog, go take a peek!  She is simply amazing.  And I'm so glad she's on my side of the nation now!

Wednesday, February 10, 2010

Project get 'er done: Part Two


Part two of project get 'er done is painting some little things I've had laying around forever!  Do you ever buy something (or find something!) with intentions of re-purposing it or painting it immediately, but find that three months later it's still sitting in your closet?  I do this all the time, and I'm so sick of unfinished projects!

I've had these little things for Boo's room for a while, and because I am currently re-doing her room in a shabby beach theme, I decided to paint them in vintage whites and sea-glass blues.  There is also a picture frame that somehow didn't make the pictures.  I recently picked up a Simply Shabby Chic bed-in-a-bag from Target (along with the matching flag banner!) on clearance.  LOVE it, and the colors are slightly more vibrant that they show online.  They look great with her faded green walls (think really pale sea-glass green) and the new matching accessories match perfectly!

 
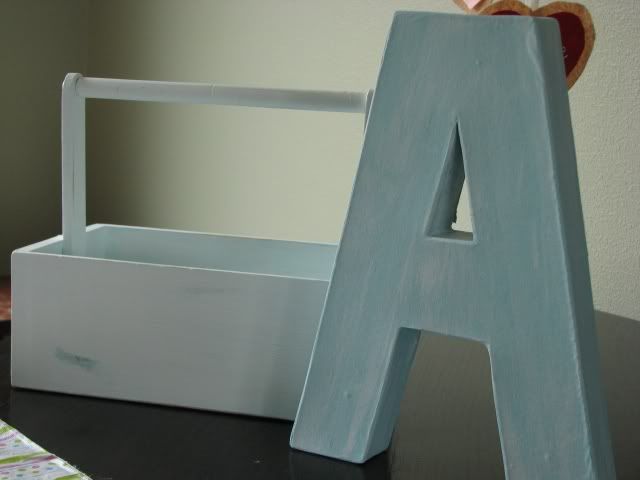
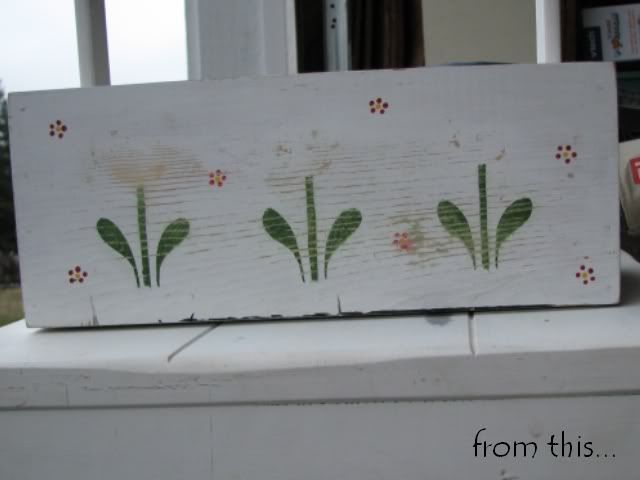
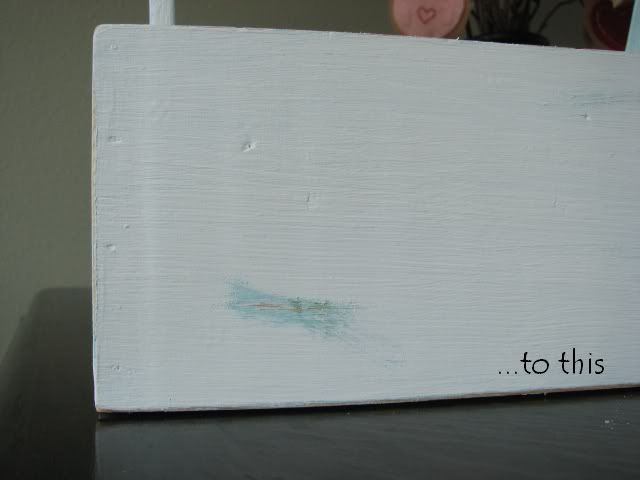
This little caddy will hold the tea set she'll get for her birthday next month.

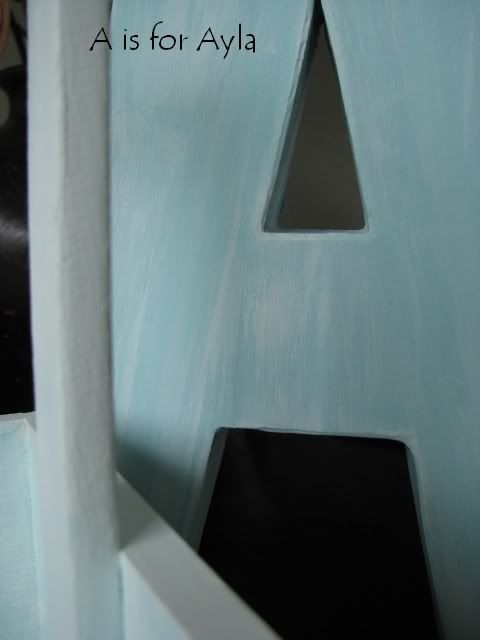
Gotta love these paper mache letters!

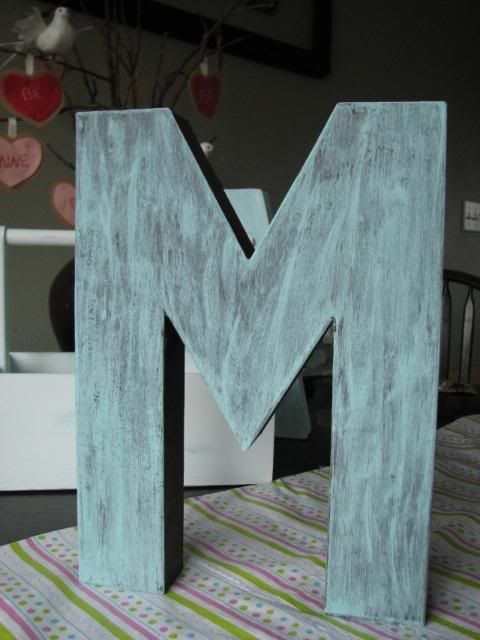
While I was at it, I painted another letter I had sitting around, this one to liven up our kitchen/dining area.  I used raw umber underneath and some aqua tinted with Christmas green on top.  Beary likes to "remind" me that our "wast name" starts with M!  I'm considering buying two slightly smaller m's to spell "Mmm" as it sits in the kitchen window.  But that could be another of Jill's dorky ideas!

Sunday, January 10, 2010

How to organize your decorating ideas the easy way!


Very very simple: join Houzz  and create an ideabook.  I love LOVE this site!  I spend (literally) hours searching for home inspiration.  We just built a cookie-cutter house with very basic features.  Now we're beginning the process of making it our own--adding that personal touch.  I love vintage, the hubs loves rich, earthy textures and large pieces of furniture (can't blame him- he's 6'2"!)  There are some beautiful photos on Houzz, and I have loads of ideas in my ideabook.

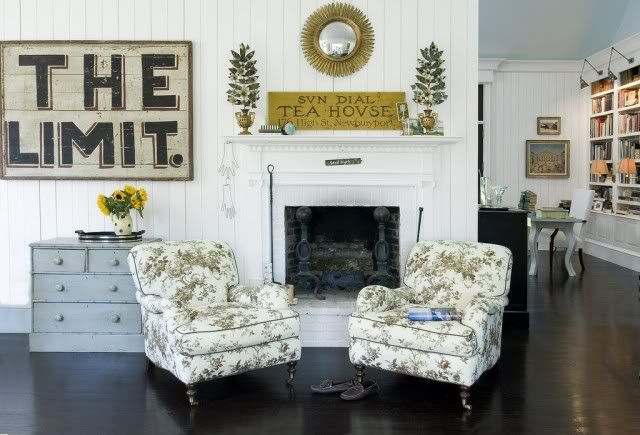
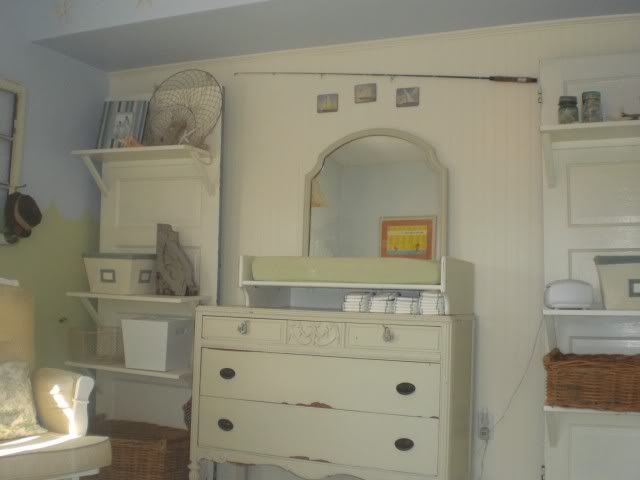
Check this nursery:

How gorgeous would that be for a little boy's room? (sigh)
Those shelves are on my to-do list for spring.  I love making things from old doors and windows!

and this little dollhouse bookcase will be perfect in Binks' nursery.  She doesn't have any shelving for her little books or lovies yet!


Speaking of Binks' nursery, wait until you see the ideas I'm working on for her room.  I just ordered this bedding set from Target.  I love it!  It reminds of me of the infamous Brooke collection from PBK (but a lot more budget friendly).  I see little hedgie and owl pillows, a tree branch mobile with little birdies, and a giant wall-mounted padded tree with moveable animal friends in my future! (check back in the next few weeks for progress reports!)

Monday, December 28, 2009

Tutorial: Dreamy Tulle Bed Canopy

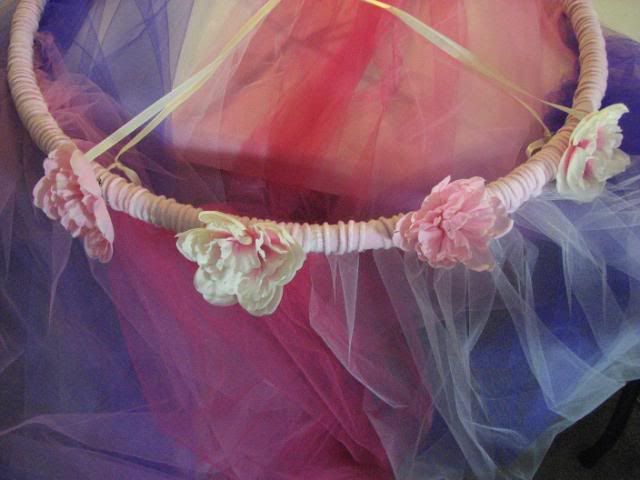
So my oldest has this enormous twin-over-full bunk bed in her room that just has to go. She never uses the top bunk, and I'm sick of staring at a giant pile of animals. But she LOVES her bunks (new house, new bed thing) so we came to a compromise. IF she let me ditch the bed, and replace it with just a twin, I'd make her a big fluffy princess canopy for above her bed. She loves loves princesses and anything girly so she agreed.

I had picked up 16 yards of tulle (4 colors, 4 yds each) at Joann's a month or so ago, and along with a hula-hoop and some fake peonies from the Dollar Tree,, I was all set for supplies.

So, without further ado, here is the tutorial:

Supplies:
*about 16 yards of tulle (the regular stuff on the bolts, I think it's 60" or so?) I used 4yds of 4
different colors
*hula hoop (mine had a circumference of 84")
*Fabric for casing-I used cotton velour that my daughter chose, but you could use cotton or anything else you had.
*Duct tape or electrical tape
*Ribbon, for hanging
*Fabric flowers, extra ribbon, etc.

Directions:
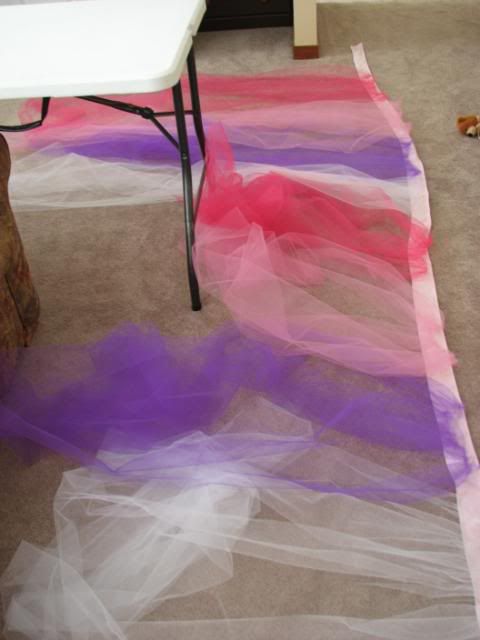
First thing you need to do is to cut your tulle into strips. Because I had four different colors, mine was a bit more complex. I folded each section (4yards each) into half so it was two yards wide and cut on the fold. That gave me two strips 56" wide. In the end I had eight different strips. If you use on color it would be MUCH easier! Set your hoop and tulle aside.
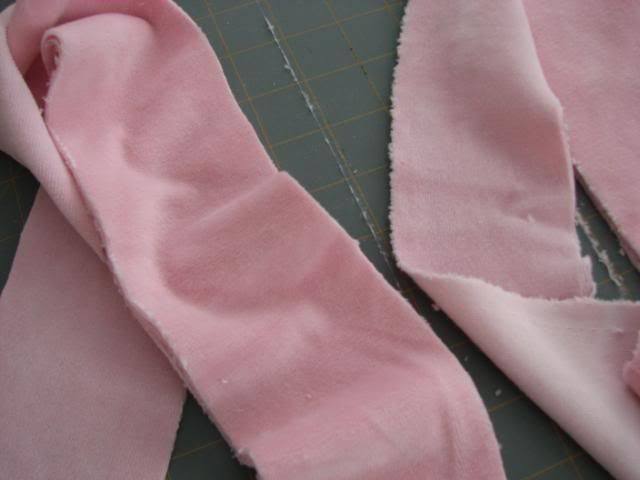
Now you'll need to make the casing for the hoop. Measure the circumference of your hoop around the outside and how wide the casing strip will need to be (to fit around the hoop). Mine was 84" around and I needed about 3" wide strip to fold over the hoop (with room added for a seam) My cotton velour was about 69" long so I doubled it to about 138"(to make it easy!) which allowed for some extra gather on the hoop. Cut your strips out...
...then serge the two pieces together to make one long strip. Now you can serge all four sides of the strip, or zig-zag if you don't have a serger. If you're REALLY picky, you can hem the sides, but make sure to leave allowance for that when you cut.

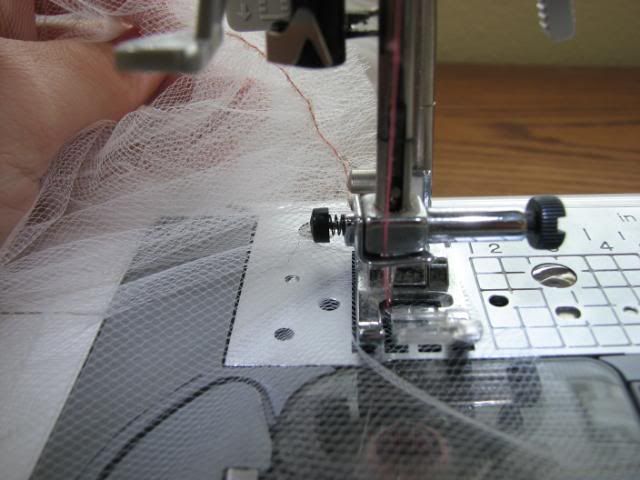
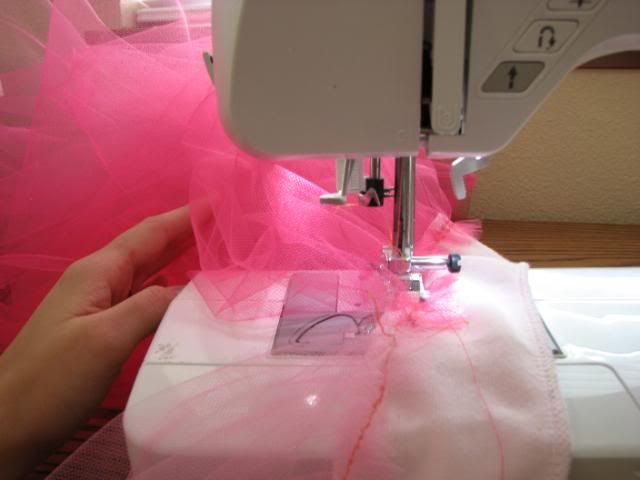
Now for the tulle. I originally left the pieces separate for a more airy look, but in the end I went and sewed all the panels together to make one big honkin piece of tulle. It's your choice...if you have more than one color you can join the pieces or leave them open. If you join them make sure you leave one seam open for an entrance! So, if you decided to leave them separate, gather them all separately. If you joined them together, gather as one big piece. To gather I simply adjusted the tension on my machine to about 6 (mine goes to 9-norm is 4) and set my straight stitch length to the max. This will automatically gather it for you!

Lay the big casing strip out flat with the wrong side up. Lay the gathered piece(s) on top of the casing, pinning in place. IF you decide to add some ribbons to hang down with the tulle, you can add it now, either underneath the tulle (to be on the outside of the canopy) or on top (for the inside) I was out of "pretty" ribbon, so mine will be added later in the week.

Set your tension and stitch length back to normal on your machine. Then begin to sew the gathers into place. Make sure every few feet or so to tuck the already sewn part behind the machine so it doesn't get in your way. Tulle is easy to accidentally catch!
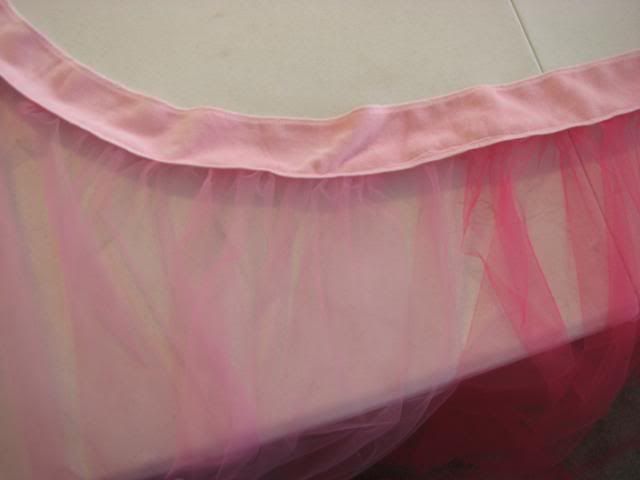
You should now have one big piece of tulle with the casing on top.
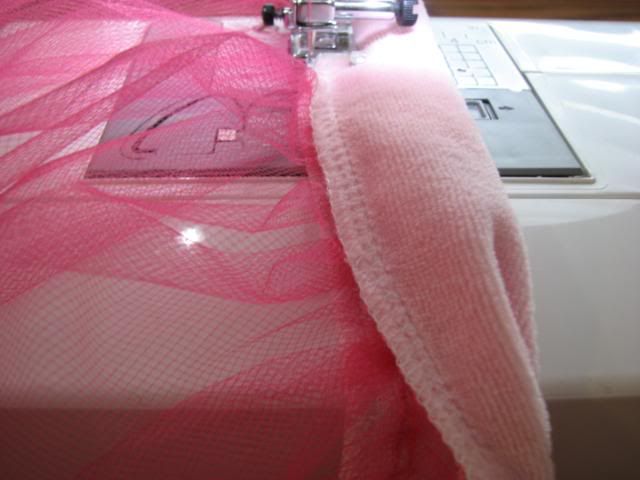
Now it's time to sew the casing closed. Flip the casing over so the tulle is facing up and put under the machine. You can either pin the casing closed (wrong sides together, over the tulle) or you can fold as you go, which I preferred. (Seriously, I hate pinning and it was like 140" worth!)
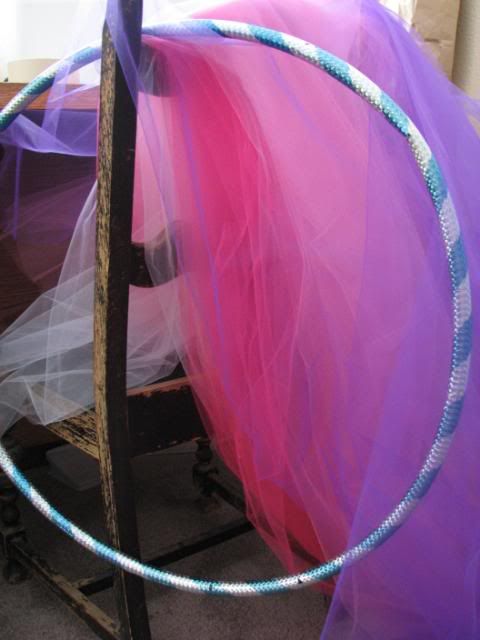
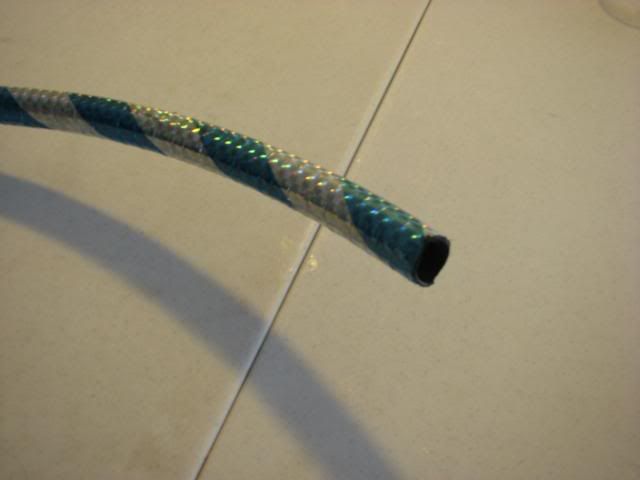
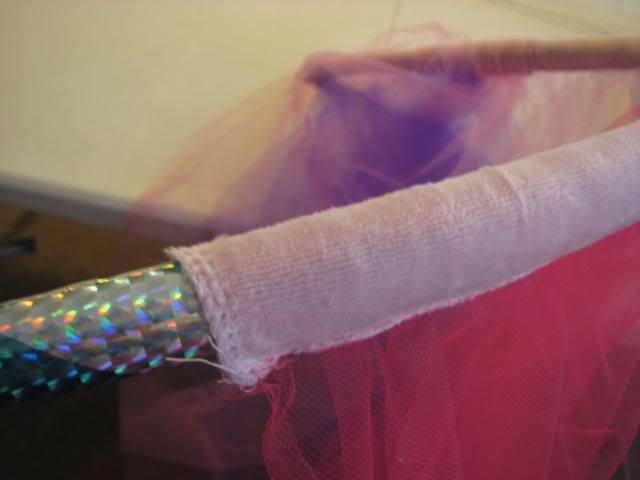
YAY! Hard part is done! Now you can assemble the canopy. First cut the hulahoop in half to create an opening for the casing to go on:
Then pull the casing onto the hoop.
Easy, wasn't it?
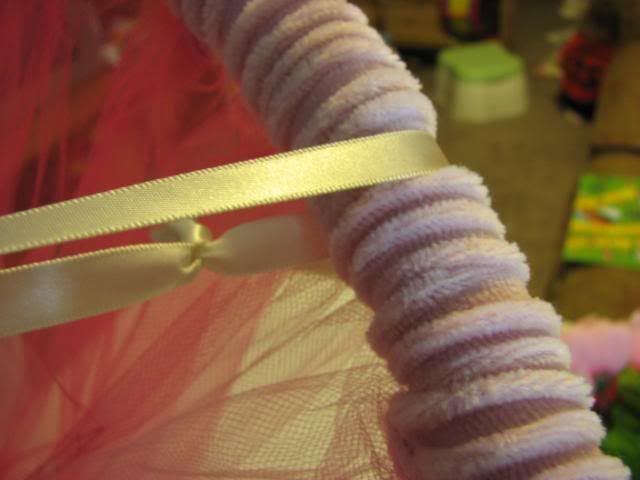
Now either duct tape or use electrical tape to close the hoop back up. Make sure you really secure it or it'll get an odd oblong look to it. I go for about 6" on either side of the cut to really hold that sucker on. To attach the ribbon hangers, imagine a big cross on the hoop, and mark with pins where the points would be. Now cut a tiny slit in the tulle and insert a ribbon through and around the hoop and tie:
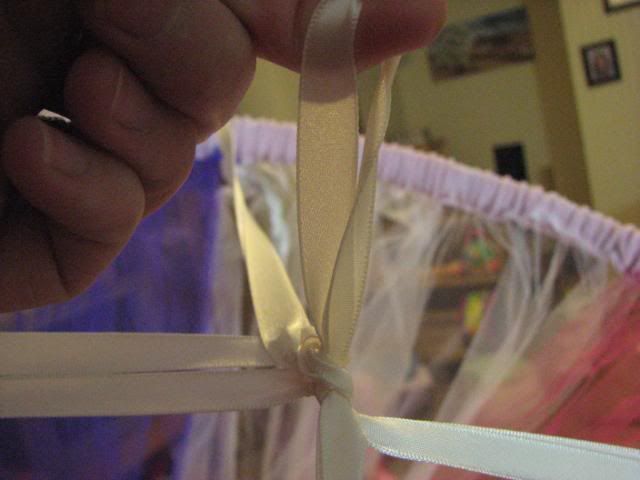
Do that on all four points then tie together in the middle, forming a loop for hanging:
You may have to adjust the length of one or more sides, which is easily done by retying the first spot you tied.

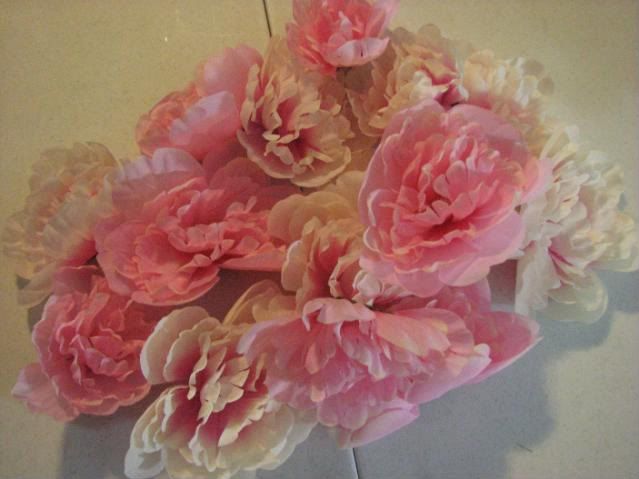
If you want to, you can hot glue (or sew) fabric flowers onto the casing. Make sure to cut the little stem thingy off really short on the underside of the flower before attaching it.


and you're done!

Here it hangs in my daughter's room until the bunk is removed. It will eventually go around her new bed, but that still has to be painted. :)


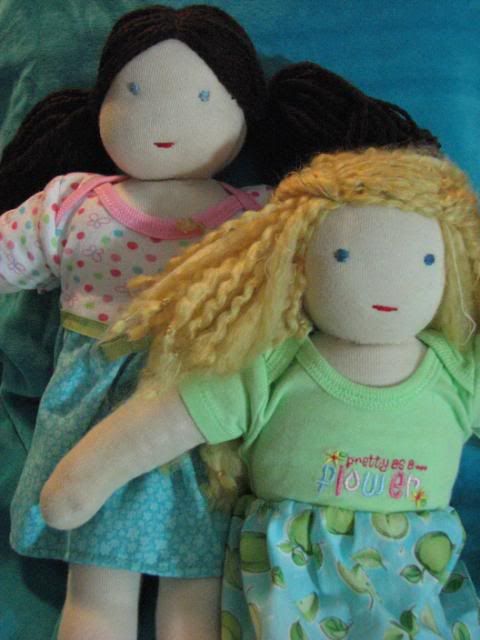
Oh, I want to quickly share what I made my oldest and her best friend for Christmas:
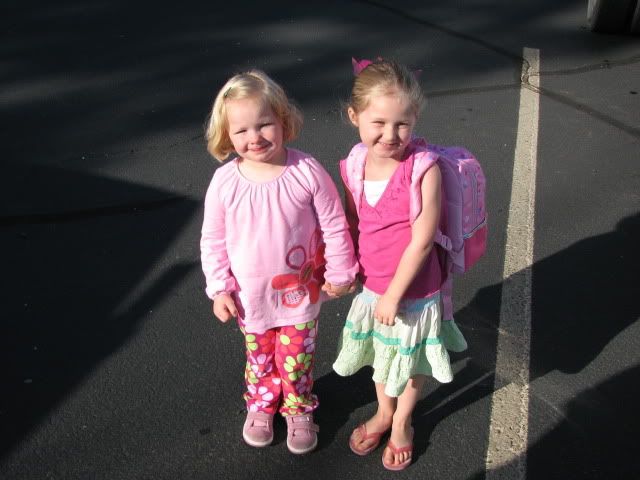
These are Waldorf dolls. They have simple expressions to encourage imaginative play (not everyone is always as happy as Barbie!) They are also stuffed with wool, which makes the limbs firmer. Wool will take heat from the body as well, making them more cuddly. The blonde is for Beary, and the brunette is for her friend L. Unfortunately, the string holding the eyeline on the blonde (to give the face shape, like on the brown haired doll) must have snapped after I made it. You have to really really pull it tightly, and I'm guessing the string must not have been knotted enough. Oh well, she'll still love it! The dresses I made from Binks old nb sized onsies, which i hacked off and sewed little skirts onto. They are going to open them tomorrow (a little late, I know) and I so hope they like them! Beary isn't exactly a "doll" girl, but I'm hoping that when she sees that L. and her have matching dolls, it will become special. Here they are on their first day of preschool:
Goodnight!
Related Posts with Thumbnails