Wednesday, February 3, 2010

Memories of an angel


This will be a hard post to write.  But sometimes these kind of posts touch people in ways you'd never expect, and I hope that it somehow can make a difference.
 One year ago today, an angel went back to heaven after a very brief visit on earth.  His name was Nathan, and was (IS!) my nephew.  He was only 3.5 months old, and he died of SIDS.  SIDS is an ugly, heart-wrenching, scary subject to discuss, but it's so very important for parents to be informed!  In Nathan's case, there wasn't anything anyone could do...his parents did everything right and he was still taken.  But it pays to be informed, doesn't it?  I'll end the post with some links about SIDS.
  Nathan was born October 21, 2008.  He was the miracle baby--the one that surprised us all. (especially his parents!) It was Blake & Sara's first pregnancy, and it was such a joy watching their excitement as she got bigger, and the look on the proud daddy's face when they found out he was a boy! (The hubs was VERY jealous! His lovely brother once upon a time cursed us with all girls!)  When the time arrived for him to be born, mama was VERY ready.  She's a tiny thing and by the end it looked like she couldn't possibly get any bigger!  Of course she was all belly, not an ounce of fat on her! One of those women that looked gorgeous pregnant, very much unlike myself.  We got the call that he had been born, after a grueling labor and delivery--kudos to Sara, who worked so hard!  I had tears in my eyes, knowing the overwhelming joy they were feeling.  I, too had been through infertility struggles and I knew just how precious that baby was to them.  It's different when you've waited for so long--it's like that little ball of stress just melts away the minute you hold your child.  And I knew that's how they must be feeling. 
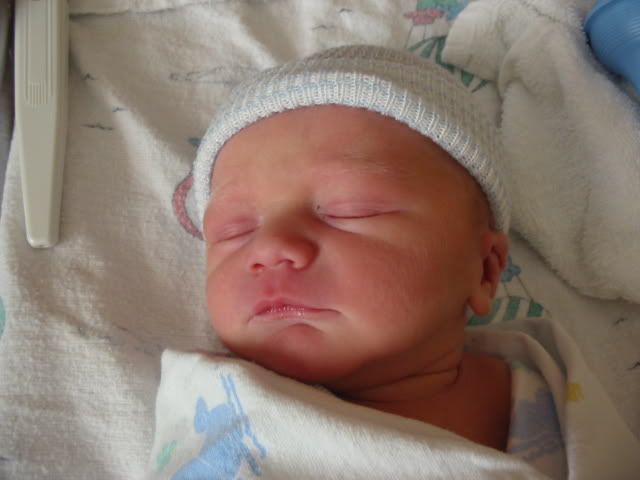
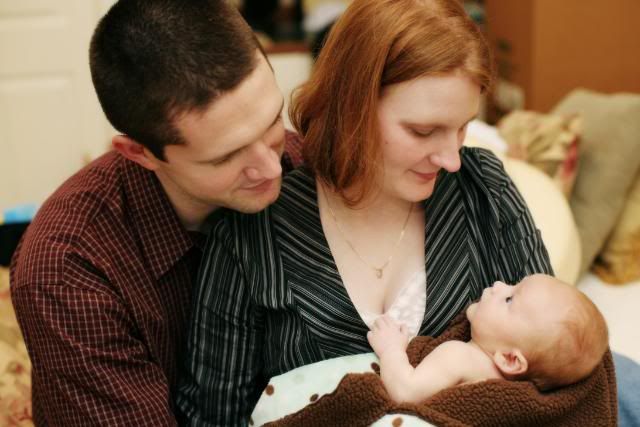
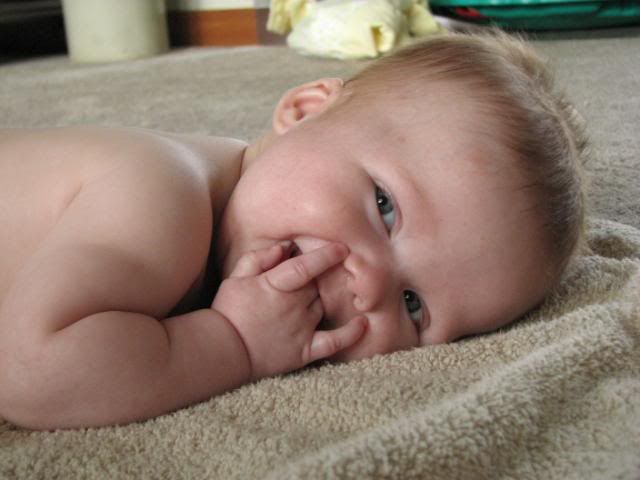
 Nathan was a beautiful little guy.  Look at that fur!  His skin was soft as silk.
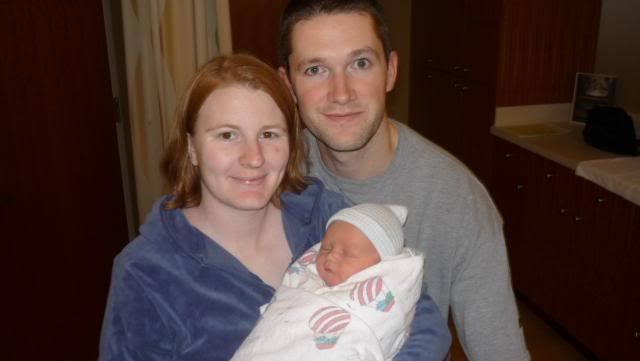
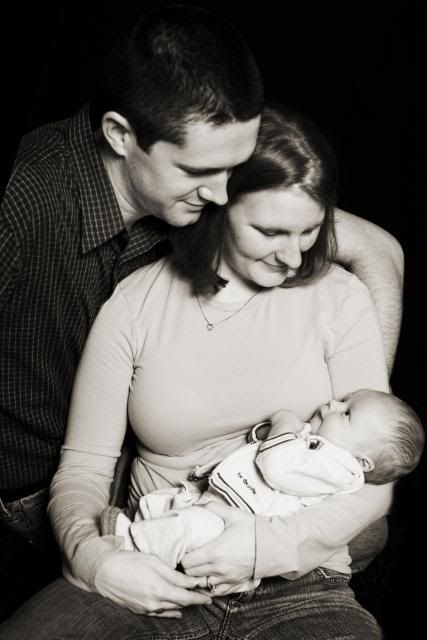
   I've never see two people come alive more than Blake & Sara after he was born.  There was a softness in their eyes, and they were naturals at parenting.  When he was just a little over a month old, they got these amazing portraits taken.  What beautiful memories to cherish.

You can tell just how much he adored his mom & dad.  

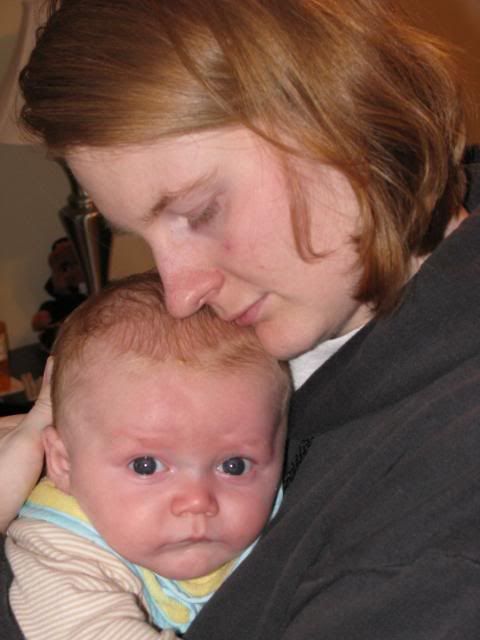
His eyes were always smiling, and he was the most alert baby I'd ever seen!  He made his mama work too-he rolled over at around six weeks old.  Crazy! The picture below was taken at 5:20 in the morning.  Sleep is overrated, right? 
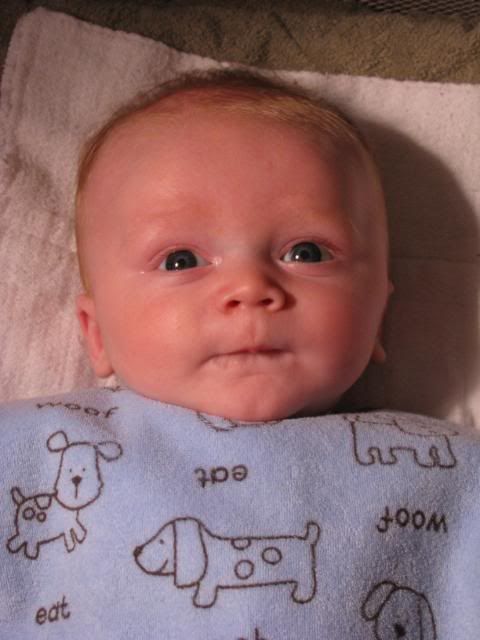
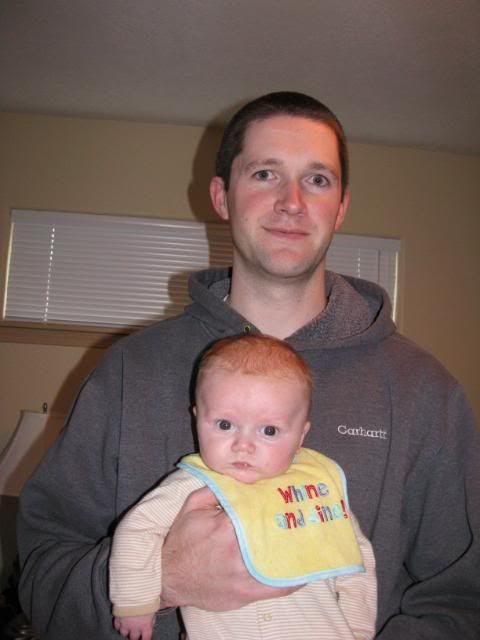
Nathan was loved so much by his parents.  Every time they looked at him they couldn't help but smile!  He completed them, and will forever fill up those holes in the heart that only a child can.
 
 He was, and forever will be, loved so much by so many.  He touched our lives and made us appreciate each minute that we have, especially with our children.  Sara asks that we "Please spend an extra 10 minutes with your kids everyday for me. Love them, hug them, and make wonderful memories that you can treasure for a life time. They grow and change so fast, and you never know what tomorrow will bring."  I live by those words everyday.  In fact, I put it as the banner on my phone. 
We miss him dearly, and are so thankful for the ways he touched our hearts.  He will forever remain a presence in our lives, and even though he's with God now, I know he will always be right there with us.  I can still see his impact on his parents'; that softness hasn't left, and they have graciously turned that towards our children when we needed them last year. I can't thank them enough for being selfless and taking over the hubs and I's roles when we needed them to last summer.  Nathan made them parents for life!

Miss you and love you always little man. 
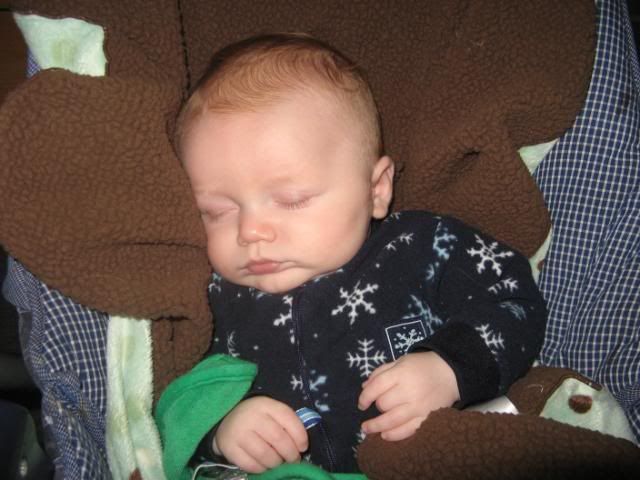


SIDS links:

What to do if a friend or relative loses their baby:
First, visit Firstcandle.org for Do's and Don'ts.  Don't be afraid to talk about their baby.  They need to know that s/he was cherished and loved, and will be remembered.  Share fond memories when the time is right.  Call often.  If you have any pictures of their baby, make a little album, with a copy of the pictures on cd for them.  Most importantly, allow them to grieve.  There is nothing more devastating on earth than the loss of a child, and it will take time to heal.  Let them do that, and be there to lift them up when they need it.  Don't have any expectations of them, especially that things will be "normal" again.  It won't.  They lost their child, how can it be? 

If you can, donate to SIDS research.  The more money they get, the higher the chance that they will discover the cause of SIDS and the more likely they can find a solution.  Firstcandle.org is a reputable company to donate through.  A link to their donation page can be found HERE.

Please keep Blake & Sara and all of those other parents that have ever lost a child to SIDS in your thoughts today.  And if you know one of them, call them today just to say you're thinking about them, and love them.

(Love you guys!)

Friday, January 29, 2010

Thrifting finds: vintage lace

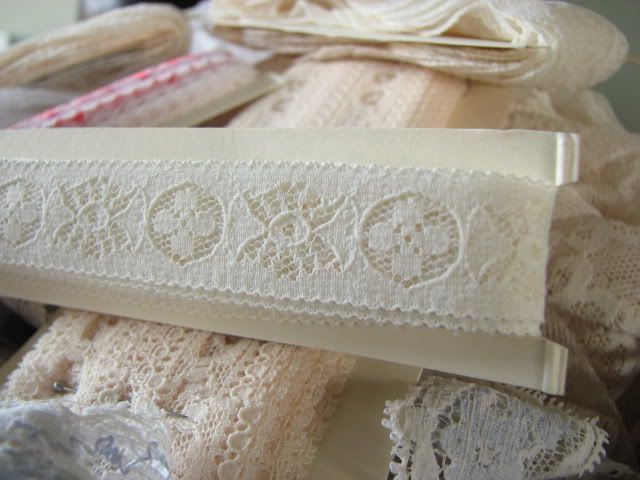
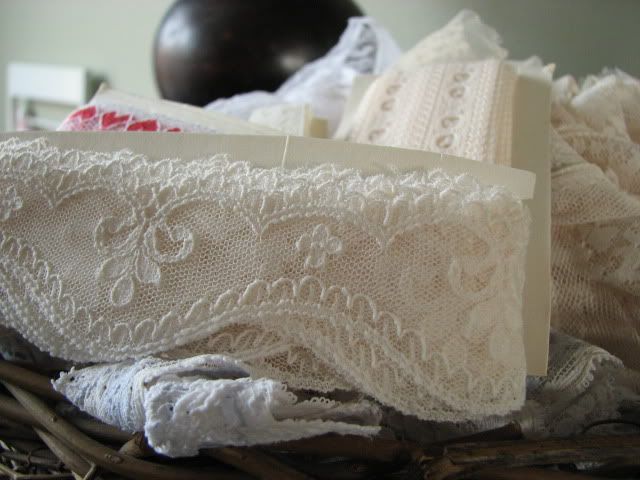
 Twice a week while Beary is in preschool, the littles and I get to head to our favorite thrift stores to see what's new.  There usually isn't much, as the town only has 13,000 people and we only have two major thrift stores. And the prices!  PUHlease.  I once found a Mrs. Butterworth syrup jar, cleaned out and label removed, marked at $2.99.  Serious!  But occasionally I find some great deals on truly amazing things.  This happened on Tuesday when I found yards and yards of vintage lace for under a dollar a bag, AND it was 40% off day!

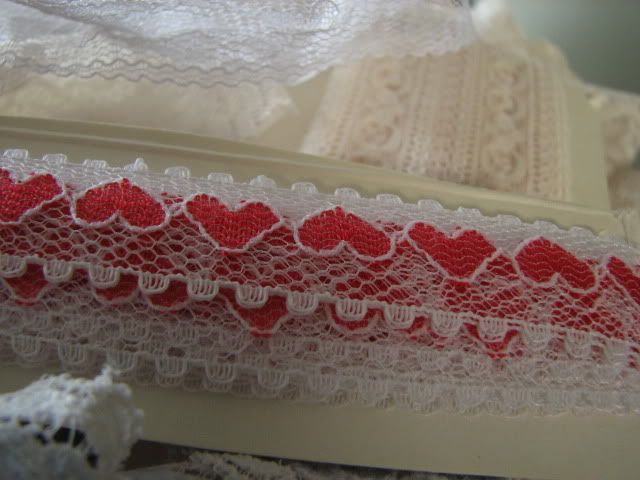
There was some really wide stuff in the bag, perfect I think for making some ruffly lace pillows for Boo's room (shabby chic theme)  And do you see that beautiful red heart piece on top?  
 
 Perfect for v-day! (if I can kick this sinus infection with enough time to create!)

Love the scallops on the one above.  It may end up in some form on an Easter dress. (ok, totally off topic, but I am SO excited to have three little girls to sew coordinating dresses for!)

 
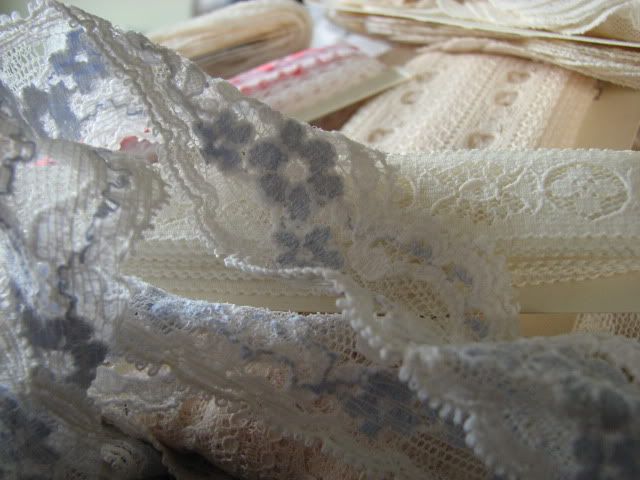
Lots and lots of this blue stretch lace.  It reminds of me of something you'd make a garter belt out for your wedding day.  Any ideas as to what I should use it for?

Here's a bit of sunshine to brighten your day:


Sunday, January 24, 2010

Tutorial: Easy Peasy valentine's idea


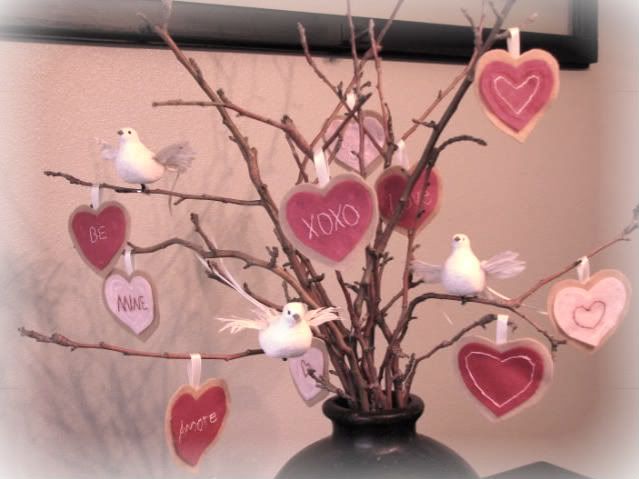
Lately I've loved looking at the gorgeous valentine's decorations everyone is coming up with.  Here is mine, and it's cheap (yay!) and easy!  You gotta love a nice felt craft!

I love sugar cookies.  Especially those that are so beautiful you feel guilty eating them.  They seem to come out of the woodwork around V-day, and I always seem to forget to pick some up (and never seem to have the time to make them)  I came up with this idea when I looked at my big box of felt and just knew there had to be some cutesy thing I could make from it.  I didn't want to spend any money buying supplies, so I made do with what I had laying around.

Supplies:
Felt:  Pink, red, hot pink and tan are what I used (just the cheap acrylic stuff)
Embroidery thread in contrasting colors and a needle
glue (I used hot glue)
ribbon to match
tree branches to hang them from (mine are from the apple tree)

Find a nice heart shape that you like (I made mine up, but I've used cookie cutters before) and cut out as many as you'd like from the tan felt.  Find a slightly smaller heart and cut out the "icing" colors from your other felts.  Figure out what sayings you'd like on the hearts and write them on the icing hearts with a sewing marker (the kind that washes away with water)  Using 3 to 4 strands of your embroidery thread, stitch the words that you just wrote using a backstitch.  (that's what I find easiest, as I'm NOT an embroiderer by nature!) 
 

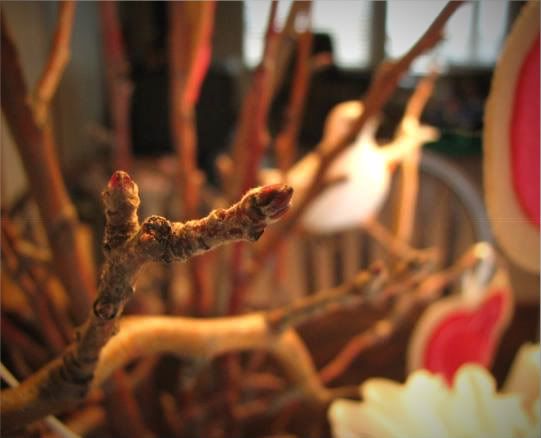
Once you finish your words, glue the smaller hearts onto the larger tan hearts.  Attach small loops of ribbon to the back of the tan hearts with hot glue.  Gather your branches and twigs into a bundle and hold it all together with a rubber band.  Place in a vase if you'd like, then twist and turn the branches until you like the way they look.  I was originally going to spray paint mine white, but when I saw the little buds on them I just couldn't.  They are such a beautiful reminder that spring is just around the corner! (I say this as it's snowing like crazy outside)

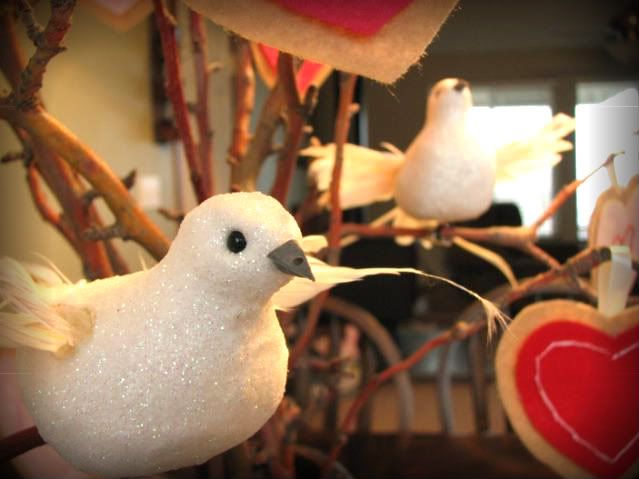
I found some clip on birds in the 90% off christmas section at Joann's for $0.49 each!  They were perfect for my V-Day tree, and I think they might just stay there year-round.  I've also got some great feathered friends from the Dollar Tree that I found around Christmas time.


and seriously, how cool is photobucket's editing software?
This would make a great valentine!

These "cookie hearts" would make a great garland as well. Just poke small holes in each "hump" of the heart and string onto a long piece of ribbon and then hang!  Have fun!

Linking this to DIY day on A Soft Place to Land


Saturday, January 23, 2010

Lazy weekends and HELP my dining room!


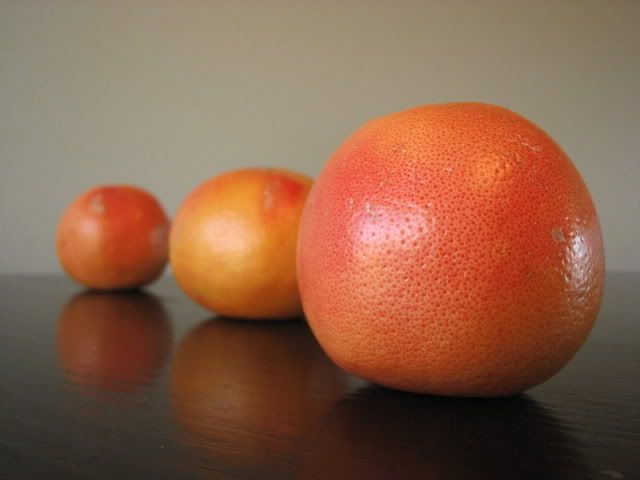
We had a wonderful, beautiful day today.  It's so rare to get sunshine here in January, and today was warm and refreshing.  I opened up the windows and let the fresh air wash away the sickies we had last week!  After a bit of cleaning I'm feeling renewed, and the good light meant that I could play with my camera!  This explains the random fruit arranged on the dining room table.

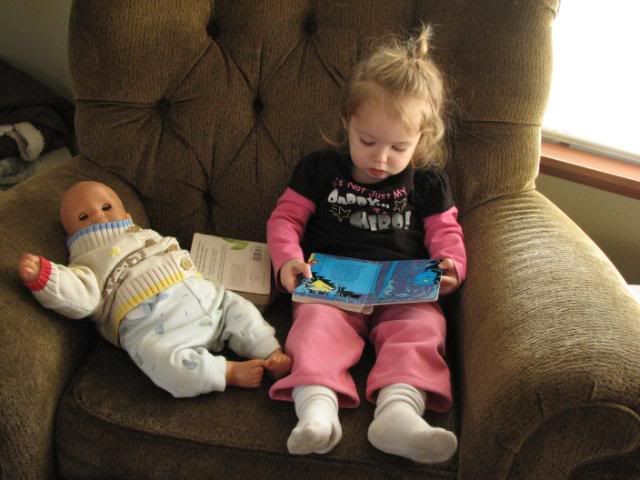
Here are some  pictures of my girls'.  Some people have asked who Boo, Beary and Binks are, so here you go!


Boo is my middle girl, Ayla.  She's entering those "terrible twos" in the next couple of months and I'm pretty sure she's practicing now.  Here she is with "Bo," her little boy dolly.  It's so funny to me that she chose for her baby to be a boy...very unusual for a little girl!  She's also my little shadow, and loves to do mommy things.


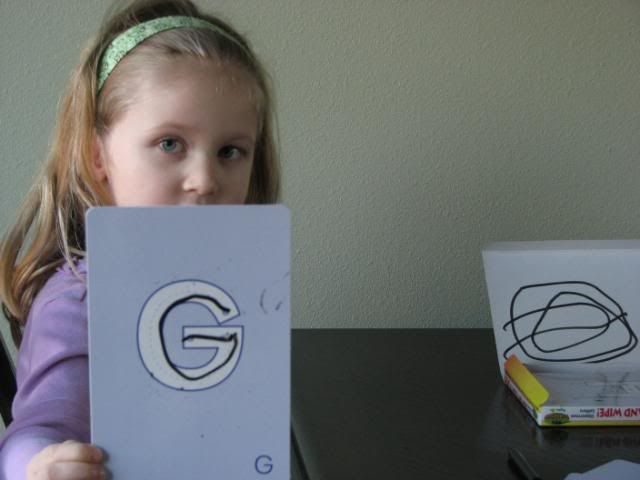
Beary, or Grace, is my oldest.  She is a very "spirited" child that likes to test my boundries every chance she gets. ( I guess that comes with being four!)  She has a heart of gold though (she's  resting on my shoulder above) and adores going to preschool, where she gets to practice her letters.  This is one of her favorite pastimes:
 
Moms:  those cards are Kumon dry-erase cards.  They come in uppercase, lowercase and numbers, along with a pen.  SO awesome!


 And here is Binks, my sweet little Norah.  She's spoiled rotten, as she should be.  After all, she is the youngest, the last, and had a rather rough start in the NICU for two weeks.  I'm sure we'll be payed back for the "rules" we're breaking with her, but it's well worth it.  She loves to smile and is discovering that her hands are actually useful objects, which is a delight to watch.


There you go, those are the lovely ladies that keep me on my toes!


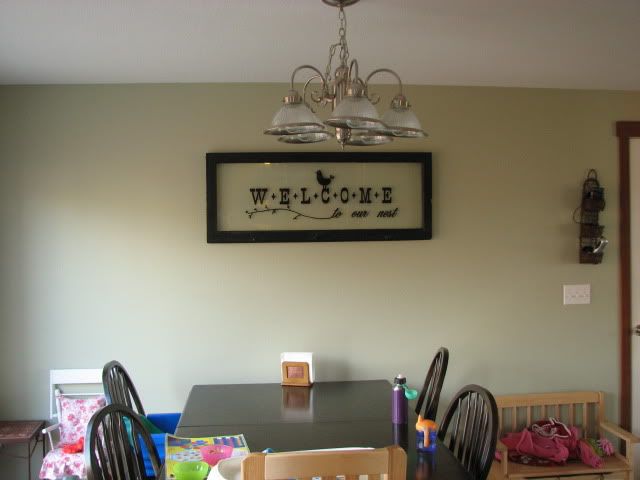
So I need some help.  I'm finally able to start working on some details that bother me in the house, and the dining room is a big one.  It's a small space, and is open to the kitchen and the living room.


You can see the door to the garage on the right, and there is a wide open space to the living room on that side.  The sliding glass door is on the left, just out of the picture.  The kitchen is where I'm standing holding the camera.  So, it's hideous, isn't it?  Here are some things we know we're changing in the room:
We're making a new farmhouse table with a bench soon, and it will take up a good chunk of space.  I think we'll turn it parallel to the wall.  The chandelier light will be gone soon, and I am currently looking for suitable replacements.  I hate that light with a passion!  The little bench will disappear as well because we're building a cubby system in the garage, so won't need it anymore.  What I need help with the most is the wall.  It's a huge, ugly, boring wall!  I was thinking of doing some faux-wainscoting as seen on Frugal Home Ideas, but I'm not sure how that will look with our trim.
The trim.  Oh how I despise thee!  Seriously folks, we're talking paper thin thermo-foil cherry colored trim.  It was the only option when building the house, so we learn to live with it, but as soon as we can afford it, we're upgrading!  I'm going to try a new primer to see if I can paint it in the meantime...any tips?

Any and all ideas will be greatly appreciated!  I need some inspiration


Saturday, January 16, 2010

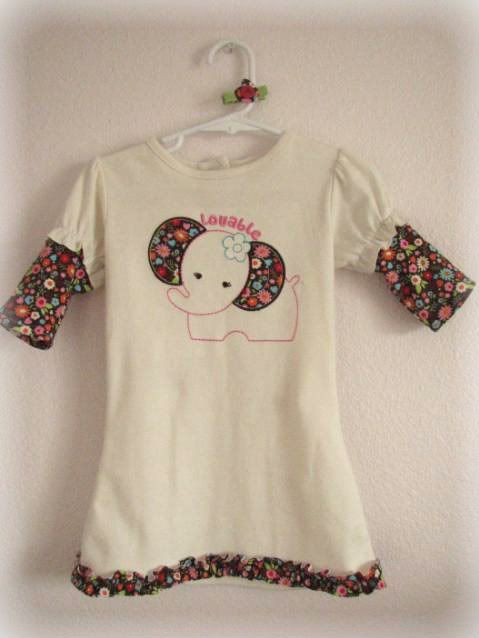
Tutorial: baggy romper to cute dress

 
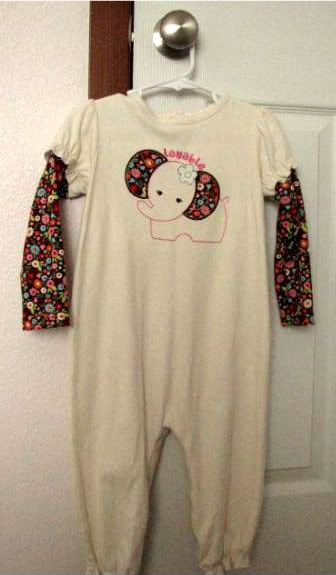
 Changing unflattering clothing with cute features into something adorable is really not that hard!  If I can do it, anyone can.  I found this romper with an adorable elephant on it on clearance a while back.


It was one of those enormous bubble rompers, which I just don't like that much on toddlers.  Babies, maybe, but not my almost two-year-old.  Originally I was going to make it into a short-romper with an attached skirt, but changed my mind once I hacked the legs off.

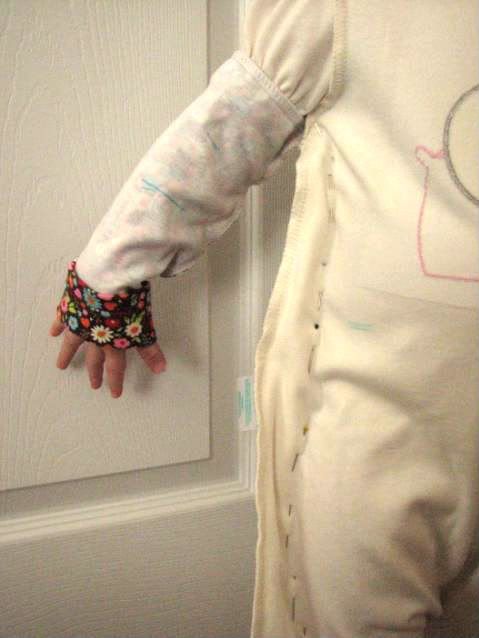
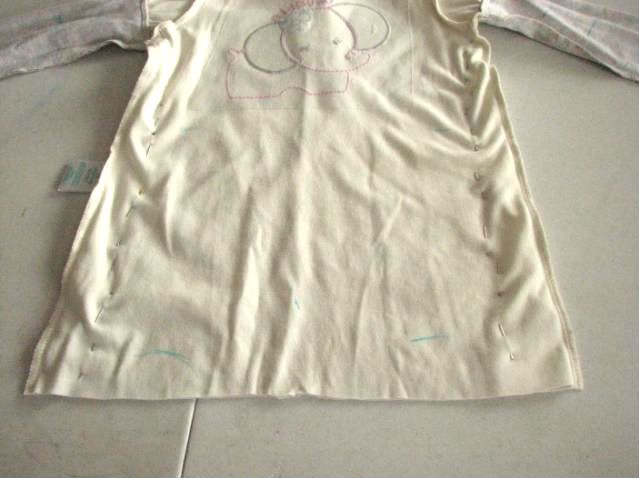
First thing you'll want to do is try it on your child inside-out.  Then pin or mark the general lines you want it to be.  I wanted this dress to fit more like a tunic, fitted through the hips.  I didn't realize until after I made it that a fitted shape would just accentuate her little pot belly! 

You can see I pinned the sides in a bit, and marked where I wanted the sleeve to fall. I like 3/4 sleeves on Boo because she chews on longer sleeves when she sucks her thumb.


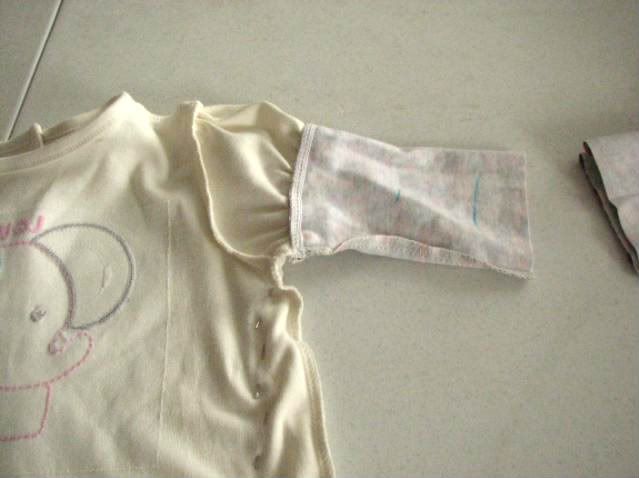
Here it is after I removed it and chopped the legs and arms off.  I didn't take pictures of the next step, but you mark with your sewing pen the lines you pinned on the sides, then stitch or serge on those lines.  I actually went from the bottom of the dress clear up and around the armpit to the end of the arms, making the arms a big tighter-fitting.  I really wish I could have gotten better pics of the next steps, but the light in our family room at night is awful!

After the sides are stitched, turn right side out and iron seams.  Then fold up hems on the arms and bottom edge of dress.  I didn't bother doing a narrow hem or serging because jersey doesn't unravel!  Iron again after stitching.


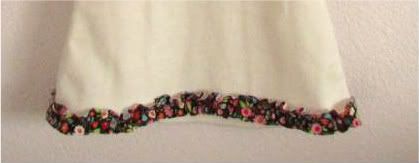
I decided the bottom was too plain, so I added some ruffles I made from the leftover arm scraps.  I cut them into 1" strips then ruffled them on my machine.  If you don't know how to do this it's easy!  Set your tension to the highest and the stitch length to the longest.  Then stitch the center of the strip you cut.  Don't worry about back-stitching.  The machine will automatically ruffle it for you!  I amazingly had exactly enough (how does that happen?) do go around the bottom hem of the dress.  I laid them out, overlapping each one a tiny bit, then stitched in place.


Look how excited Ayla (Boo) is!


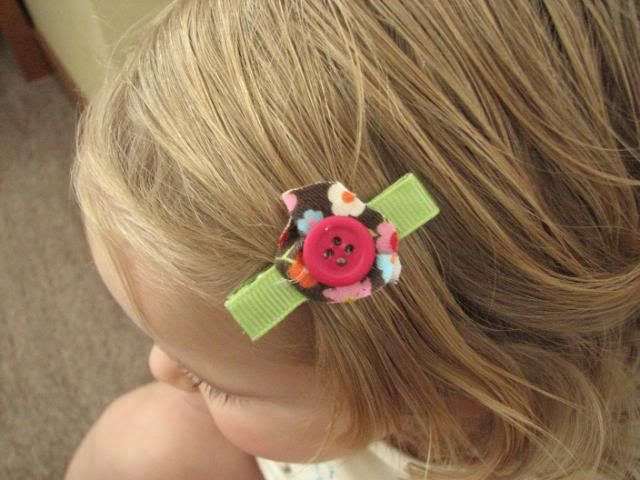
And of course every new outfit must include a matching hair clippie!
Did you know you can get a box of 100 clips at Sally Beauty Supply for less than $6.00?  Wow.
This one I used lime green grosgrain and simply hot-glued on a loose-flower shape with a button.


 I hope everyone has a fabulous weekend!

Tuesday, January 12, 2010

Tears of Joy...heaven online.


I just discovered the most amazing site.  For all those handy DIY carpenters out there (such as the hubs and I) this site will save you loads of time!  It's called Knock Off Wood, and for those feminists out there (again such as I) it's furniture plans (think Pottery Barn and Land of Nod) by a WOMAN! *gasp*  If I have another daughter, I may just name her Ana.

A bit of history:
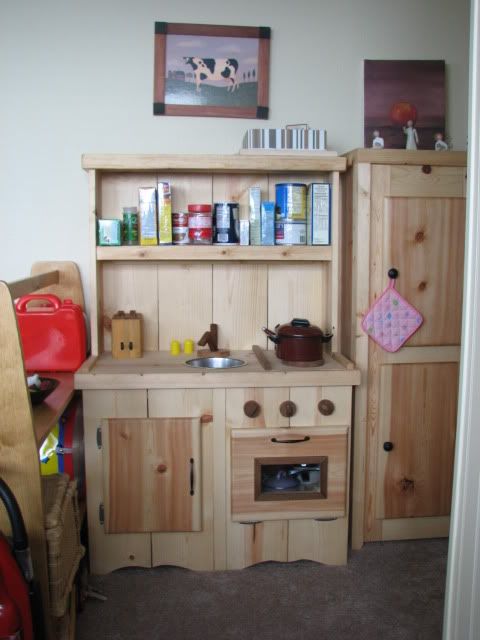
The hubs is handy.  I say build it, and somehow (don't ask me how) he builds it.  A little over a year ago I mentioned that we absolutely could not live without a play kitchen for the girls'.  A nice, solid, wooden kitchen.  Then I showed him the price tags of ready-made and he laughed (you will too when you click on the links!).  So I told him to make one.  BUT they couldn't have a kitchen without a fridge too!   This was when we lived in a tiny rental without a garage.  It was the middle of winter and he stood out there in the carport in the FREEZING cold and made our girls this (he made the playstands too):


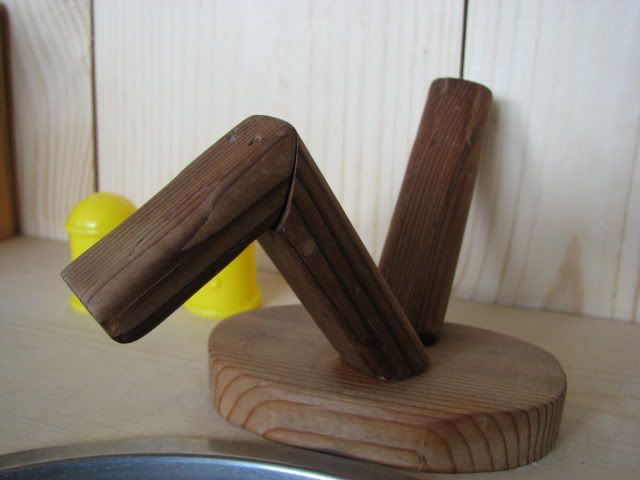
Look at the little faucet he made:


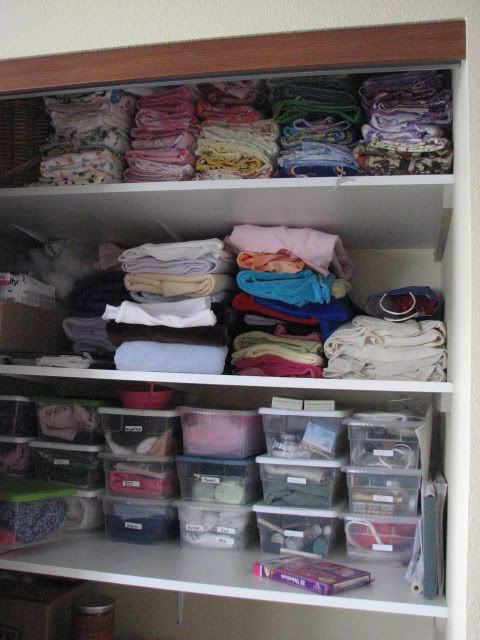
He also did massive amounts of shelving around the house after we moved in, like this one in my fabric closet:


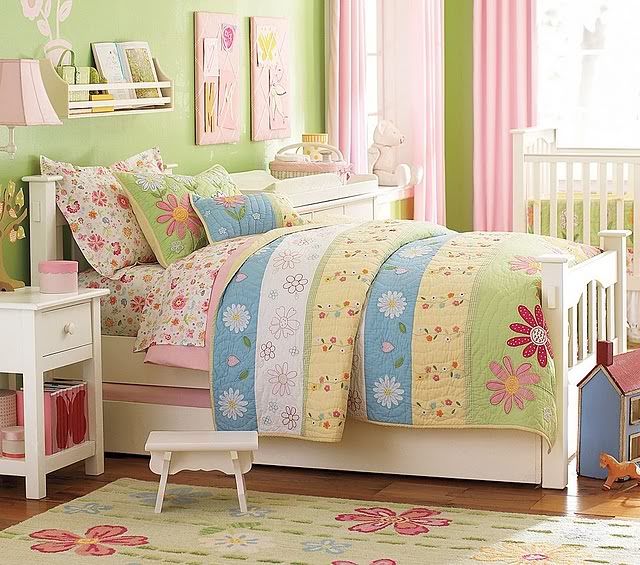
I have a million and a half projects on his list for this spring/summer.  A few of which are for the girls' rooms.  Beary needs this bed/trundle/nightstand/bookshelf (all plans on her site!)


The best part about Knock Off Wood is that she has the plans all laid out, eliminating the tedious task of having to draw up plans and fudging with them in the building process.  And the best part?
THEY. ARE. FREE.

I'm so giddy.  I feel like I just won the lottery!  This will be the hubs tonight looking at the endless list of projects (awwwww):

Jill's crack of the week: Big Soft Ginger Cookies!


photo courtesy of pierydys on allrecipes

Big. Soft. Gingery. delicious

Do have a recipe that you can't live without?  One that warms your soul and entices your senses?  Mine is this cookie.  Every time I make them I end up loving them a little bit more.
The texture is perfect.  The smell is delicious.  The taste is heaven. 
And perhaps the best part is that everyone in our family loves them.  FINALLY something that we all agree on!  (even picky little Beary)
They taste fine just like the recipe calls for in the above link, but here is a slightly altered version that I use:

Ingredients

  • 2 1/4 cups all-purpose flour
  • 2 teaspoons ground ginger
  • 1 teaspoon baking soda
  • 1 teaspoon ground cinnamon
  • 1/2 teaspoon ground cloves
  • 1/4 teaspoon ground nutmeg
  • 1/4 teaspoon salt
  • 3/4 cup margarine, softened
  • 1/2 cup white sugar
  • 1/2 cup brown sugar
  • 1 egg
  • 1 tablespoon water
  • 1/4 cup molasses
  • 2 tablespoons white sugar

Directions

  1. Preheat oven to 350 degrees. Sift together the flour, ginger, baking soda, cinnamon, cloves, nutmeg and salt. Set aside.
  2. In a bowl, cream together margarine and 1 cup sugar until fluffy. Beat in the egg, then mix in the water and molasses. Gradually stir the sifted ingredients into the molasses mixture. Shape dough into walnut sized balls, and roll them in the remaining sugar. Place 2 inches apart onto an ungreased cookie sheet, and flatten slightly.
  3. Bake for 8 to 10 minutes. Cool on baking sheet for 5 minutes before removing to a wire rack to cool completely. Store in an airtight container. 
 Enjoy!  (hmm.  Need to make these tomorrow for sure!)

Related Posts with Thumbnails