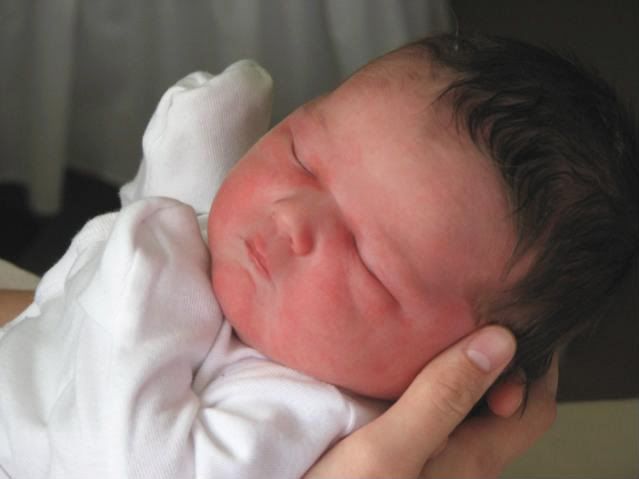
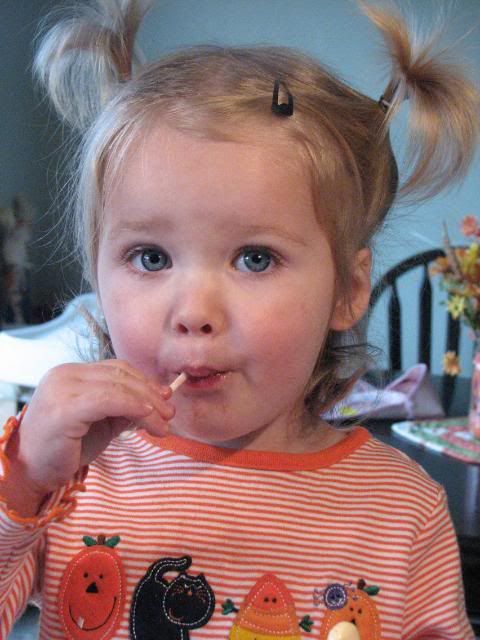
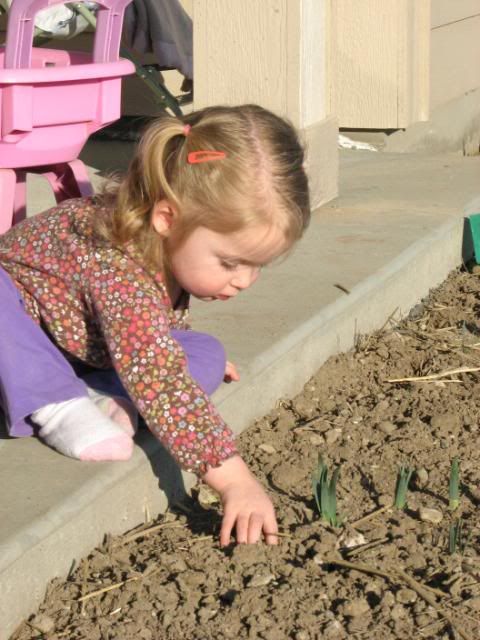
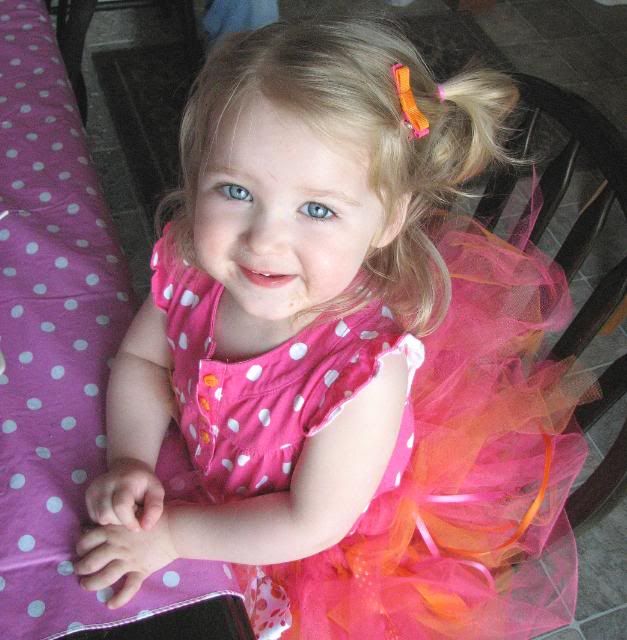
My baby girl is two today, and I'm not quite sure what to think about that. Two years ago I was holding this chubby little blob (9lbs3oz!), thanking God that she was FINALLY here. It had been a long journey to that point, and I sat there amazed at the little person in my arms. Today I sat across from her at Dairy Queen (daddy and I took her "out") watching her refuse the bib, stealing my chicken, and scowling at daddy if he so much as breathed on her. All I can think is how the heck did she get so big? And how can I make her stop growing?
Happy Birthday Rosie-Posie Puddin' Pie!
Monday, March 22, 2010
Wednesday, March 17, 2010
Party Planning: the birthday banner
Party Planning part two: the birthday banner
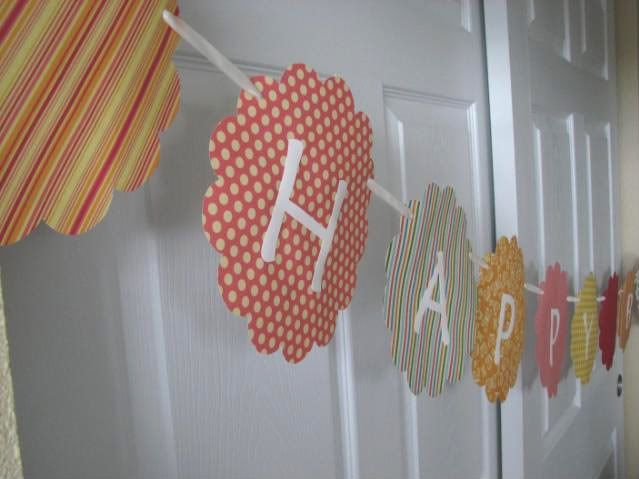
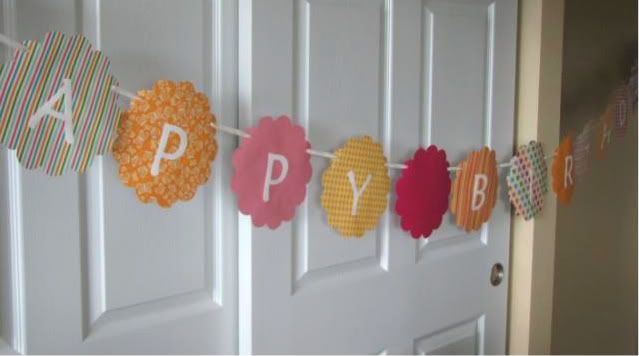
It might just be me, but I think that every birthday party MUST have a birthday banner. Something big that makes the birthday girl or boy feel extra special. For Boo's banner I wanted something cheery, springy, pink & orange, and fairly quick and easy. Ok, maybe I didn't quite conquer the quick, nor the easy, but if I had a Cricut it would have been! But I don't, so we had to handcut the scalloped circles and the letters by hand. (Thank heavens I have a helpful hubs!)
Paper is the new Flower Shower Spring Stack and I LURVE it! I haven't scrapbooked much in years, but I still see stars over beautiful paper. This stack is just awesome! It brings back memories of childhood, with rainbows, stars, and bright colors (think Rainbow Brite and Care Bears ladies!) And because I do not YET have a Cricut (it was either that or a new house...go figure I chose the latter) I downloaded this awesome dingbat font for my scalloped circles! I'm in love with it! I used either "a" or uppercase "x" for my template...can't remember. Then I painstakingly traced and cut out the letters. Can't ever go easy now, can you Jill? A few hole punches later I threaded it all on a ribbon and ta-da! A great b-day banner for the bestest almost-two-year-old I know.
...stay tuned for more party planning ideas!
Sunday, March 14, 2010
Party planning: The tutu
I've been SO busy getting ready for Ayla's birthday party next weekend! She's going to be two. *sniff* This will be her first big bash, and I want it to be awesome for her! I thought and thought about a theme and what she liked, and a few things really stood out. Polka dots, orange and pink, and CANDY! Girly loves her candy, or "nan-nan" as she calls it. So over the last few months I've been collecting everything orange, pink, polka dot and candy-like that I could. Not so easy in our little bit of no-where!
I'll show you what I've been up to over the next few days, so stay tuned!
Part One: THE TUTU!
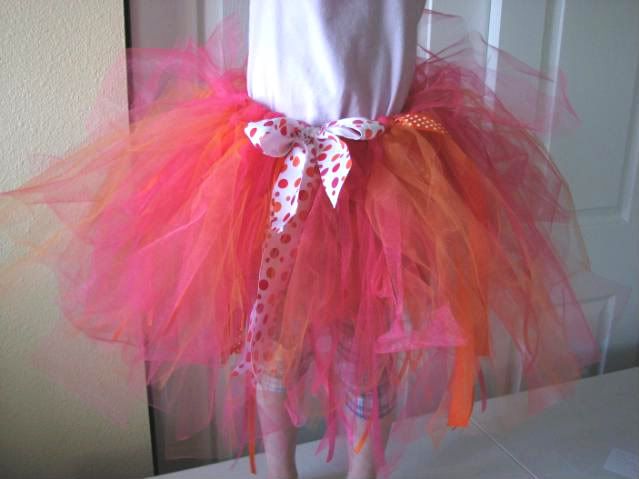
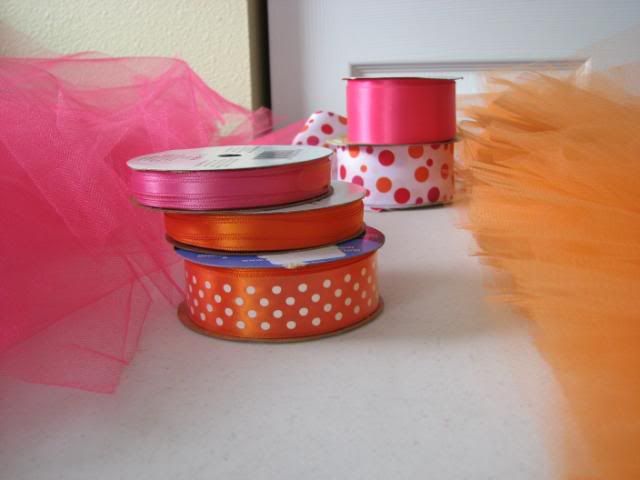
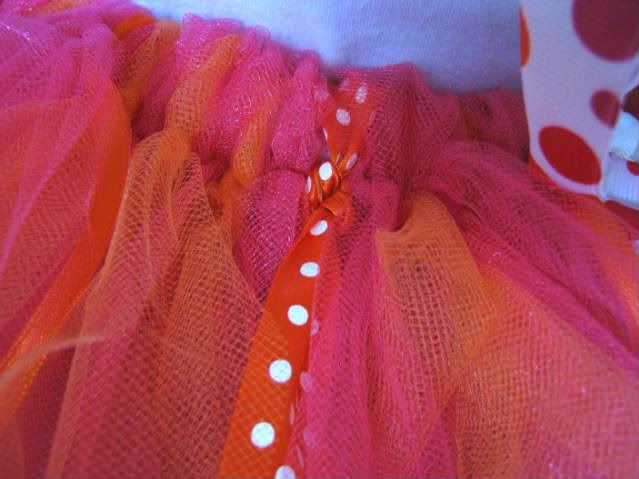
'Cause EVERY girl needs her own tutu! I used this video on YouTube, but tied mine around elastic instead. I prefer the wider elastic, I believe mine was 1.5 inch. I also made my strips about 3.5 inches wide. AND I found that four yards for a toddler tutu just wasn't enough. Good thing I had some extra tulle lying around, because Joann's is too far for a quick trip! 5-6 yards of tulle should do it as full as I made. I also tied a bunch of ribbons on with the strips to jazz it up a bit. Make sure you singe the ends with a lighter/candle/match to keep them from fraying! (You could always use Fray-check too, but I'm lazy lol)
I also double-knotted my strips rather than making a slip-knot thingy. The last tutu I made with knotting is coming undone, and I want this to last!
And how lucky was I to find a random spool of pink and orange polka dot ribbon in my ribbon box? I haven't used that stuff in about 3 years!
Looks a little frazzled after big Sis tried it on, but I promise it will look adorable on Boo next Saturday! I even found a pink/white polka dot shirt with orange buttons (gotta love Carter's!) and pink/white polka dot leggings! Score one for mom.
Saturday, March 13, 2010
Crack of the week: Caramel apple salad
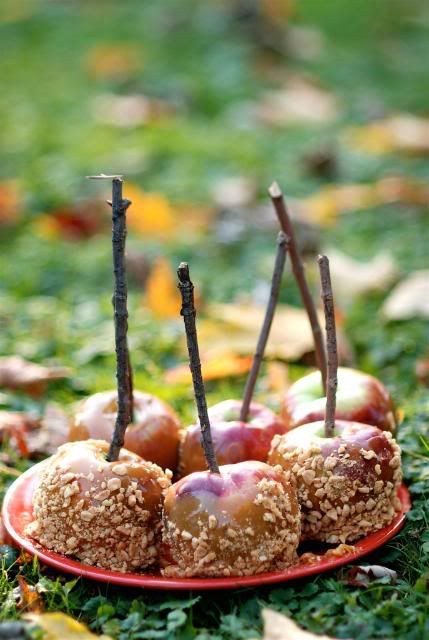
I love caramel apples! Especially with nuts on them. It's one of those delicious treats that I only make once a year, although I wish I did it a lot more! Have you ever bought those ridiculously overpriced apples from a candy store? My favorite kind, with white chocolate and oreos, is upwards of $6.00! Crazy.
Tonight I wanted an apple salad. I broke away from my stand-by waldorf variety and went with something new! What could be better than a caramel apple that's not only easy, but GOOD for you? This also makes a great potluck dish!
Caramel Apple Salad
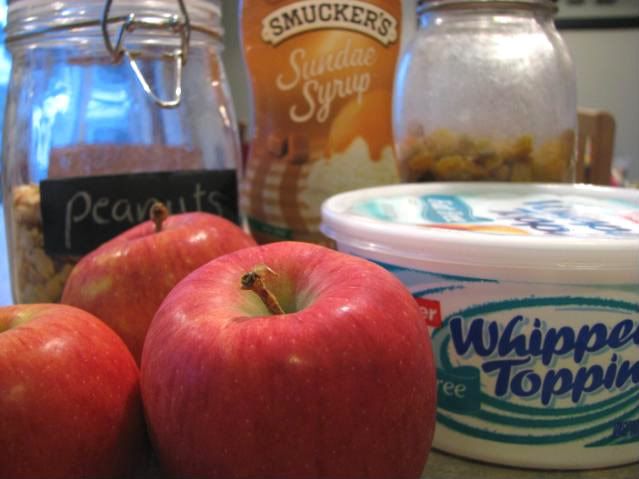
-4 apples, diced
-1/2 cup peanuts (unsalted is best)
-1/2 cup golden raisins (these are optional, but I like the texture they give. You could also use regular raisins)
-2 Tbsp caramel sundae topping, plus extra to drizzle on top
-3/4 tub of frozen whipped topping, thawed (We use fat-free to make it not-so-terrible!)
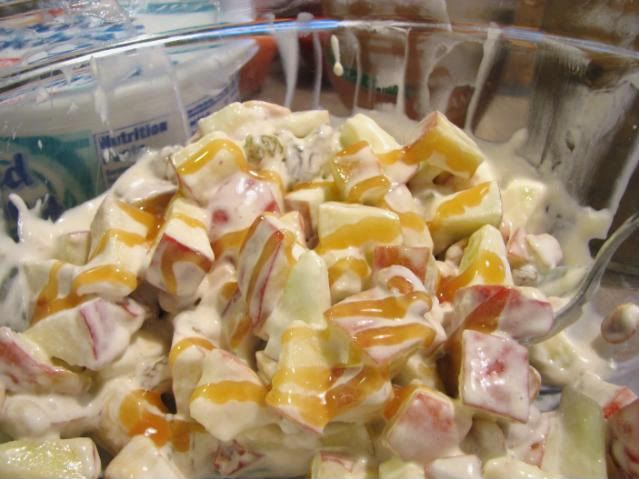
Combine first four ingredients in large bowl and mix together. Fold in whipped topping, then drizzle extra caramel sauce over the top! Mmmm!
Labels:
Crack of the week,
recipes
Saturday, March 6, 2010
Boo's room almost done!
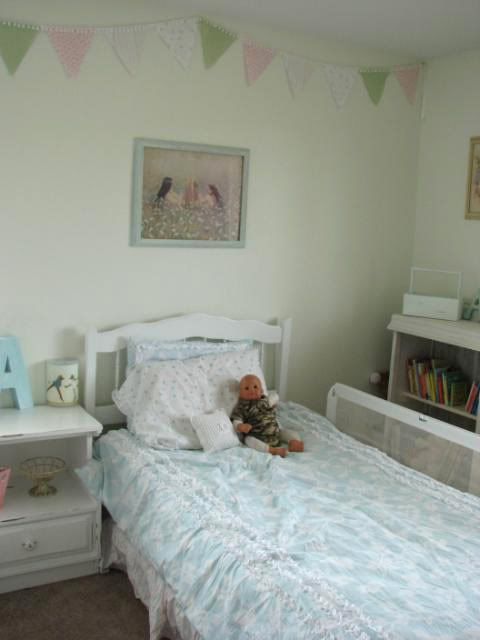
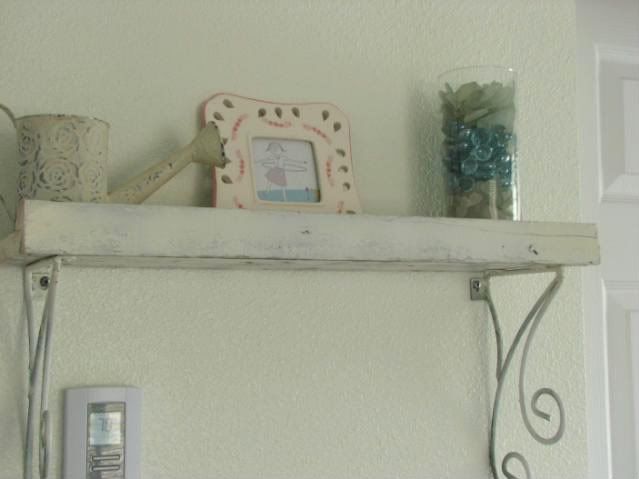
Boo's room is almost done! I went with a shabby beach-cottage theme this time, and I'm loving the look of it! I still have a few small things to do, but it's coming together nicely. The wall color is Sherwin William's "pearl onion". The bedding and flag bunting are from the Simply Shabby Chic collection at Target. The only thing we have to do in here is replace the dresser, which I don't like at all. And I think I'll add some airy curtains this spring, along with some beachy accents we pick up on our vacation to the coast this summer. I have some more frames to hang, but I'm not sure exactly what I'm going to put in them yet. Maybe something like this and this or a sand written message, maybe one that says Rosie?
Here is the room. I've got a few more things to put up on the walls, and the three-sisters print above her bed will be moving across the room soon. I'm hoping to find an old paned window frame to go above the bed instead.
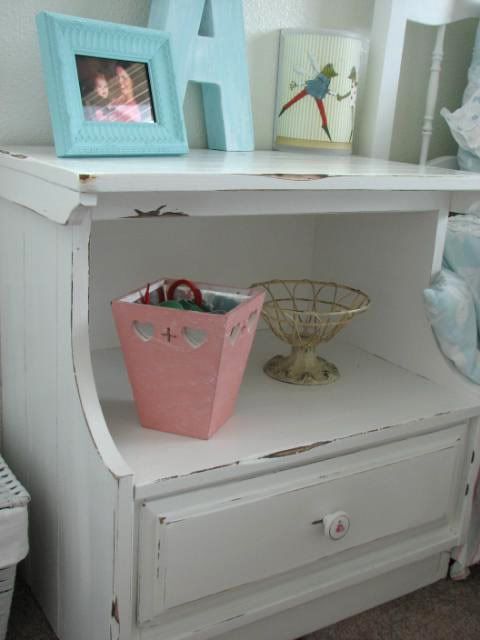
The old nightstand I picked up at the thrift store for $6! It's gorgeous! I repainted it and then just sanded it down in a few spots. I was going to replace the knob with a glass one, but this one has a rose on it and Boo's most-used nickname is Rosie. So it stays for now!
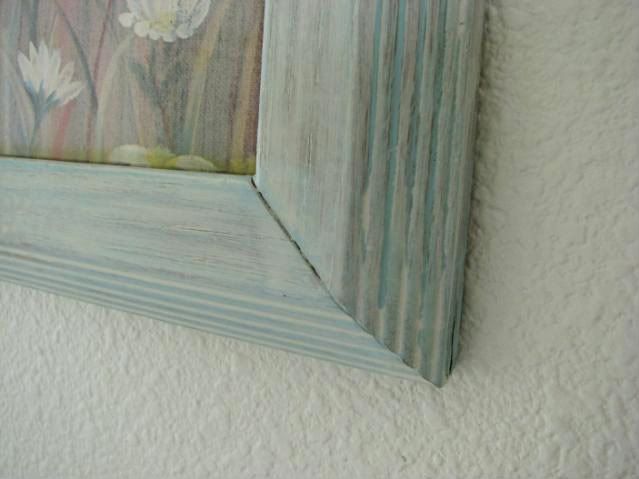
Here is the frame around the sisters' print above her bed. I got it for $1 and just painted on a really light layer of robin's egg acrylic paint, then another layer of watered down off-white acrylic. I think it looks great, and you can't beat the price! I love the print too- I found it at the thrift store shortly after I found out we were having a third girl.
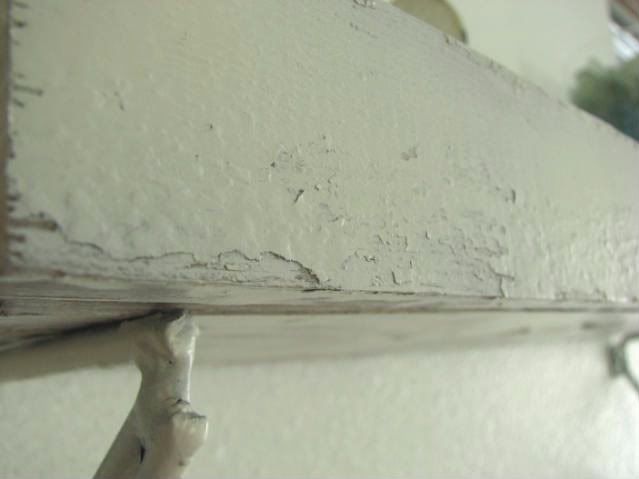
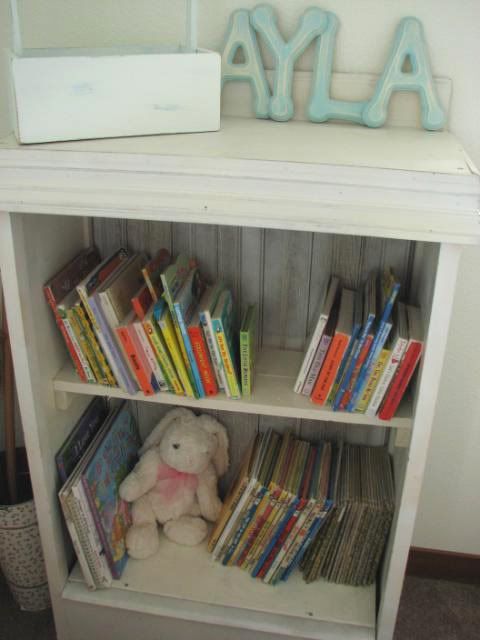
I found this adorable little shelf at a yard sale about two years ago. The lady was selling this awesome shabby-chic stuff, which is almost impossible to find around here! I think I paid $2 for it! The only thing we did to it was pop off the shelf that was originally on it as it was too narrow. Then the hubs put in some 1x4s and made a simple shelf to hold more books. A light coat of white & antique white spray paint (my ingenious hubs thought of layering them all on his own!) made it look original!
Here is the shelf we ripped off of the bookshelf. We painted the raw edges and it was good to go!
Only a few more little details and the room will feel complete. Then it's on to Binks room!
Linking up to Disney's giveaway at Ruffles & Stuff!
Labels:
decorating,
kids room,
re-do,
thrifting
Thursday, March 4, 2010
Looking forward to...
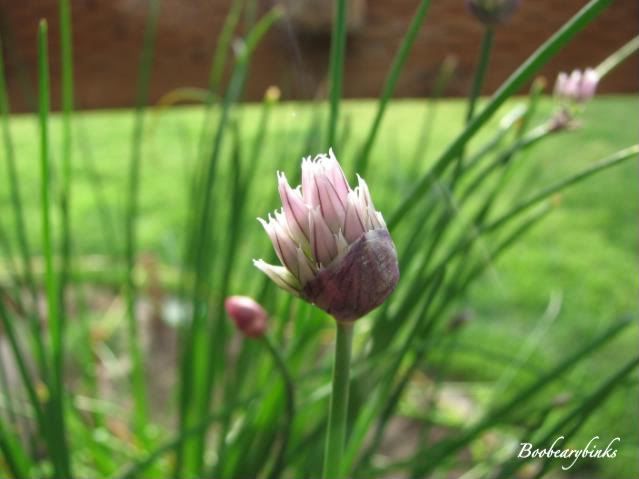
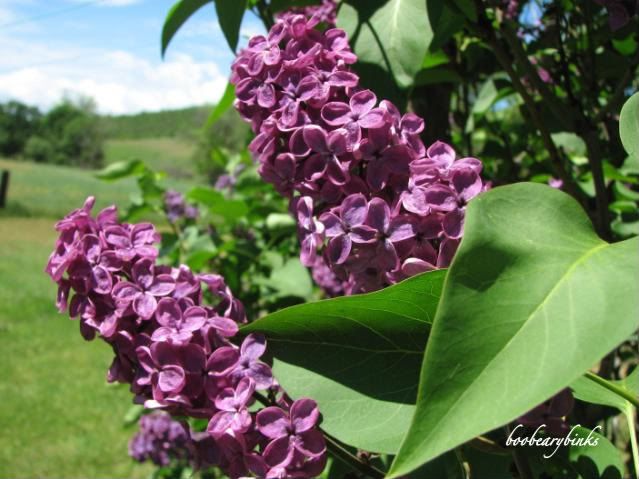
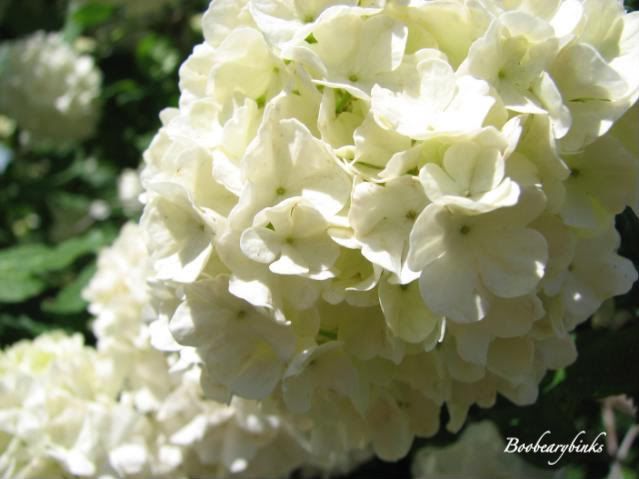
...spring. I love spring! I'm a gardener-at-heart, and by the time April rolls around my hands are itching to dig into the moist, cool soil. And this year, we have a brand new yard to create from scratch. We've already been busy outside (I'm sure you've noticed the lack of posts!) moving rocks, creating beds, planting trees. But I'm so eager to see the first emergence of my lovelies! I've noticed the daffodils starting to peek out from their shadowy spots, and the lilac buds are starting to stand tall. Just a few more months and my yard will be in full bloom. (these pics were all taken at our last place two years ago)
What are you looking forward to the most this spring?
Labels:
gardening
Wednesday, March 3, 2010
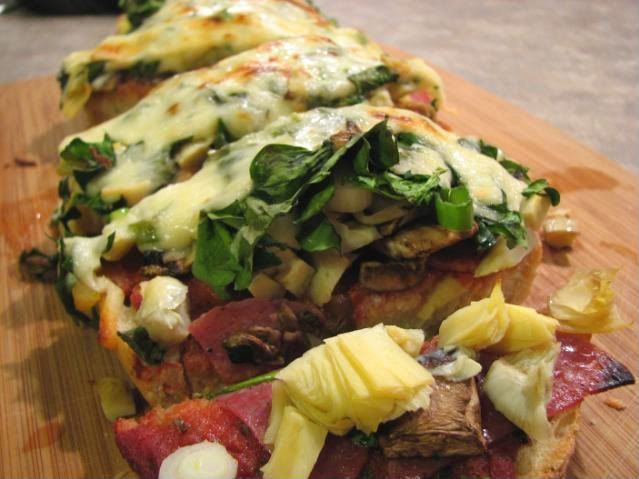
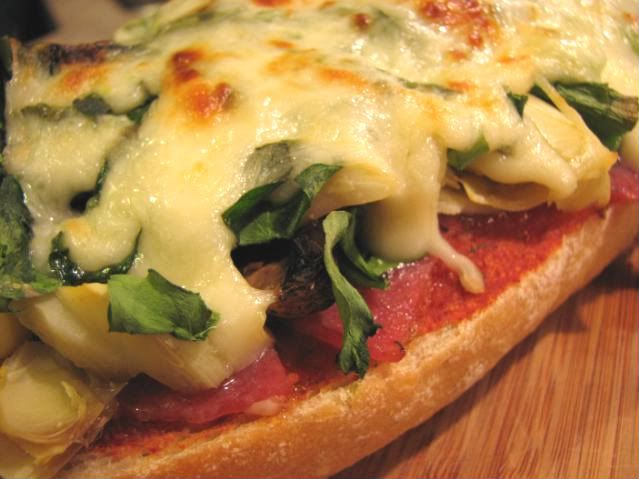
Crack of the week: Salami & Artichoke Pizza
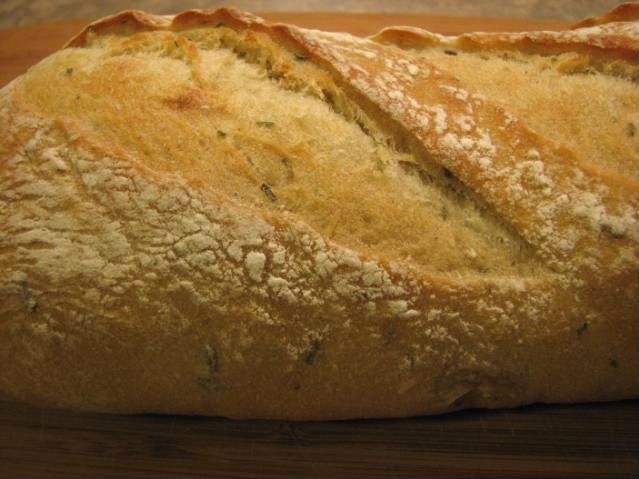
Mmmm. We love our homemade pizzas around here. In fact, tomorrow morning I'm including them in a demonstration at my local MOPS group. Usually we make our own whole-wheat crust, but today I was craving a crusty, rich, artisan-type bread. I believe this one is potato-rosemary. They were out of roasted garlic, which makes the BEST pizza crust with it's yummy whole garlic cloves.
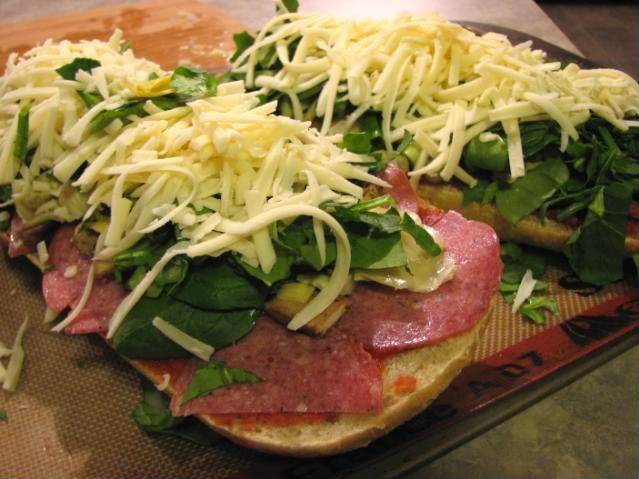
We don't ever use a recipe when making our pizzas. The beauty of them is that they are never the same. Tonight we used the following ingredients:
*1 loaf potato-rosemary artisan bread (cut in half lengthwise)
*handful of cremini mushrooms, chopped
*sliced salami, halved
*big handful of fresh spinach, chopped
*1 jar artichoke hearts, chopped
*1 recipe homemade pizza sauce (below)
*mozzarella cheese
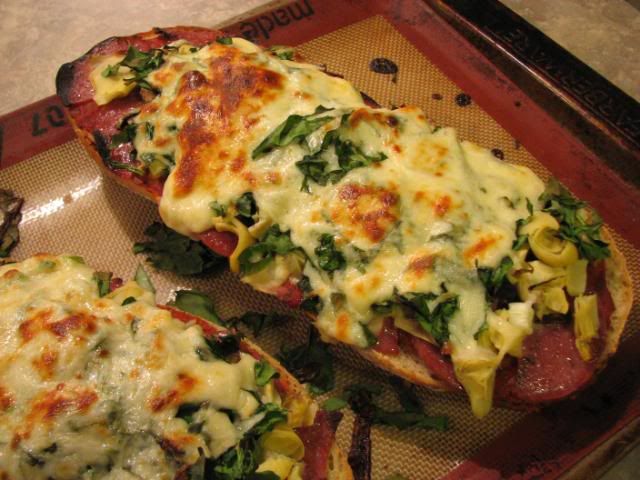
Bake at 350 degrees for about 20 minutes.
Mmm...
This makes such an eye-pleasing pizza!
Homemade pizza sauce:
*1 small can tomato paste
*garlic, basil, thyme, oregano, salt
*water
Place tomato sauce in bowl and add small amounts of water at a time until you get the right consistency for pizza sauce. Add spices as desired. I honestly don't measure these, I just kind of toss in what "looks right"
Labels:
Crack of the week,
recipes
Subscribe to:
Posts (Atom)