Sachiko at Tea Rose Home has this awesome giveaway right now! It's for this gorgeous removable chalkboard. Wouldn't that be perfect on your stainless steel fridge? Or on your bathroom mirror with to-dos on it? Oh, I've got so many ideas! I may have to get one of those anyway...
By the way, check out her other stuff! She's amazing. :) The link to Tea Rose Home is always on the left sidebar.
Stay tuned for a great DIY vintage window idea!
Wednesday, December 30, 2009
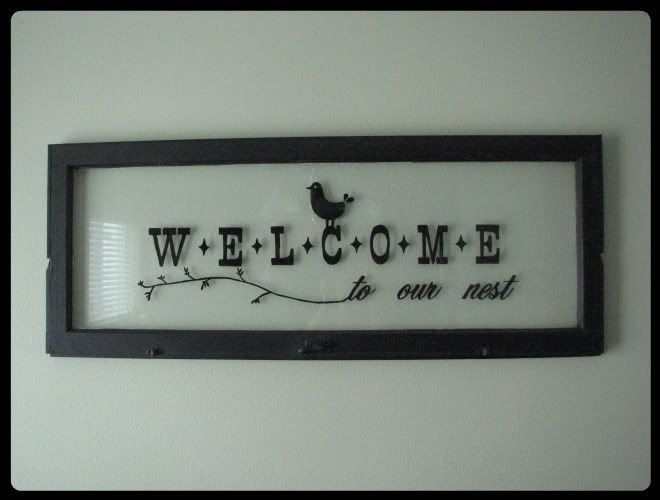
Vintage-looking window sign
I first saw these signs featured on Dollarstorecrafts.com. I had to make one right away! So off I went to my local ReStore to hunt down some windows. I found a ton of nice and old ones for between $2.50 and $4.00 each! I have since purchased about 20, and am hoarding them in my garage for gifts. In fact, the old house we lived in (beyond scary) while we built this place just got remodeled, and I called the owner (gotta love small towns!) and asked what he was doing with them. Nothin', so they're all mine- he even thanked ME! Sweet deal!
The first one I ever made is at the top. It hangs in our dining room, and I love it! The tutorial on livinglocurto is wonderful, but there are a few things you might find helpful:
1. Cheap flat black spray paint works just fine for the frame. All other colors need a better quality.
2. Mask the window well if you're painting it! And really wash it after you take the masking off. I didn't wash the first one very well, then painted it and OOPS! I couldn't clean it with paint on it!
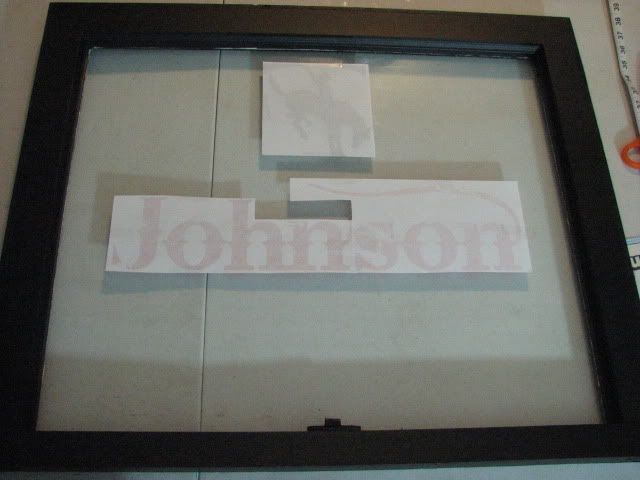
3. I don't have software that can flop images, as I use Word for my images (archaic, I know!) but I do have a print in mirror option! So check your printer settings! And if you have neither, simply outline the opposite side of the printing with marker. OH! And you can find all kinds of awesome vintage fonts online for free!
4. When using black paint on the window, print in red, it seems to be the most obvious!
6. There is a learning curve painting with the thickness of the glass, so have a paper towel handy for oops!
7. If you are right-handed, start in the top left part of your window when painting, then go down, then left and up, in a zig-zag pattern so you don't smear paint!
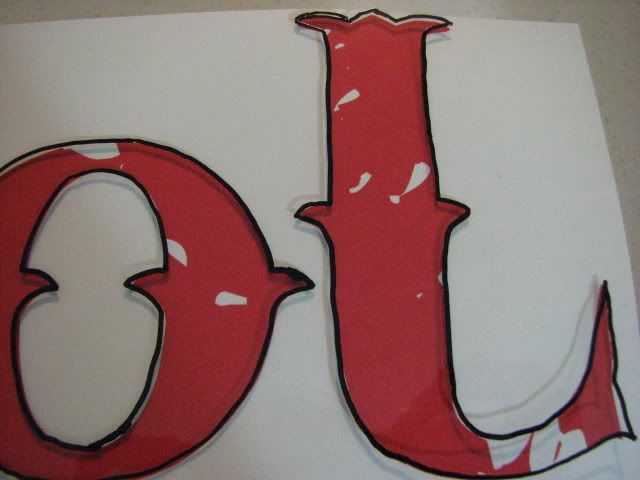
8. Invest in a paint pen. Sharpie brand works great, and comes in all sorts of colors. Because I prefer the look of black, it's easy! Outline your work, let dry, then it's simple to come back and fill in with paint.
9. DO NOT BUY CHEAP ACRYLIC PAINT! You'll have to put on 4-5 layers, and then you start wanting to throw the window OUT the window! I like the Americana brand at Joann's. It goes on nicely, and rarely needs two coats.
10. Use a really fine tip paint brush, and invest in an angle brush for nice clean lines and corners.
11. Finally, do not leave the window to dry where your child can get to it when you aren't around. For some unknown reason, my oldest (4) decided she needed to STAND on the window while watching cartoons (do they seriously affect their brain cells or something?!) and broke it to pieces. She still doesn't understand why mommy was so upset. She sees an oops! and I see visions of ambulances, ER visits, stitches, surgery, more medical bills, etc etc.... :)

this one is for a relative. I LOVE this font, it's called "bleeding cowboy"
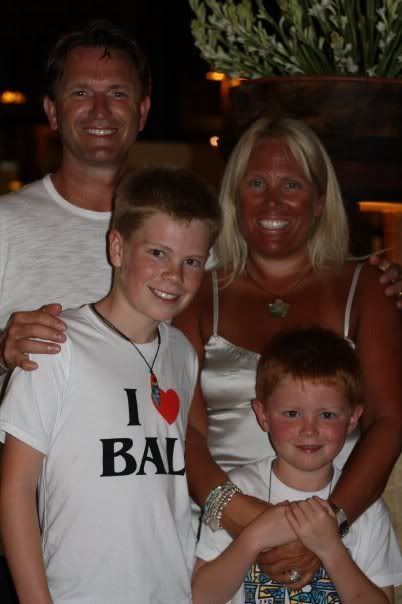
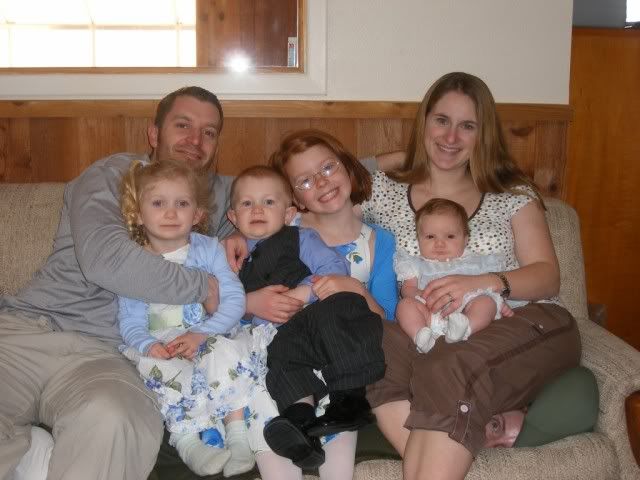
...and if you're in the mood for one last laugh in 2009, head over to awkwardfamilyphotos.com and check out their selection. Here's a few examples (seriously, what is WRONG with people?)
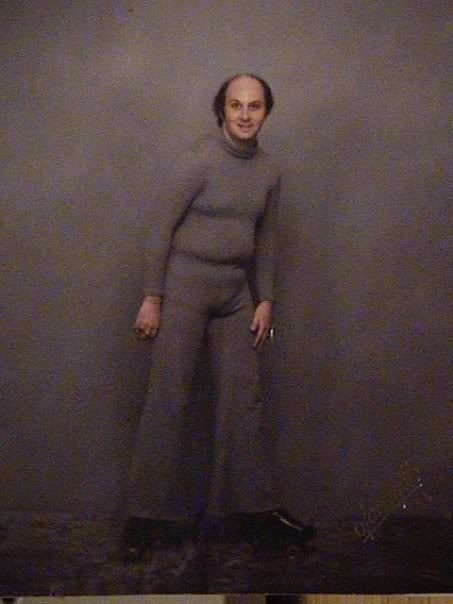
look really closely at this one:
Monday, December 28, 2009
Tutorial: Dreamy Tulle Bed Canopy
 So my oldest has this enormous twin-over-full bunk bed in her room that just has to go. She never uses the top bunk, and I'm sick of staring at a giant pile of animals. But she LOVES her bunks (new house, new bed thing) so we came to a compromise. IF she let me ditch the bed, and replace it with just a twin, I'd make her a big fluffy princess canopy for above her bed. She loves loves princesses and anything girly so she agreed.
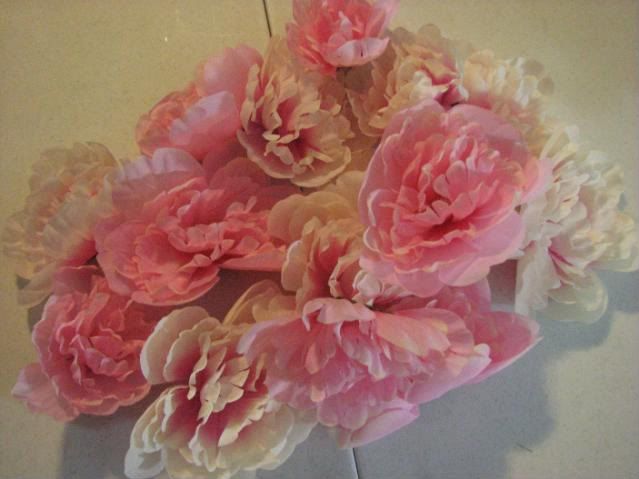
I had picked up 16 yards of tulle (4 colors, 4 yds each) at Joann's a month or so ago, and along with a hula-hoop and some fake peonies from the Dollar Tree,, I was all set for supplies.
So, without further ado, here is the tutorial:
Supplies:
*about 16 yards of tulle (the regular stuff on the bolts, I think it's 60" or so?) I used 4yds of 4
different colors
*hula hoop (mine had a circumference of 84")
*Fabric for casing-I used cotton velour that my daughter chose, but you could use cotton or anything else you had.
*Duct tape or electrical tape
*Ribbon, for hanging
*Fabric flowers, extra ribbon, etc.
Directions:
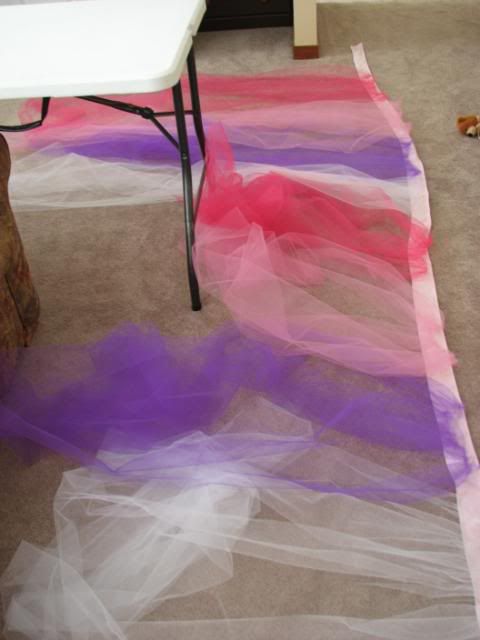
First thing you need to do is to cut your tulle into strips. Because I had four different colors, mine was a bit more complex. I folded each section (4yards each) into half so it was two yards wide and cut on the fold. That gave me two strips 56" wide. In the end I had eight different strips. If you use on color it would be MUCH easier! Set your hoop and tulle aside.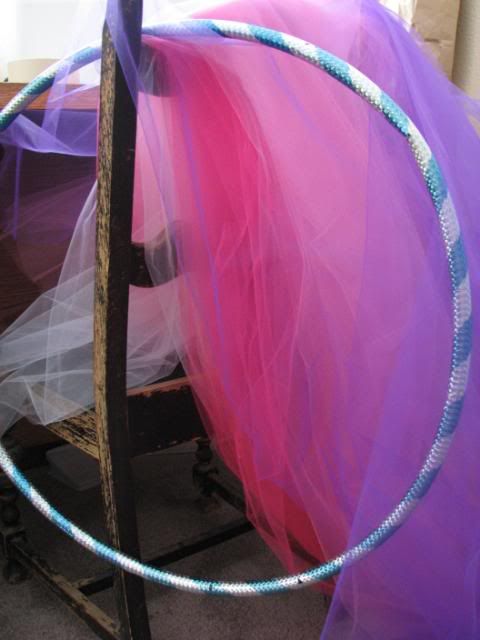 Now you'll need to make the casing for the hoop. Measure the circumference of your hoop around the outside and how wide the casing strip will need to be (to fit around the hoop). Mine was 84" around and I needed about 3" wide strip to fold over the hoop (with room added for a seam) My cotton velour was about 69" long so I doubled it to about 138"(to make it easy!) which allowed for some extra gather on the hoop. Cut your strips out...
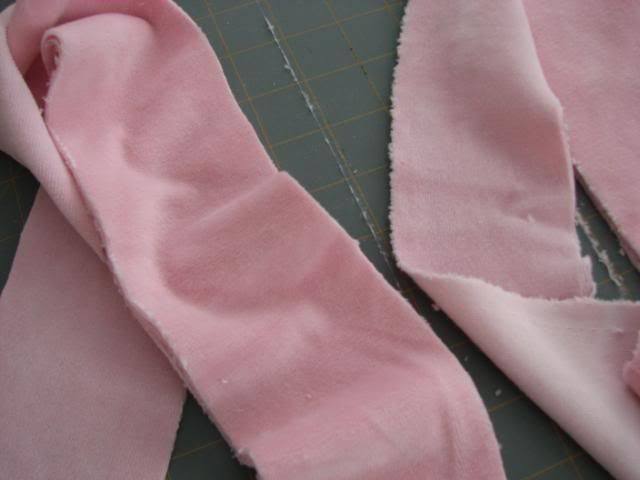 ...then serge the two pieces together to make one long strip. Now you can serge all four sides of the strip, or zig-zag if you don't have a serger. If you're REALLY picky, you can hem the sides, but make sure to leave allowance for that when you cut.
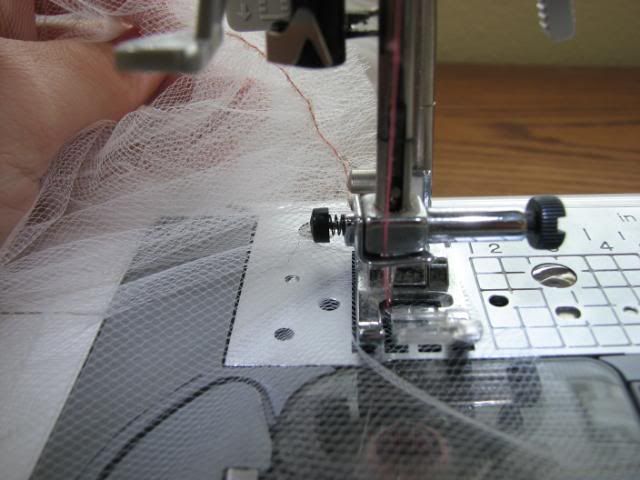
Now for the tulle. I originally left the pieces separate for a more airy look, but in the end I went and sewed all the panels together to make one big honkin piece of tulle. It's your choice...if you have more than one color you can join the pieces or leave them open. If you join them make sure you leave one seam open for an entrance! So, if you decided to leave them separate, gather them all separately. If you joined them together, gather as one big piece. To gather I simply adjusted the tension on my machine to about 6 (mine goes to 9-norm is 4) and set my straight stitch length to the max. This will automatically gather it for you!
Lay the big casing strip out flat with the wrong side up. Lay the gathered piece(s) on top of the casing, pinning in place. IF you decide to add some ribbons to hang down with the tulle, you can add it now, either underneath the tulle (to be on the outside of the canopy) or on top (for the inside) I was out of "pretty" ribbon, so mine will be added later in the week.
Set your tension and stitch length back to normal on your machine. Then begin to sew the gathers into place. Make sure every few feet or so to tuck the already sewn part behind the machine so it doesn't get in your way. Tulle is easy to accidentally catch!
 You should now have one big piece of tulle with the casing on top.
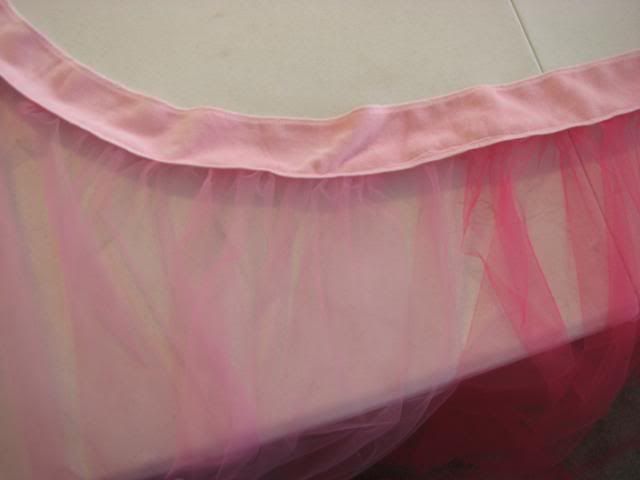 Now it's time to sew the casing closed. Flip the casing over so the tulle is facing up and put under the machine. You can either pin the casing closed (wrong sides together, over the tulle) or you can fold as you go, which I preferred. (Seriously, I hate pinning and it was like 140" worth!)
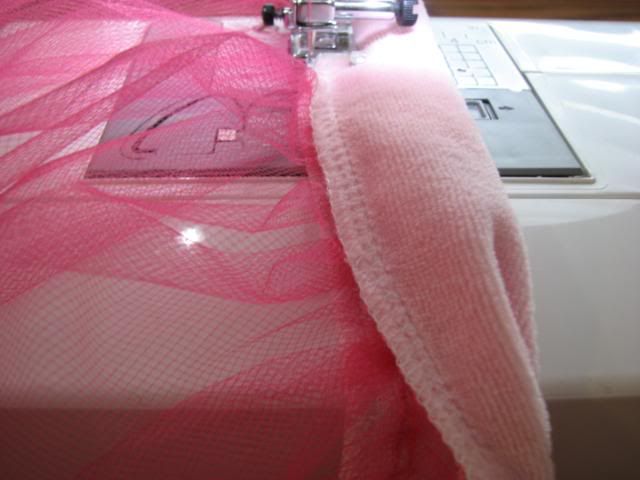 YAY! Hard part is done! Now you can assemble the canopy. First cut the hulahoop in half to create an opening for the casing to go on:
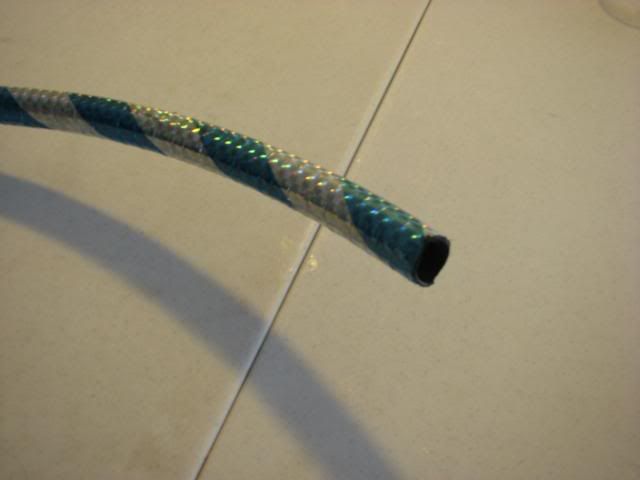 Then pull the casing onto the hoop.
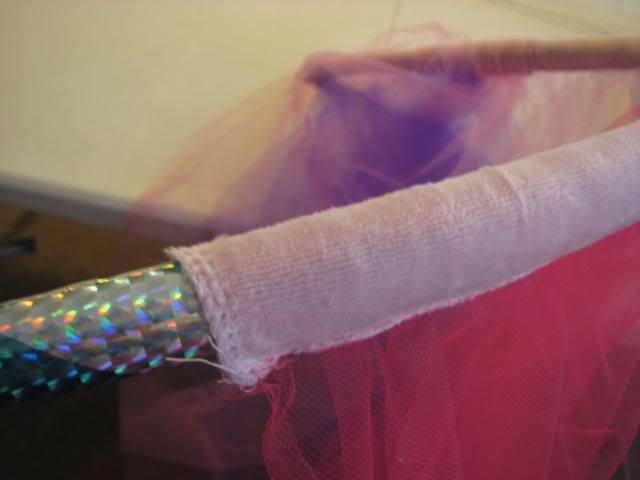 Easy, wasn't it?
Now either duct tape or use electrical tape to close the hoop back up. Make sure you really secure it or it'll get an odd oblong look to it. I go for about 6" on either side of the cut to really hold that sucker on. To attach the ribbon hangers, imagine a big cross on the hoop, and mark with pins where the points would be. Now cut a tiny slit in the tulle and insert a ribbon through and around the hoop and tie:
 Do that on all four points then tie together in the middle, forming a loop for hanging:
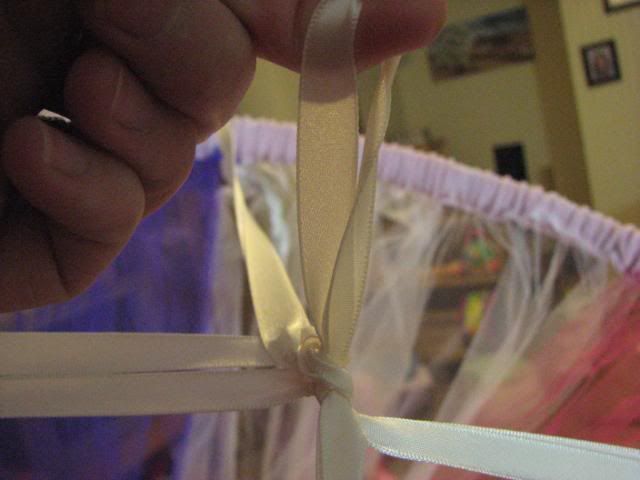 You may have to adjust the length of one or more sides, which is easily done by retying the first spot you tied.
If you want to, you can hot glue (or sew) fabric flowers onto the casing. Make sure to cut the little stem thingy off really short on the underside of the flower before attaching it.
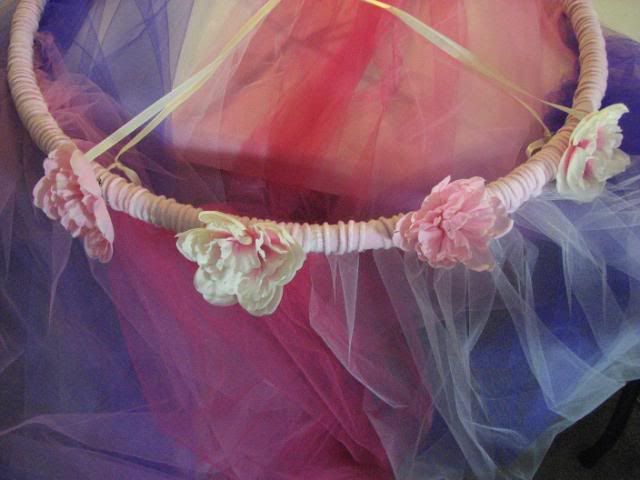
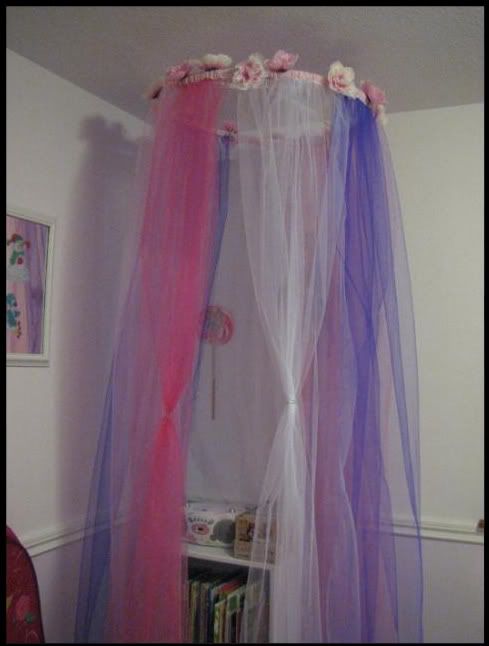
and you're done!
Here it hangs in my daughter's room until the bunk is removed. It will eventually go around her new bed, but that still has to be painted. :)
Oh, I want to quickly share what I made my oldest and her best friend for Christmas:
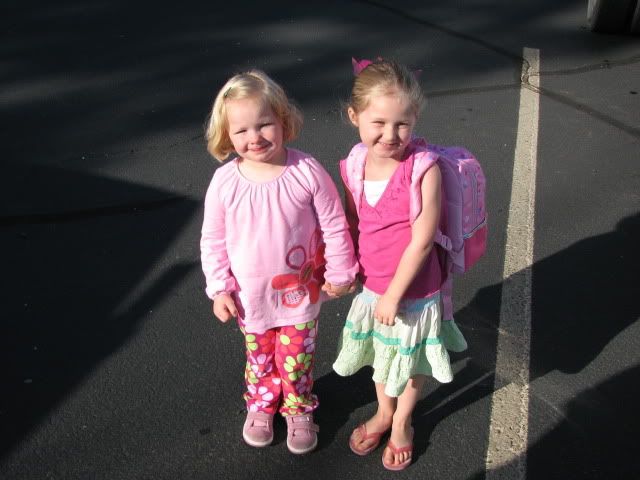
 These are Waldorf dolls. They have simple expressions to encourage imaginative play (not everyone is always as happy as Barbie!) They are also stuffed with wool, which makes the limbs firmer. Wool will take heat from the body as well, making them more cuddly. The blonde is for Beary, and the brunette is for her friend L. Unfortunately, the string holding the eyeline on the blonde (to give the face shape, like on the brown haired doll) must have snapped after I made it. You have to really really pull it tightly, and I'm guessing the string must not have been knotted enough. Oh well, she'll still love it! The dresses I made from Binks old nb sized onsies, which i hacked off and sewed little skirts onto. They are going to open them tomorrow (a little late, I know) and I so hope they like them! Beary isn't exactly a "doll" girl, but I'm hoping that when she sees that L. and her have matching dolls, it will become special. Here they are on their first day of preschool:
 Goodnight!
Here it hangs in my daughter's room until the bunk is removed. It will eventually go around her new bed, but that still has to be painted. :)Oh, I want to quickly share what I made my oldest and her best friend for Christmas:
These are Waldorf dolls. They have simple expressions to encourage imaginative play (not everyone is always as happy as Barbie!) They are also stuffed with wool, which makes the limbs firmer. Wool will take heat from the body as well, making them more cuddly. The blonde is for Beary, and the brunette is for her friend L. Unfortunately, the string holding the eyeline on the blonde (to give the face shape, like on the brown haired doll) must have snapped after I made it. You have to really really pull it tightly, and I'm guessing the string must not have been knotted enough. Oh well, she'll still love it! The dresses I made from Binks old nb sized onsies, which i hacked off and sewed little skirts onto. They are going to open them tomorrow (a little late, I know) and I so hope they like them! Beary isn't exactly a "doll" girl, but I'm hoping that when she sees that L. and her have matching dolls, it will become special. Here they are on their first day of preschool:Goodnight!Saturday, December 26, 2009
Tacky Christmas village re-do
I know, Christmas is over. But I just HAVE to share this one!
I didn't put my Christmas village out this year. You know, the ones with the little houses and tiny people? Well mine happened to be from the dollar tree. I was just over them! As I was packing up my decorations today, I took them out and set them in the give-away pile. A few glances later and an idea struck. Now I'm a fan of spray paint, and my brain is always searching for paint-ables to attack. I had the hubs go out into the FREEZING garage and spray a coat or two on one of the houses. I used cheapo white Home Depot 99cents a can stuff, the kind you can waste. It was one of those houses with the fake looking snow on the roof, and glitter on top of that. After a couple of coats it looked awesome! Seriously awesome. I'm into the white/silver vintagey Christmas decos, so this fits really well.
So out went the rest of the colorful little town to my "painting area" in preparation for their new paint jobs sometime this week. I've got to pick up some nicer glitter first, and some more paint. I'm thinking that they are cool enough to display year-round, if I can find a way to incorporate them. I'll post a tute when I'm finished.
J's Crack of the week
Do you have one of those phrases you say that are just plain dumb? Mine is "crack." Take pralines n' cream lattes for example. Just like crack to me. Or my snuggly soft brown blanket that the hubs got me for xmas two years ago. PURE crack.
So, for the first installment of J's crack of the week, I bring you Chocolate Chip Cookie Pie by Bakerella. OH MY is right! If you haven't explored her site yet, go right now. RUN! and take a look at her sinfully good knock-your-socks-off creations.
Tonight, I finished packing away my Christmas decorations (boohoo!) and we enjoyed the last of our Zuppa Toscana (courtesy of Tuscan recipes...yum!) that I'd made for Xmas dinner. Just like me, amidst a pile of leftover Christmas candy and cookies, I decide that I absolutely cannot wait to make this cookie pie. So I make it, which surprisingly takes me five minutes top, and go upstairs to put the trio in the bath (can you say meltdown?) DING! one hour later out comes heaven on earth. Now I love my girls' more than anything, but I swear to you that if I caught them trying to steal some of that loveliness that it would not be pretty. I think I found a new comfort food...and it is most definitely crack!
Now go! Try it and you'll thank me.
Wednesday, December 23, 2009
Welcome!
Welcome to my new blog! I hope you all enjoy getting a peek into our little world! With any luck (and a whole lot of hubs-neglect on my part) this will become my home-away-from-home (ok, or upstairs on the computer while AT home) and a place to share the random crafty, garden-y, bake-a-lilly ideas and projects that stroll across my brain. There aren't exactly a lot of people who "get" the whole craft-obsessed thing around here! (except for Char-kindred soul that she is)
I'm Jill, a SAHM to three gorgeous little girls (at least I think so!) Grace, or Beary, is now FOUR (omg, can I trade her in for an older model? I am so not liking this age.) Ayla, or Boo, is almost two, and is mama's little shadow. Norah (Binks) is our little sunshine baby born this last September. We spoil her the most, as she was a NICU survivor (which eventually I may share some stories about!) and is our last.
The hubs is my handyman, and will take part in quite a few of these ideas of mine. He's a good sport and always willing to paint this, or build that, or agree with me on the color of my blog header.
We have a brand-spankin-new house that I'm trying to tweak just so. I may mention from time to time the rat-pack, which references Abby (4yo black lab) Gus (ENORMOUS 1yo black lab) and the cats, Maggie and Miles.
Please feel free to drop me a line if you have any questions!
Subscribe to:
Posts (Atom)